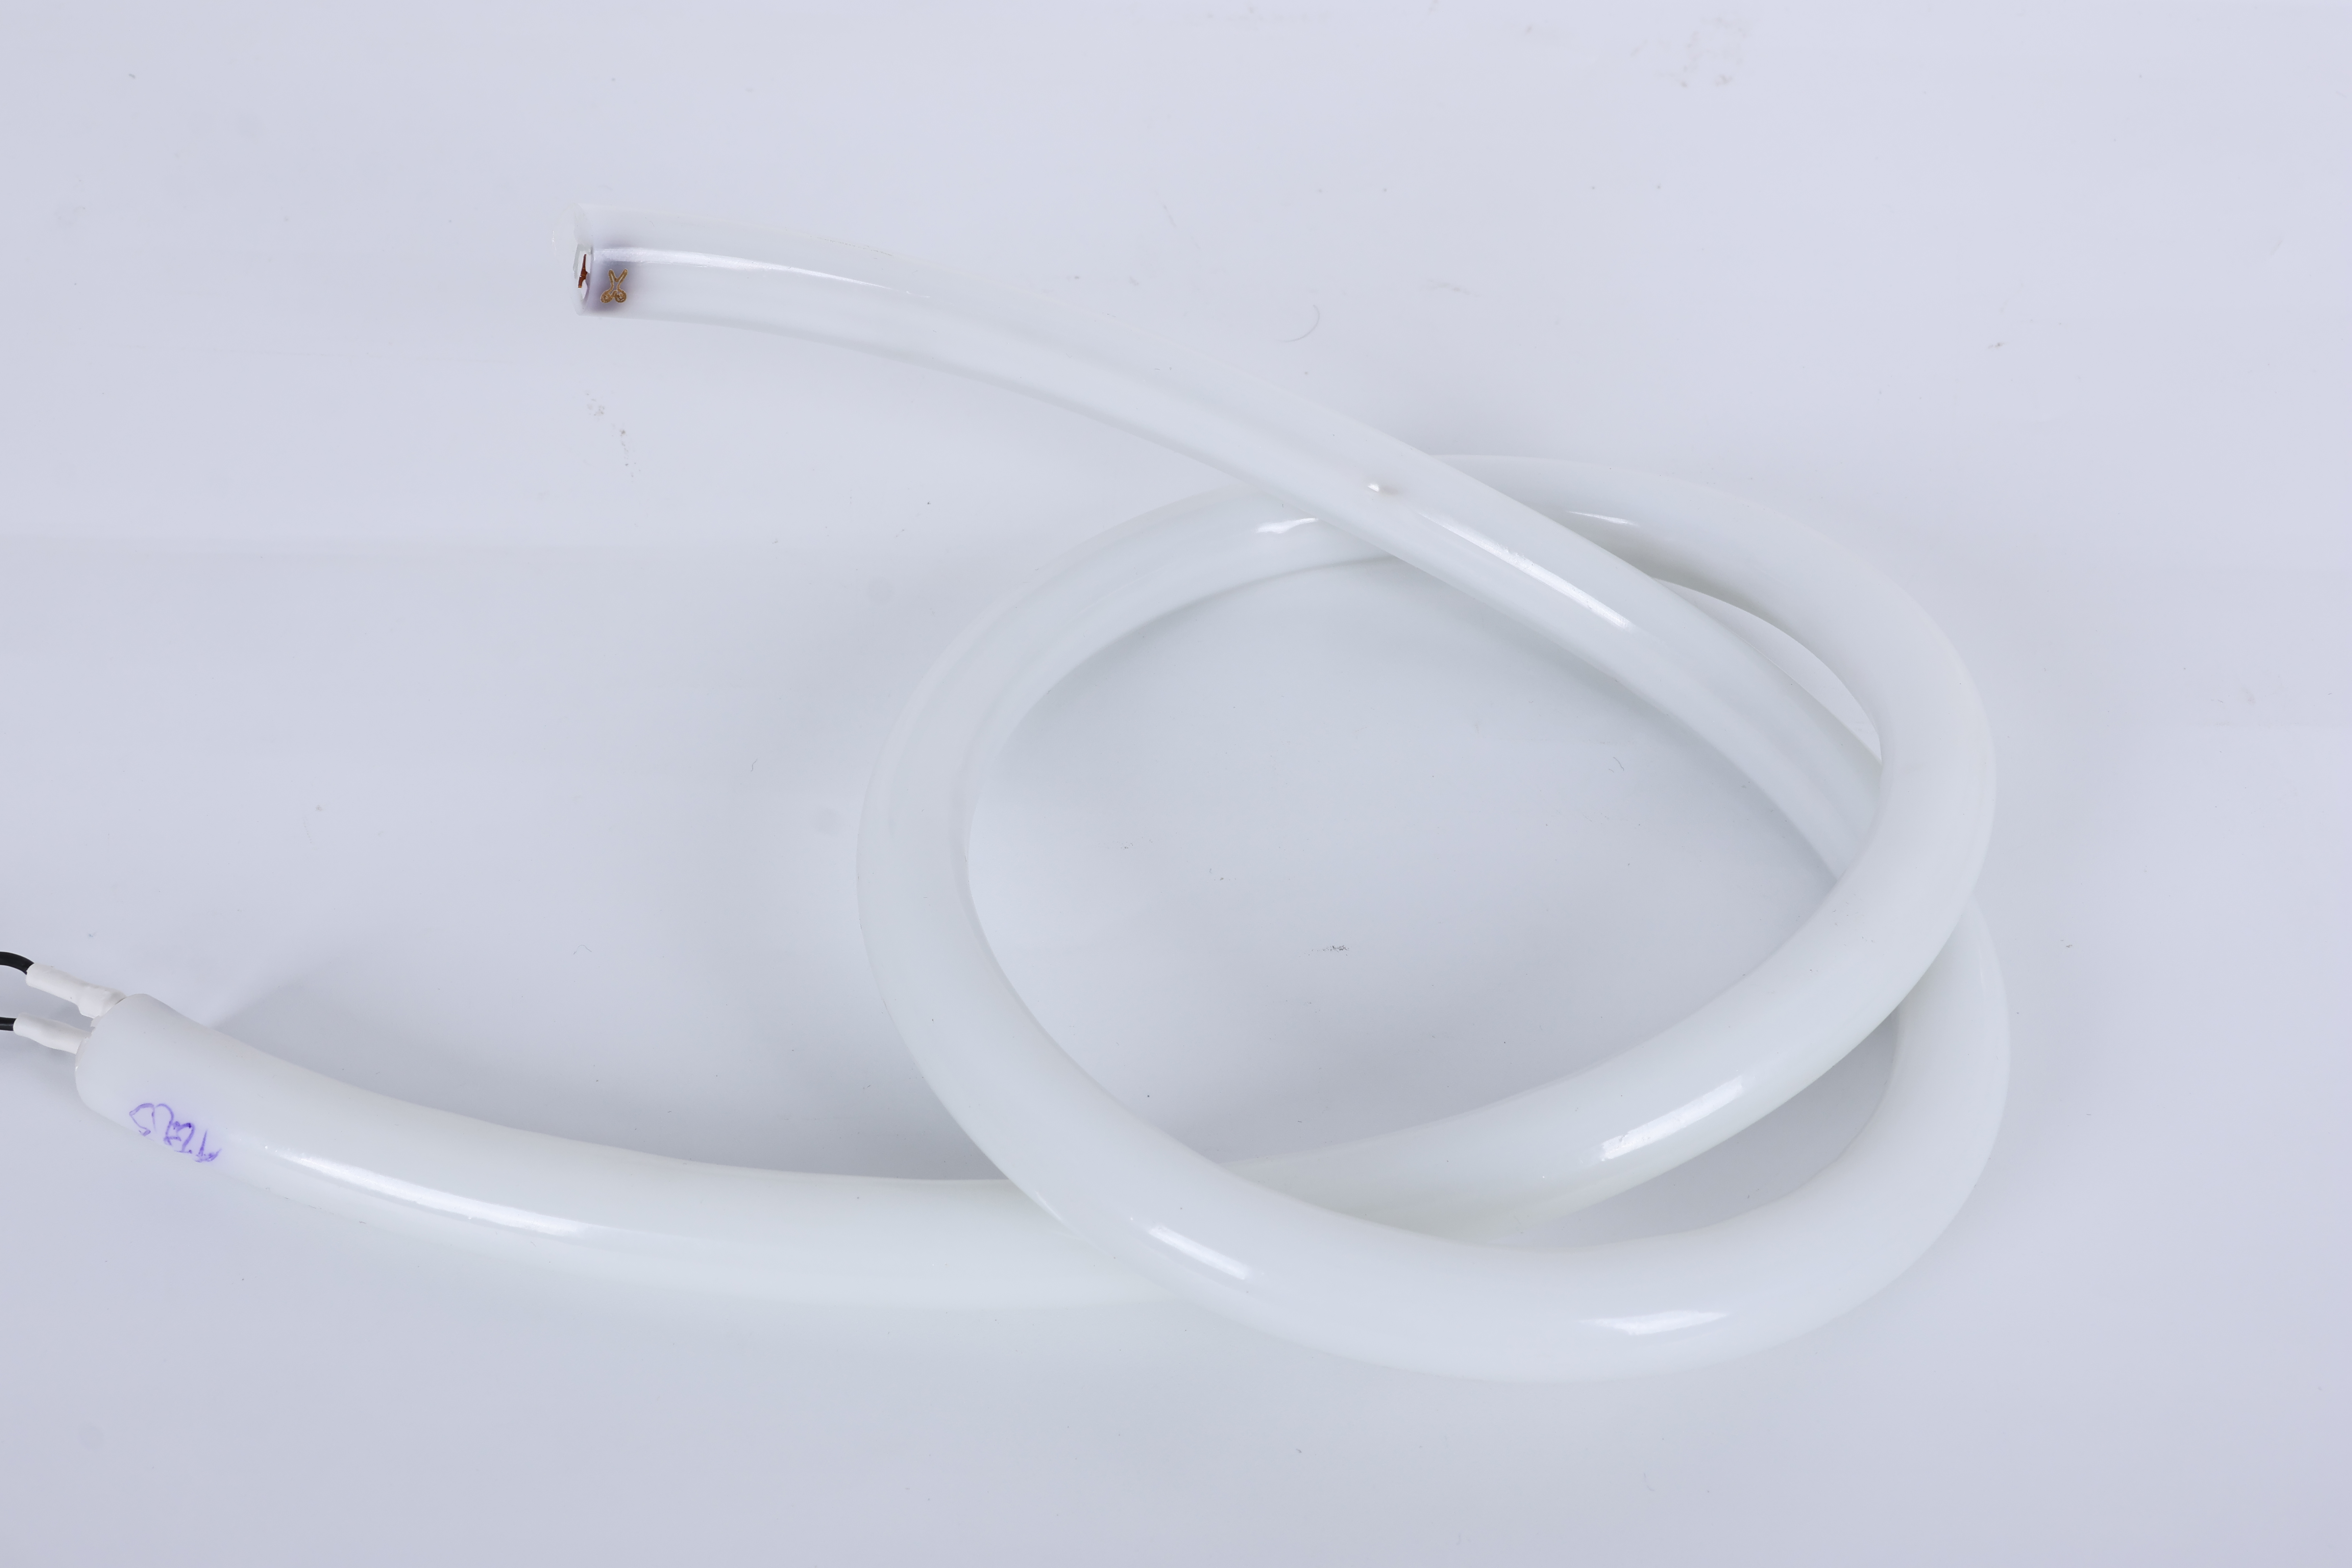
Installing led neon flex requires careful planning, proper tools, and attention to electrical safety to ensure optimal performance and longevity. Whether you're upgrading your business storefront, creating architectural accent lighting, or adding ambient lighting to residential spaces, understanding the correct installation process prevents costly mistakes and safety hazards. This comprehensive guide walks you through every essential step to install neon flex tubing successfully.
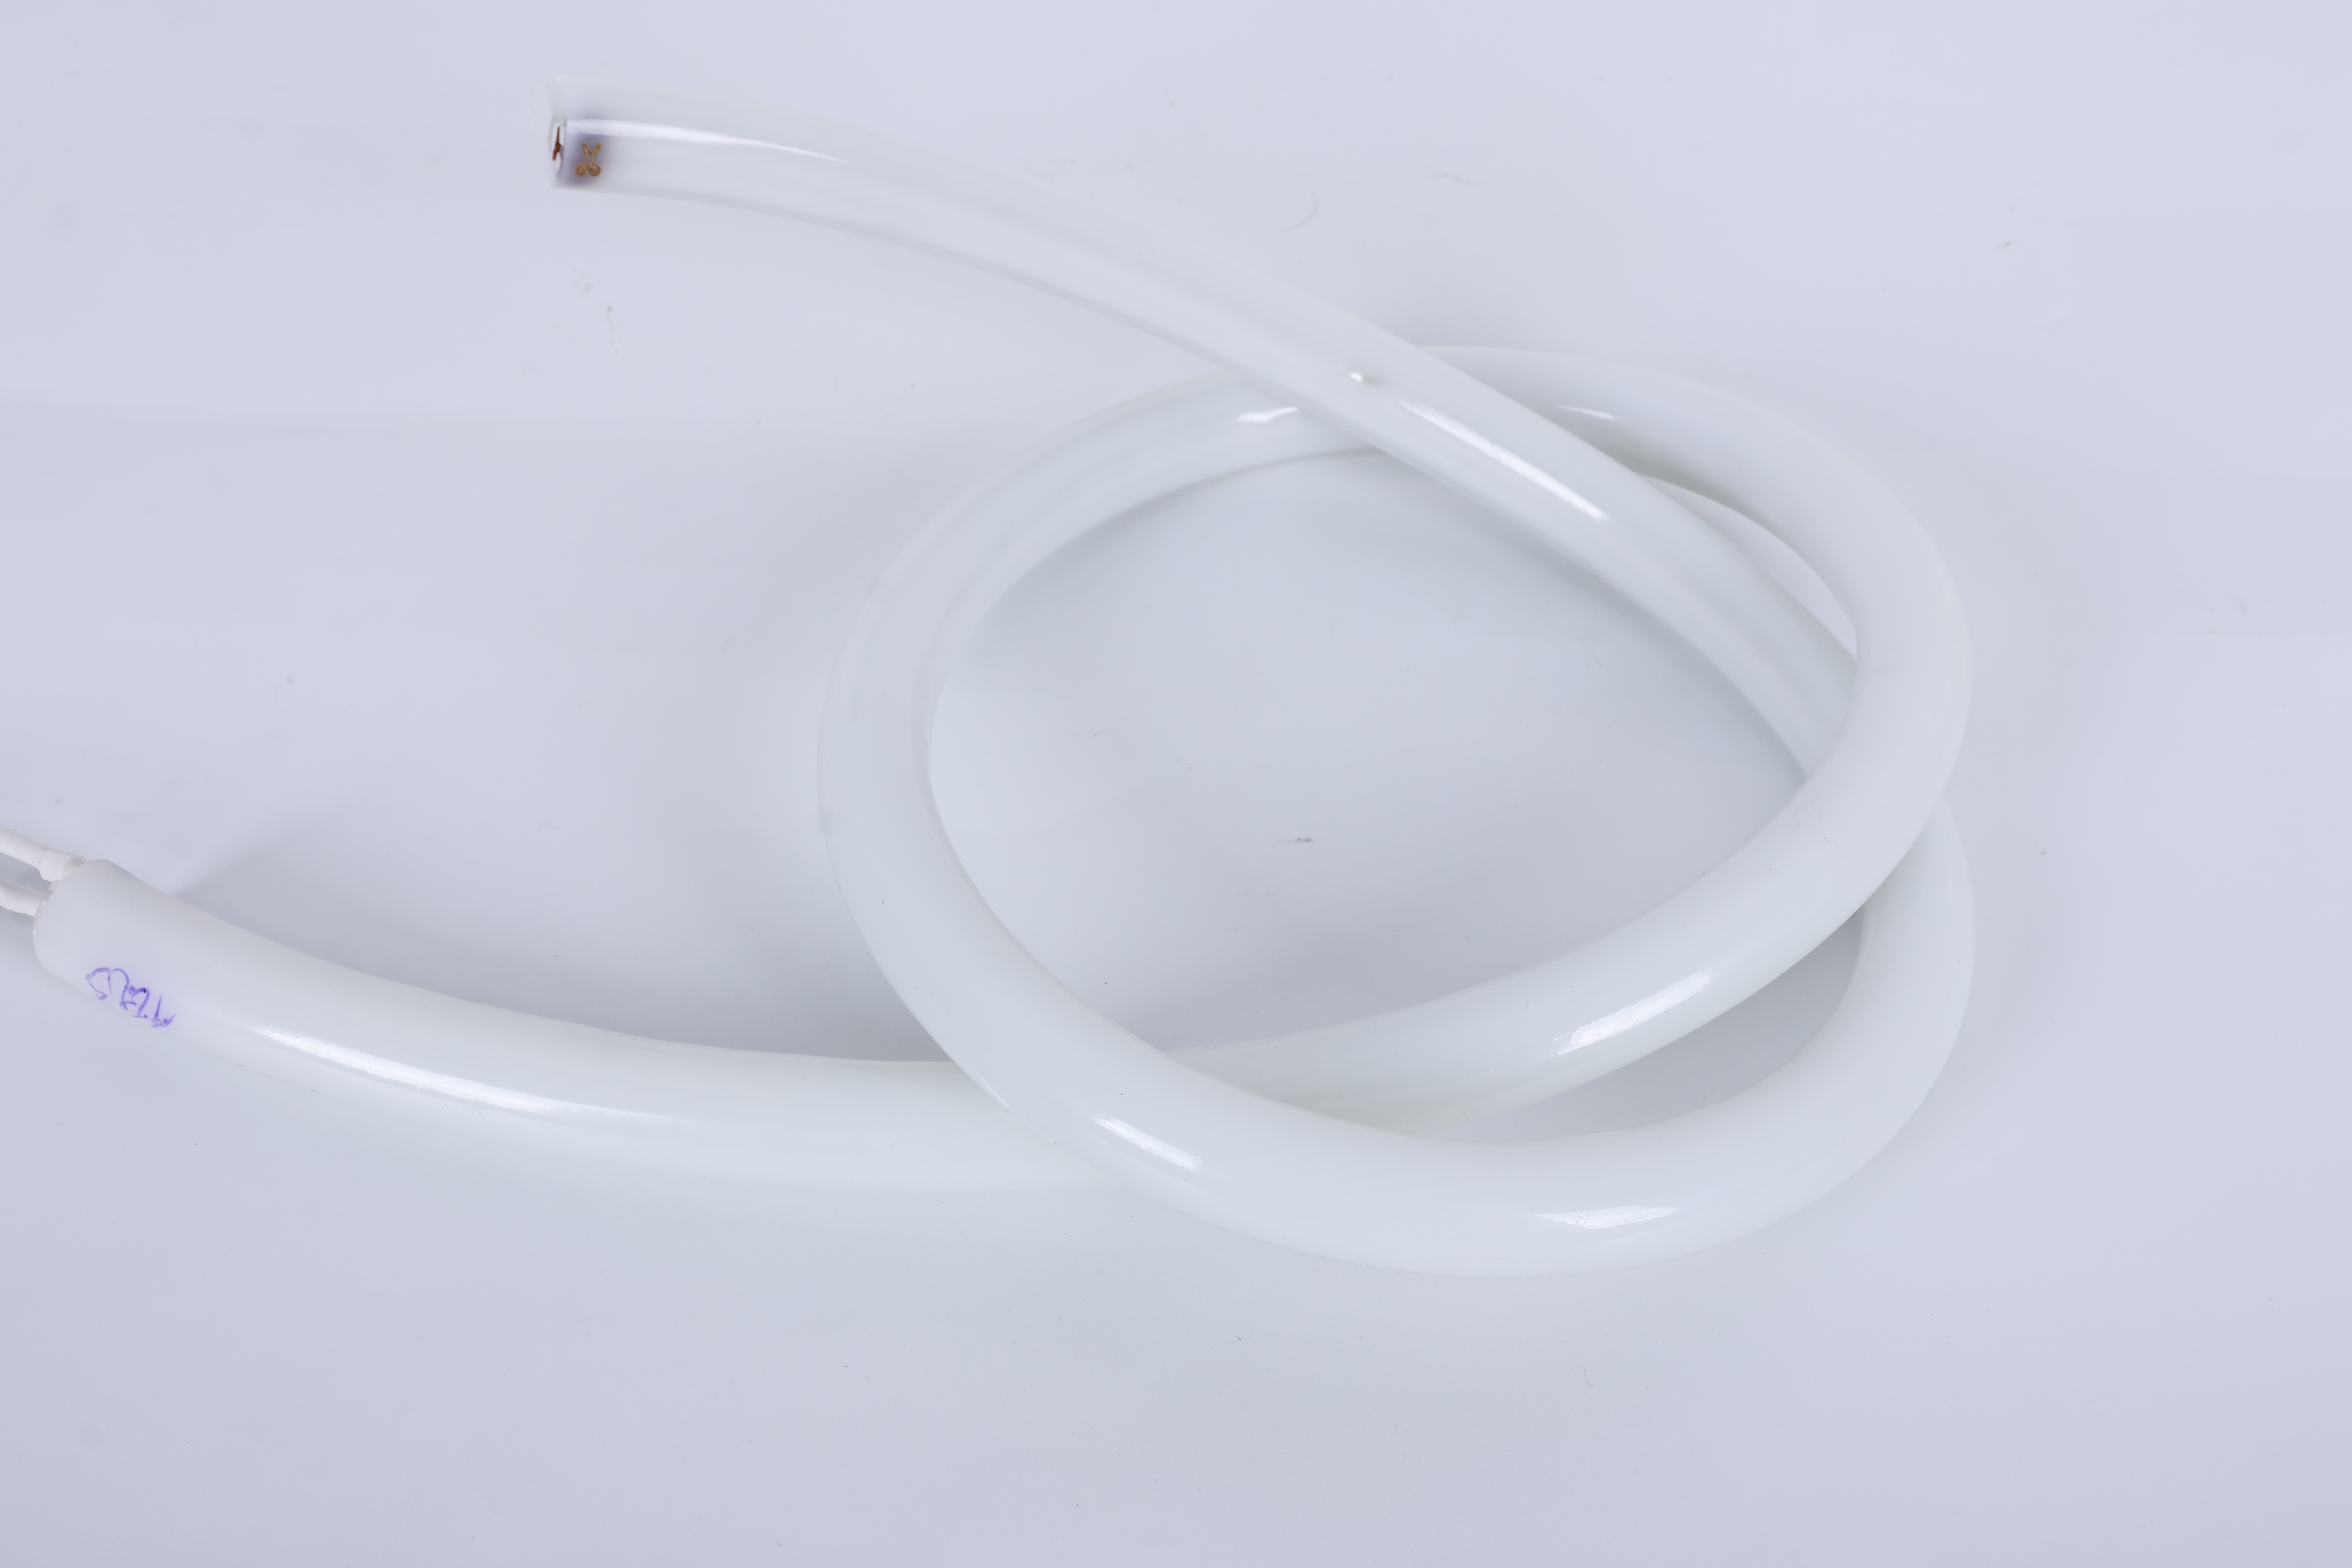
Flexible neon lights offer superior versatility compared to traditional rigid neon tubes, adapting to curved surfaces, corner installations, and creative architectural designs. Before beginning any work with neon light strips, assess your installation environment, gather necessary materials, and review safety protocols. Proper preparation ensures the installation proceeds smoothly and your flexible neon lights deliver reliable illumination for years to come.
Planning and Preparation for Neon Flex Tubing Installation
Assessing Your Installation Space
Begin by measuring the exact length and path where your neon flex tubing will run. Mark corners, transitions, and mounting points using chalk or tape, noting any obstacles like electrical outlets, pipes, or structural elements. Evaluate the surface material—whether it's drywall, metal, plastic, or glass—as this determines the appropriate mounting hardware and adhesive strength needed for stable neon flex tubing placement. Check for sufficient power outlet proximity and verify your circuit capacity can safely accommodate the electrical load of your flexible neon lights installation.
Gathering Required Tools and Materials
Essential supplies for installing neon light strips include a power drill, mounting brackets or adhesive tape rated for your surface type, wire strippers, a multimeter for electrical testing, and safety equipment including insulated gloves and safety glasses. Prepare a transformer appropriate for your neon flex tubing voltage specifications, typically 12V DC for most flexible neon lights systems. Ensure you have silicone sealant for weather-resistant installations and electrical tape for securing connections. Having all materials organized before starting prevents interruptions and maintains installation quality.
Step-by-Step Installation Process for Flexible Neon Lights
Mounting and Securing Your Neon Flex Tubing
Clean and dry the mounting surface thoroughly to ensure strong adhesion of neon flex tubing. If using adhesive-backed mounting, peel and apply the flexible neon lights along your marked pathway, pressing firmly at intervals to secure proper contact. For mechanical mounting, install brackets at six-inch intervals along straight sections and closer on curves to prevent sagging. Ensure neon light strips remain level and properly aligned, checking with a spirit level as you progress. Avoid sharp bends exceeding the manufacturer's recommended radius, as excessive flexing can damage the tubing and compromise light output.
Connecting Electrical Components
Before powering the system, verify all connections are dry and properly insulated. Strip approximately one-quarter inch of insulation from wire ends, then connect the transformer to your neon flex tubing following manufacturer-specific polarity instructions. Test connections with a multimeter to confirm proper voltage delivery before securing the installation permanently. Use waterproof connectors for outdoor flexible neon lights applications, and always route wires away from walkways or areas where they might be damaged. Install a dedicated circuit breaker for safety compliance with electrical codes.
Ensuring Safety and Compliance During Installation
Electrical Safety Measures
Always turn off power at the circuit breaker before handling neon flex tubing or electrical components. Verify the power is truly off using a multimeter or voltage tester. Never work on live circuits with neon light strips, regardless of the voltage rating. Wear insulated gloves and avoid contact with conductive materials while installing flexible neon lights. For installations exceeding 50 feet of tubing, consult a licensed electrician to ensure your system meets local electrical codes. Ground all metal mounting hardware properly to prevent shock hazards or equipment damage.
Physical Installation Safety
When installing neon flex tubing at heights, use appropriate ladders and safety equipment to prevent falls. Ensure your mounting surface can support the weight of neon light strips plus hardware and future maintenance access. Do not bend neon flex tubing at acute angles or force it into shapes outside manufacturer specifications. Protect the tubing from sharp edges or abrasive surfaces that could puncture the protective coating. For outdoor flexible neon lights, ensure proper drainage and ventilation to prevent moisture accumulation inside the tubing that causes electrical failure or corrosion.
Troubleshooting Common Installation Issues
Diagnosing and Fixing Connection Problems
If your neon light strips don't illuminate after installation, verify the transformer is receiving power and the circuit breaker hasn't tripped. Check all connections at the transformer and tubing terminals for corrosion or loose contacts, which frequently cause failure in neon flex tubing systems. Use a multimeter to test voltage at various points along the flexible neon lights circuit. Inspect the tubing for visible cracks, punctures, or discoloration that indicate internal damage. Reseating connectors firmly often resolves partial illumination problems in neon light strips installations.
Addressing Physical Installation Concerns
If neon flex tubing sags or pulls away from mounting surfaces, add additional brackets or reapply adhesive in affected sections. Check that your adhesive or mounting hardware matches the surface material specifications. For installations in high-vibration areas, flexible neon lights may require reinforced mounting every three inches rather than standard spacing. Moisture condensation inside clear tubing typically indicates ventilation issues around the neon light strips; improve airflow or use hydrophobic coatings. UV exposure causes discoloration over time in outdoor flexible neon lights, so consider protective covers or UV-resistant tubing for extended lifespan.
FAQ
Can I install neon flex tubing outdoors?
Yes, outdoor installation of neon flex tubing is possible when using weatherproof-rated flexible neon lights with proper IP68 or higher ratings. Ensure all connectors are waterproof and sealed with silicone. Provide adequate drainage and ventilation to prevent moisture accumulation. Regular maintenance including inspection for UV damage and corrosion extends the life of outdoor neon light strips significantly.
What's the maximum length for a single neon light strips run without additional power?
Most neon flex tubing systems support runs up to 50 feet on a single transformer without significant voltage drop. Beyond this length, install an additional transformer to maintain consistent brightness across your flexible neon lights installation. Consult your specific system's technical specifications, as voltage requirements and transformer capacity vary between manufacturers of neon light strips.
How often should I perform maintenance on installed neon flex tubing?
Inspect your neon flex tubing monthly for visible damage, corrosion, or moisture accumulation inside the flexible neon lights tubing. Clean the exterior with a soft, dry cloth to maintain light output. For outdoor installations, increase inspection frequency to quarterly and apply protective coatings annually. Prompt attention to issues prevents complete system failure and extends the operational life of your neon light strips significantly.
 EN