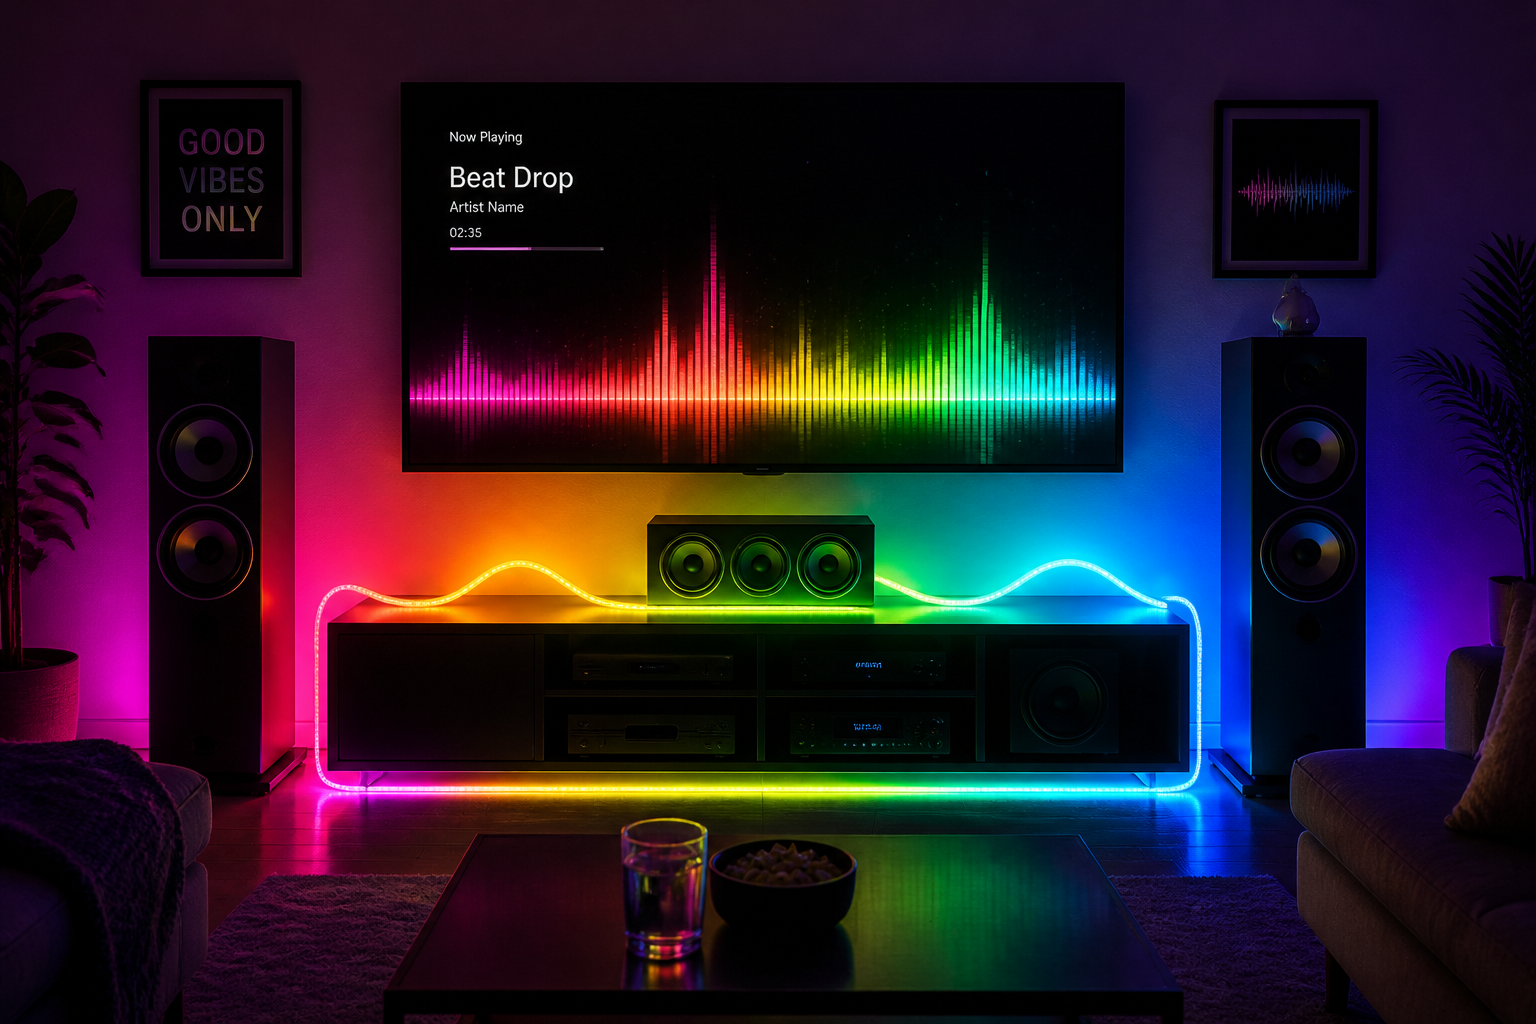
Installing an rgb led strip transforms any room with customizable ambient lighting. Whether you're upgrading your bedroom, bar, or entertainment space, an addressable rgb strip offers flexibility, energy efficiency, and modern aesthetics. This guide walks you through every step of the installation process, from planning your layout to powering up your smart color led tape setup.
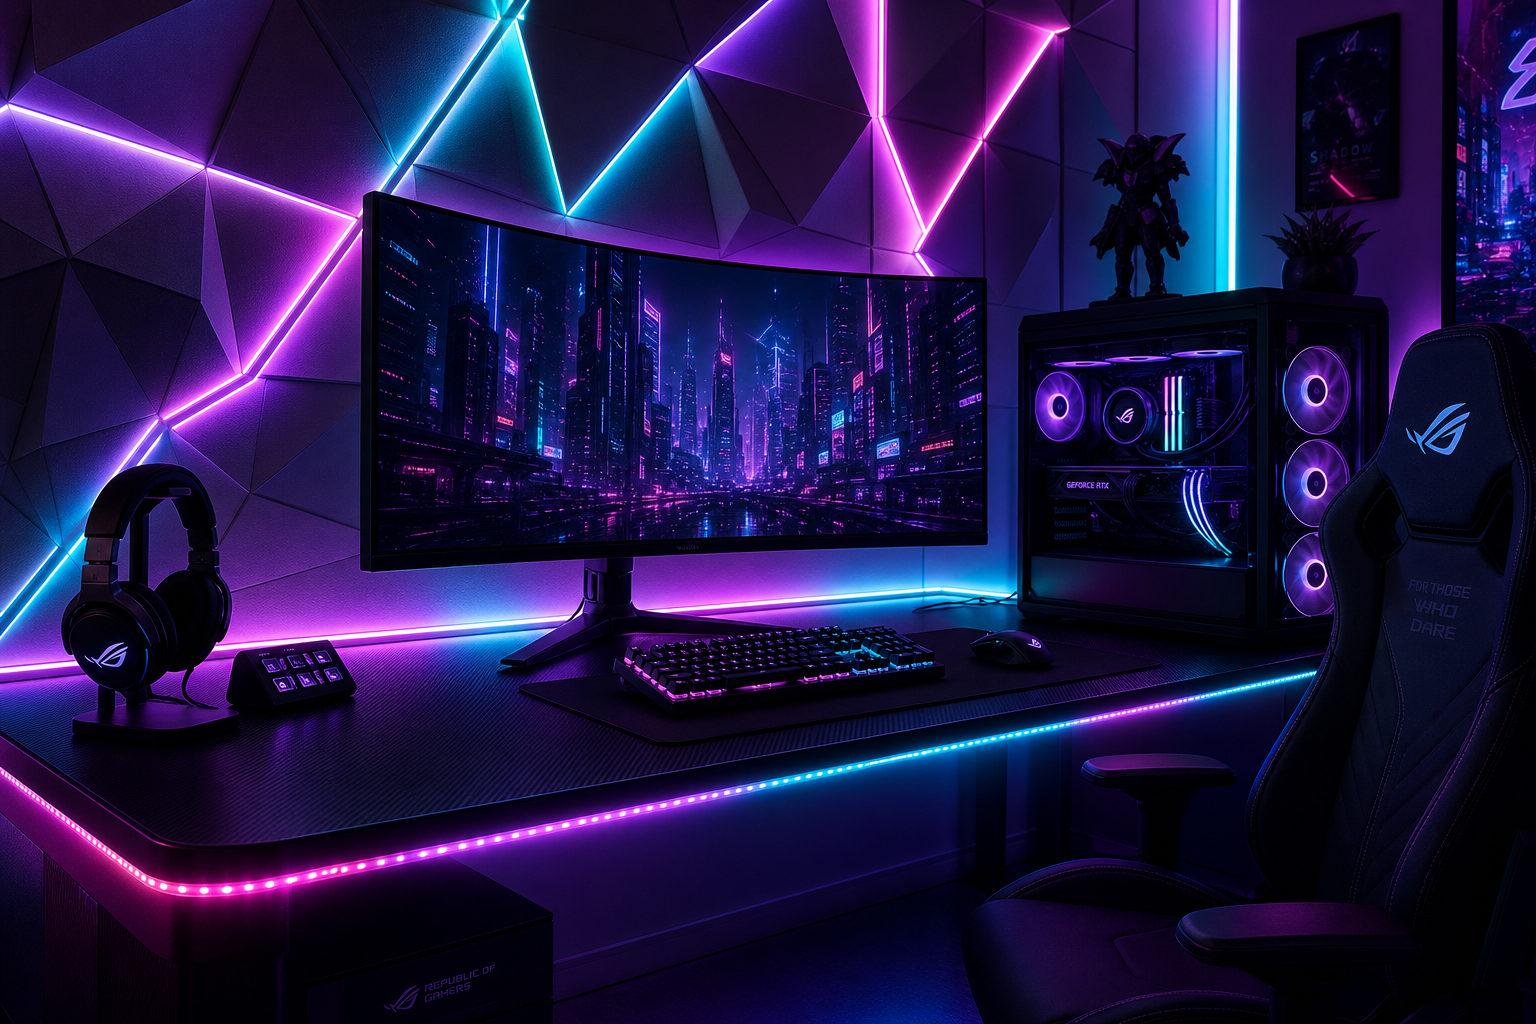
Before you begin, gather all necessary materials including your dynamic lighting strip, power supply, controller, mounting brackets, and cleaning supplies. Proper preparation ensures a smooth installation and optimal performance of your addressable rgb strip system. Understanding your space's dimensions and power requirements helps prevent common mistakes and ensures your smart color led tape operates reliably for years to come.
Planning and Preparation for Your RGB LED Installation
Assessing Your Space and Layout
Start by measuring the perimeter or specific areas where you plan to install your rgb led strip. Calculate the total length needed, accounting for corners, obstacles, and any gaps you want to leave. An addressable rgb strip typically comes in rolls that can be cut at designated points, so knowing exact measurements prevents waste and ensures continuous, professional-looking coverage throughout your space.
Clean the mounting surface thoroughly before installation. Dust, paint residue, or moisture reduces adhesive effectiveness and compromises the lifespan of your dynamic lighting strip. Use a dry cloth or isopropyl alcohol on smooth surfaces to ensure the self-adhesive backing bonds securely to walls, furniture edges, or ceiling corners where you'll place your smart color led tape.
Gathering Tools and Materials
Essential installation items for your rgb led strip include a power supply rated for your strip's voltage (typically 12V or 24V), a dedicated controller or app-enabled smart color led tape hub, and connector cables. Depending on your addressable rgb strip type, you may need soldering equipment, wire connectors, or pre-made extension cables. Check your strip's specifications to confirm power requirements and ensure your dynamic lighting strip receives adequate electrical supply.
Gather mounting hardware such as aluminum channels, plastic clips, or adhesive-backed brackets designed for your specific rgb led strip model. These accessories protect your smart color led tape from dust, impact, and environmental exposure while improving heat dissipation. Having all components ready before starting prevents interruptions and ensures a professional finish to your addressable rgb strip installation.
Step-by-Step Installation Process
Mounting and Securing Your RGB LED Strip
Begin installation by peeling back a small section of the adhesive backing on your rgb led strip. Press firmly onto your prepared surface for ten to fifteen seconds to establish initial contact. Work gradually along the entire length, peeling and pressing in sections rather than all at once, which allows you to maintain straight alignment and avoid air bubbles that can weaken your addressable rgb strip's bond over time.
For corners and edges, use metal or plastic mounting channels specifically designed for your smart color led tape. These channels provide structural support, protect against physical damage, and improve thermal management of your dynamic lighting strip. If your addressable rgb strip uses magnetic mounts or clip-based systems, attach these components according to manufacturer instructions and test stability before powering on your rgb led strip.
Wiring and Electrical Connection
Connect your rgb led strip's power input terminals to the dedicated power supply using appropriate gauge wire. Match positive and negative terminals carefully to prevent electrical damage to your addressable rgb strip. If your smart color led tape includes a controller with separate connection points, wire the controller between the power supply and the rgb led strip, following the color-coded terminal labels included with your dynamic lighting strip documentation.
For longer installations or multiple addressable rgb strip sections, plan your wire routing to minimize visible cables. Use cable channels, conduit, or run wires behind furniture and baseboards where your rgb led strip won't be immediately visible. Secure wires at regular intervals to prevent tangling and ensure your smart color led tape remains organized. Test all connections before fully concealing your dynamic lighting strip wiring to identify and correct any issues early.
Configuration and Optimization
Programming Your Smart Color LED Tape
Download and install the app associated with your addressable rgb strip if it includes smart color led tape functionality. Connect your dynamic lighting strip to your home network following the manufacturer's setup instructions. Most modern addressable rgb strip systems allow you to customize color palettes, brightness levels, and dynamic effects directly through your smartphone or voice assistant, making your rgb led strip highly adaptable to your mood and needs.
Test all individual segments of your rgb led strip to confirm each pixel or section responds correctly to commands. If portions of your addressable rgb strip don't light or display incorrect colors, check wire connections and verify your smart color led tape power supply voltage. Proper programming ensures your dynamic lighting strip operates as intended and maximizes the lifespan of your rgb led strip investment.
Heat Management and Long-Term Performance
Monitor ambient temperature around your rgb led strip, particularly if installed in enclosed spaces or behind furniture. Excessive heat reduces the lifespan of your addressable rgb strip and can degrade your smart color led tape's color accuracy. Ensure adequate ventilation around your dynamic lighting strip, and consider adding small heatsinks to aluminum mounting channels if your rgb led strip will operate continuously at high brightness levels.
Dust accumulation on your addressable rgb strip reduces light output and can trap heat. Gently clean your rgb led strip monthly using a soft, dry cloth or compressed air. This simple maintenance task extends your smart color led tape's operational life and maintains the vibrant color output of your dynamic lighting strip. Store replacement components or extra sections of your addressable rgb strip in a cool, dry location for future upgrades or repairs.
FAQ
Can I cut and extend my rgb led strip?
Yes, most addressable rgb strip designs include marked cut lines at regular intervals. You can extend sections using connector cables designed for your smart color led tape model. However, not all dynamic lighting strip products support unlimited extension, so verify your specific rgb led strip's maximum run length and connector compatibility before making cuts or adding sections.
What power supply should I use for my addressable rgb strip?
Check your smart color led tape documentation for voltage and amperage requirements. Most rgb led strip systems use 12V or 24V power supplies with amperage ratings matching your desired brightness levels. An undersized power supply causes flickering and reduced color quality in your dynamic lighting strip, while an oversized supply is safe but unnecessarily expensive for your addressable rgb strip setup.
How do I troubleshoot non-responsive sections of my rgb led strip?
Start by verifying all connector terminals are clean and firmly seated on your addressable rgb strip. Check that your smart color led tape power supply is delivering correct voltage using a multimeter. If a specific segment fails, isolate the section to determine if the issue is localized to your rgb led strip or affects the entire dynamic lighting strip. Contact manufacturer support if a defective addressable rgb strip section cannot be resolved through basic troubleshooting.
 EN