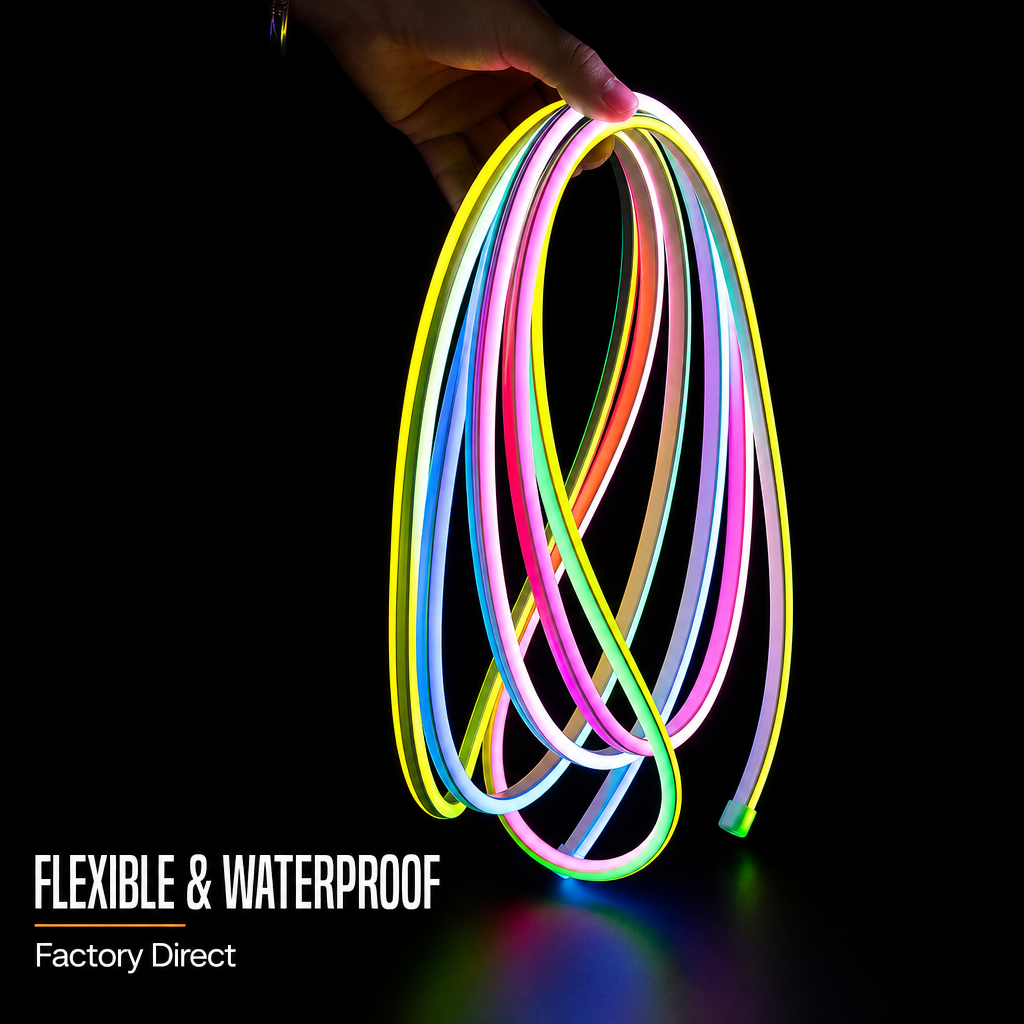
Installing an rgb led strip requires understanding both cutting and connection techniques to achieve professional results. Whether you are designing ambient lighting for a bedroom, bar, or commercial space, knowing how to properly modify and join your addressable rgb strip ensures optimal performance and longevity. The process involves careful measurement, precision cutting at designated points, and secure electrical connections using the right connectors and methods. This guide walks you through every step needed to transform raw smart color led tape into a functional, seamlessly integrated lighting system.
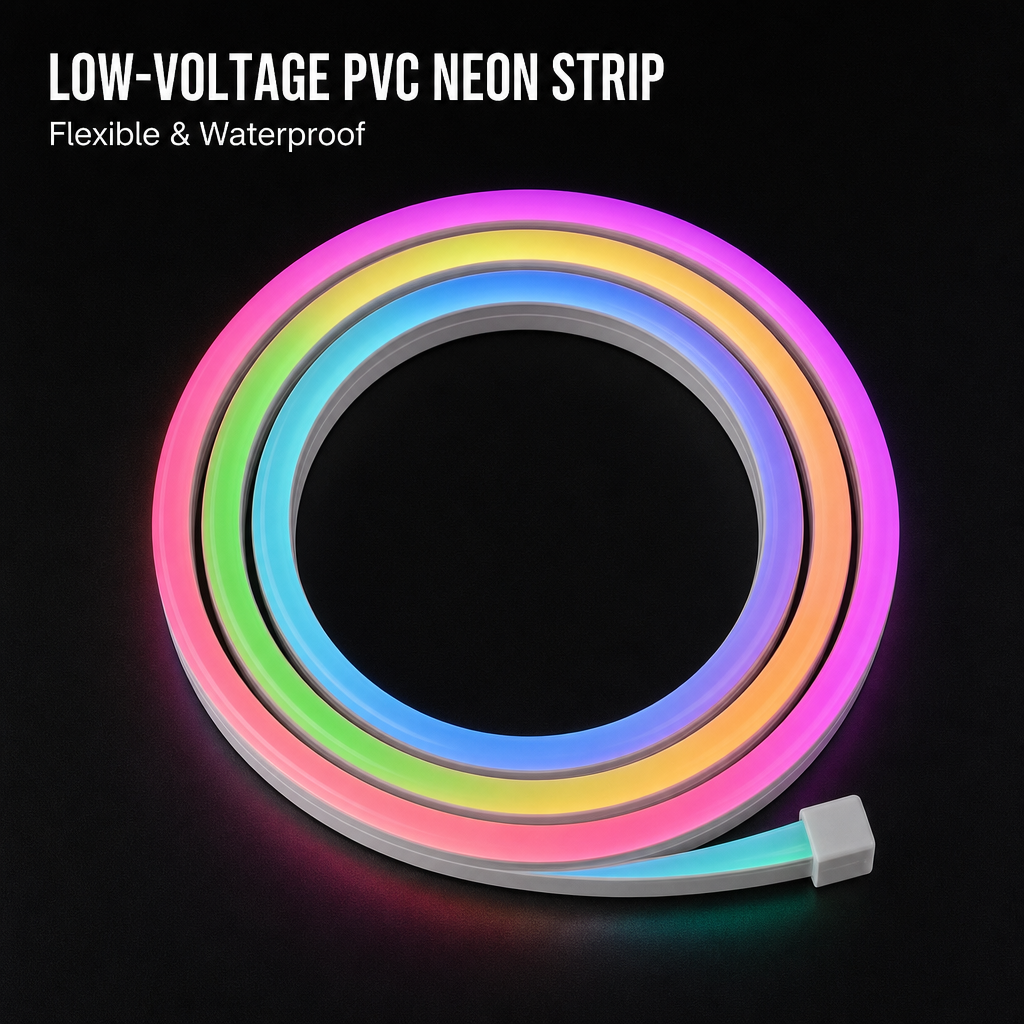
Modern dynamic lighting strip technology has become more accessible than ever, enabling DIY installations that rival professional setups. Understanding the fundamentals of cutting and connecting ensures your addressable rgb strip installation remains safe, reliable, and visually stunning. The key is respecting the electrical design of your smart color led tape while following manufacturer guidelines for your specific product variant.
Understanding Your Dynamic Lighting Strip Design
Identifying Cut Points on Your Addressable RGB Strip
Every quality addressable rgb strip includes clearly marked cut lines, typically shown as dashed lines or small copper pad markers running perpendicular to the strip length. These designated zones exist specifically to allow safe modification without damaging internal circuitry. Before touching your smart color led tape with a cutting tool, examine the entire length and identify every available cut point. Never attempt to cut between marked zones, as this risks severing critical data or power lines that run the length of the dynamic lighting strip.
Most modern rgb led strip designs use standardized spacing between cut points, commonly ranging from 10 centimeters to 50 centimeters depending on the LED density and configuration. Understanding this spacing helps you plan your layout before making any cuts to your addressable rgb strip. Mark your intended cut locations with a pencil or tape to verify alignment with actual manufacturer-designated zones before proceeding with your smart color led tape modification.
Understanding Electrical Structure and Safety
A typical rgb led strip contains positive power lines, ground lines, and data signal lines running in parallel along the entire length. The addressable rgb strip design separates these circuits with clear copper pads at cut points, allowing clean disconnection without short circuits. Your dynamic lighting strip relies on these properly spaced separation zones to maintain electrical safety and functionality. Never cut through the middle of the flexible printed circuit board, as this will create dangerous short circuits and permanently damage your smart color led tape.
Understanding voltage requirements for your specific addressable rgb strip is equally important. Most common configurations use 12V or 24V DC power supplies. Your smart color led tape will include specifications marking the correct voltage input, which you must match exactly during connection to avoid device failure or fire risk.
Cutting Your Addressable RGB Strip Correctly
Tools and Technique for Precision Cutting
A sharp utility knife, precision craft scissors, or rotary cutter works best for cutting your rgb led strip cleanly at designated zones. Avoid dull blades, which create jagged edges and risk tearing the flexible substrate of your addressable rgb strip. Work on a clean, flat surface with good lighting to ensure accuracy. Position your cutting tool perpendicular to the marked line on your smart color led tape, applying steady, consistent pressure rather than multiple sawing motions.
For wider or thicker addressable rgb strip types, a precision hobby knife with a fresh blade provides better control than scissors. Make one smooth cut rather than multiple passes, which reduces the risk of damaging exposed copper pads on your dynamic lighting strip. After cutting your smart color led tape, inspect the cut edges for cleanliness and expose the copper contact pads fully for connection readiness.
Protecting Exposed Sections and Planning Connections
Once you cut your rgb led strip, the exposed copper pads become vulnerable to oxidation and contamination. Cover any unused cut ends with waterproof tape or silicone sealant immediately after cutting your addressable rgb strip. This protects your smart color led tape from moisture damage and extends operational lifespan. If you plan to reconnect sections of your dynamic lighting strip, protect exposed pads with waterproof caps or connectors specifically rated for LED applications.
Planning your layout before cutting multiple sections of rgb led strip saves time and materials. Measure twice along your installation surface, mark all cut points on your addressable rgb strip with tape, and verify alignment before cutting. This approach prevents wasting sections of expensive smart color led tape due to measurement errors or miscalculations.
Connecting Cut Sections of Your RGB LED Strip
Soldering Connections for Permanent Installations
Soldering provides the most reliable method for connecting two sections of rgb led strip, particularly for permanent installations or professional applications. Strip approximately 5 millimeters of insulation from power, ground, and data wires at both the sending and receiving addressable rgb strip sections. Tin each copper pad individually using a quality soldering iron and lead-free solder, building a small conductive base on your smart color led tape connection points. This prevents cold solder joints, which are the primary cause of flickering or non-functional dynamic lighting strip sections.
Connect corresponding wires between sections using a careful soldering technique: hold the iron against the pad for 2-3 seconds, apply solder to create a smooth, shiny joint on your addressable rgb strip, and remove the iron. Your dynamic lighting strip connections should appear glossy and secure, not dull or grainy. Use heat shrink tubing or silicone sealant to insulate each soldered connection on your smart color led tape for waterproofing and safety.
Using Connectors for Modular Designs
Pre-soldered connector strips designed specifically for rgb led strip applications offer a cleaner, reusable alternative to direct soldering. These addressable rgb strip connectors typically feature small clamp terminals or push-in slots that accept bare wires or pre-tinned contacts from your smart color led tape sections. Install the connector across the gap between cut sections of your dynamic lighting strip, ensuring proper alignment and secure seating before powering the system.
Clip-on connectors marketed for addressable rgb strip installation provide even faster connection without soldering equipment. These devices work by placing the connector across the cut gap on your smart color led tape, clamping down to make electrical contact with both sides. While convenient, ensure the connector brand matches your rgb led strip specification and voltage rating, as incompatible addressable rgb strip connectors can cause intermittent operation or complete failure of your dynamic lighting strip.
Testing and Troubleshooting Connections
Before finalizing your installation, test each connected section of rgb led strip independently if possible. Supply power to your addressable rgb strip while observing the smart color led tape for uniform illumination and proper color response. Flickering or dark LEDs near your connection points indicate poor electrical contact, requiring you to recheck solder joints or connector seating on your dynamic lighting strip. Never hide poorly performing connections behind walls or fixtures without resolving the underlying issue.
Use a multimeter to verify continuity across your addressable rgb strip connections if visual inspection fails to confirm proper function. Test power lines, ground lines, and data signal paths separately on your smart color led tape to isolate which connection point requires rework. This systematic troubleshooting approach prevents wasting time on complex problem-solving when a simple reflow of solder or connector adjustment on your dynamic lighting strip resolves the issue.
FAQ
Can I cut my rgb led strip anywhere or only at designated points?
You must cut only at manufacturer-marked designated cut points on your rgb led strip. These zones are designed with separated copper pads that allow safe disconnection. Cutting your addressable rgb strip between marked points will sever critical power or data lines, permanently damaging the smart color led tape. Always identify and use the official cut zones on your dynamic lighting strip before applying any cutting tool.
What connector type works best for connecting my addressable rgb strip sections?
The best connector depends on your installation permanence and comfort level with soldering. For permanent installations, direct soldering of your rgb led strip offers the most reliable connection. For temporary or modular setups, pre-soldered connector strips or clip-on connectors designed for your specific addressable rgb strip voltage and pin configuration work well. Always verify that any connector matches your smart color led tape specifications and power requirements before installation.
How do I prevent my rgb led strip connections from failing over time?
Protect all exposed connections on your addressable rgb strip with waterproof sealant, heat shrink tubing, or silicone coating to prevent oxidation and moisture damage to your smart color led tape. Use high-quality solder and proper soldering technique on your rgb led strip to create durable joints. Avoid moving or flexing the dynamic lighting strip excessively near connection points, and keep the entire addressable rgb strip away from direct water exposure unless it is specifically rated as waterproof.
 EN