 EN

what-are-the-installation-steps-for-led-channel-systems, what-are-the-installation-steps-for-led-channel-systems, /news
EN
2026/10/06
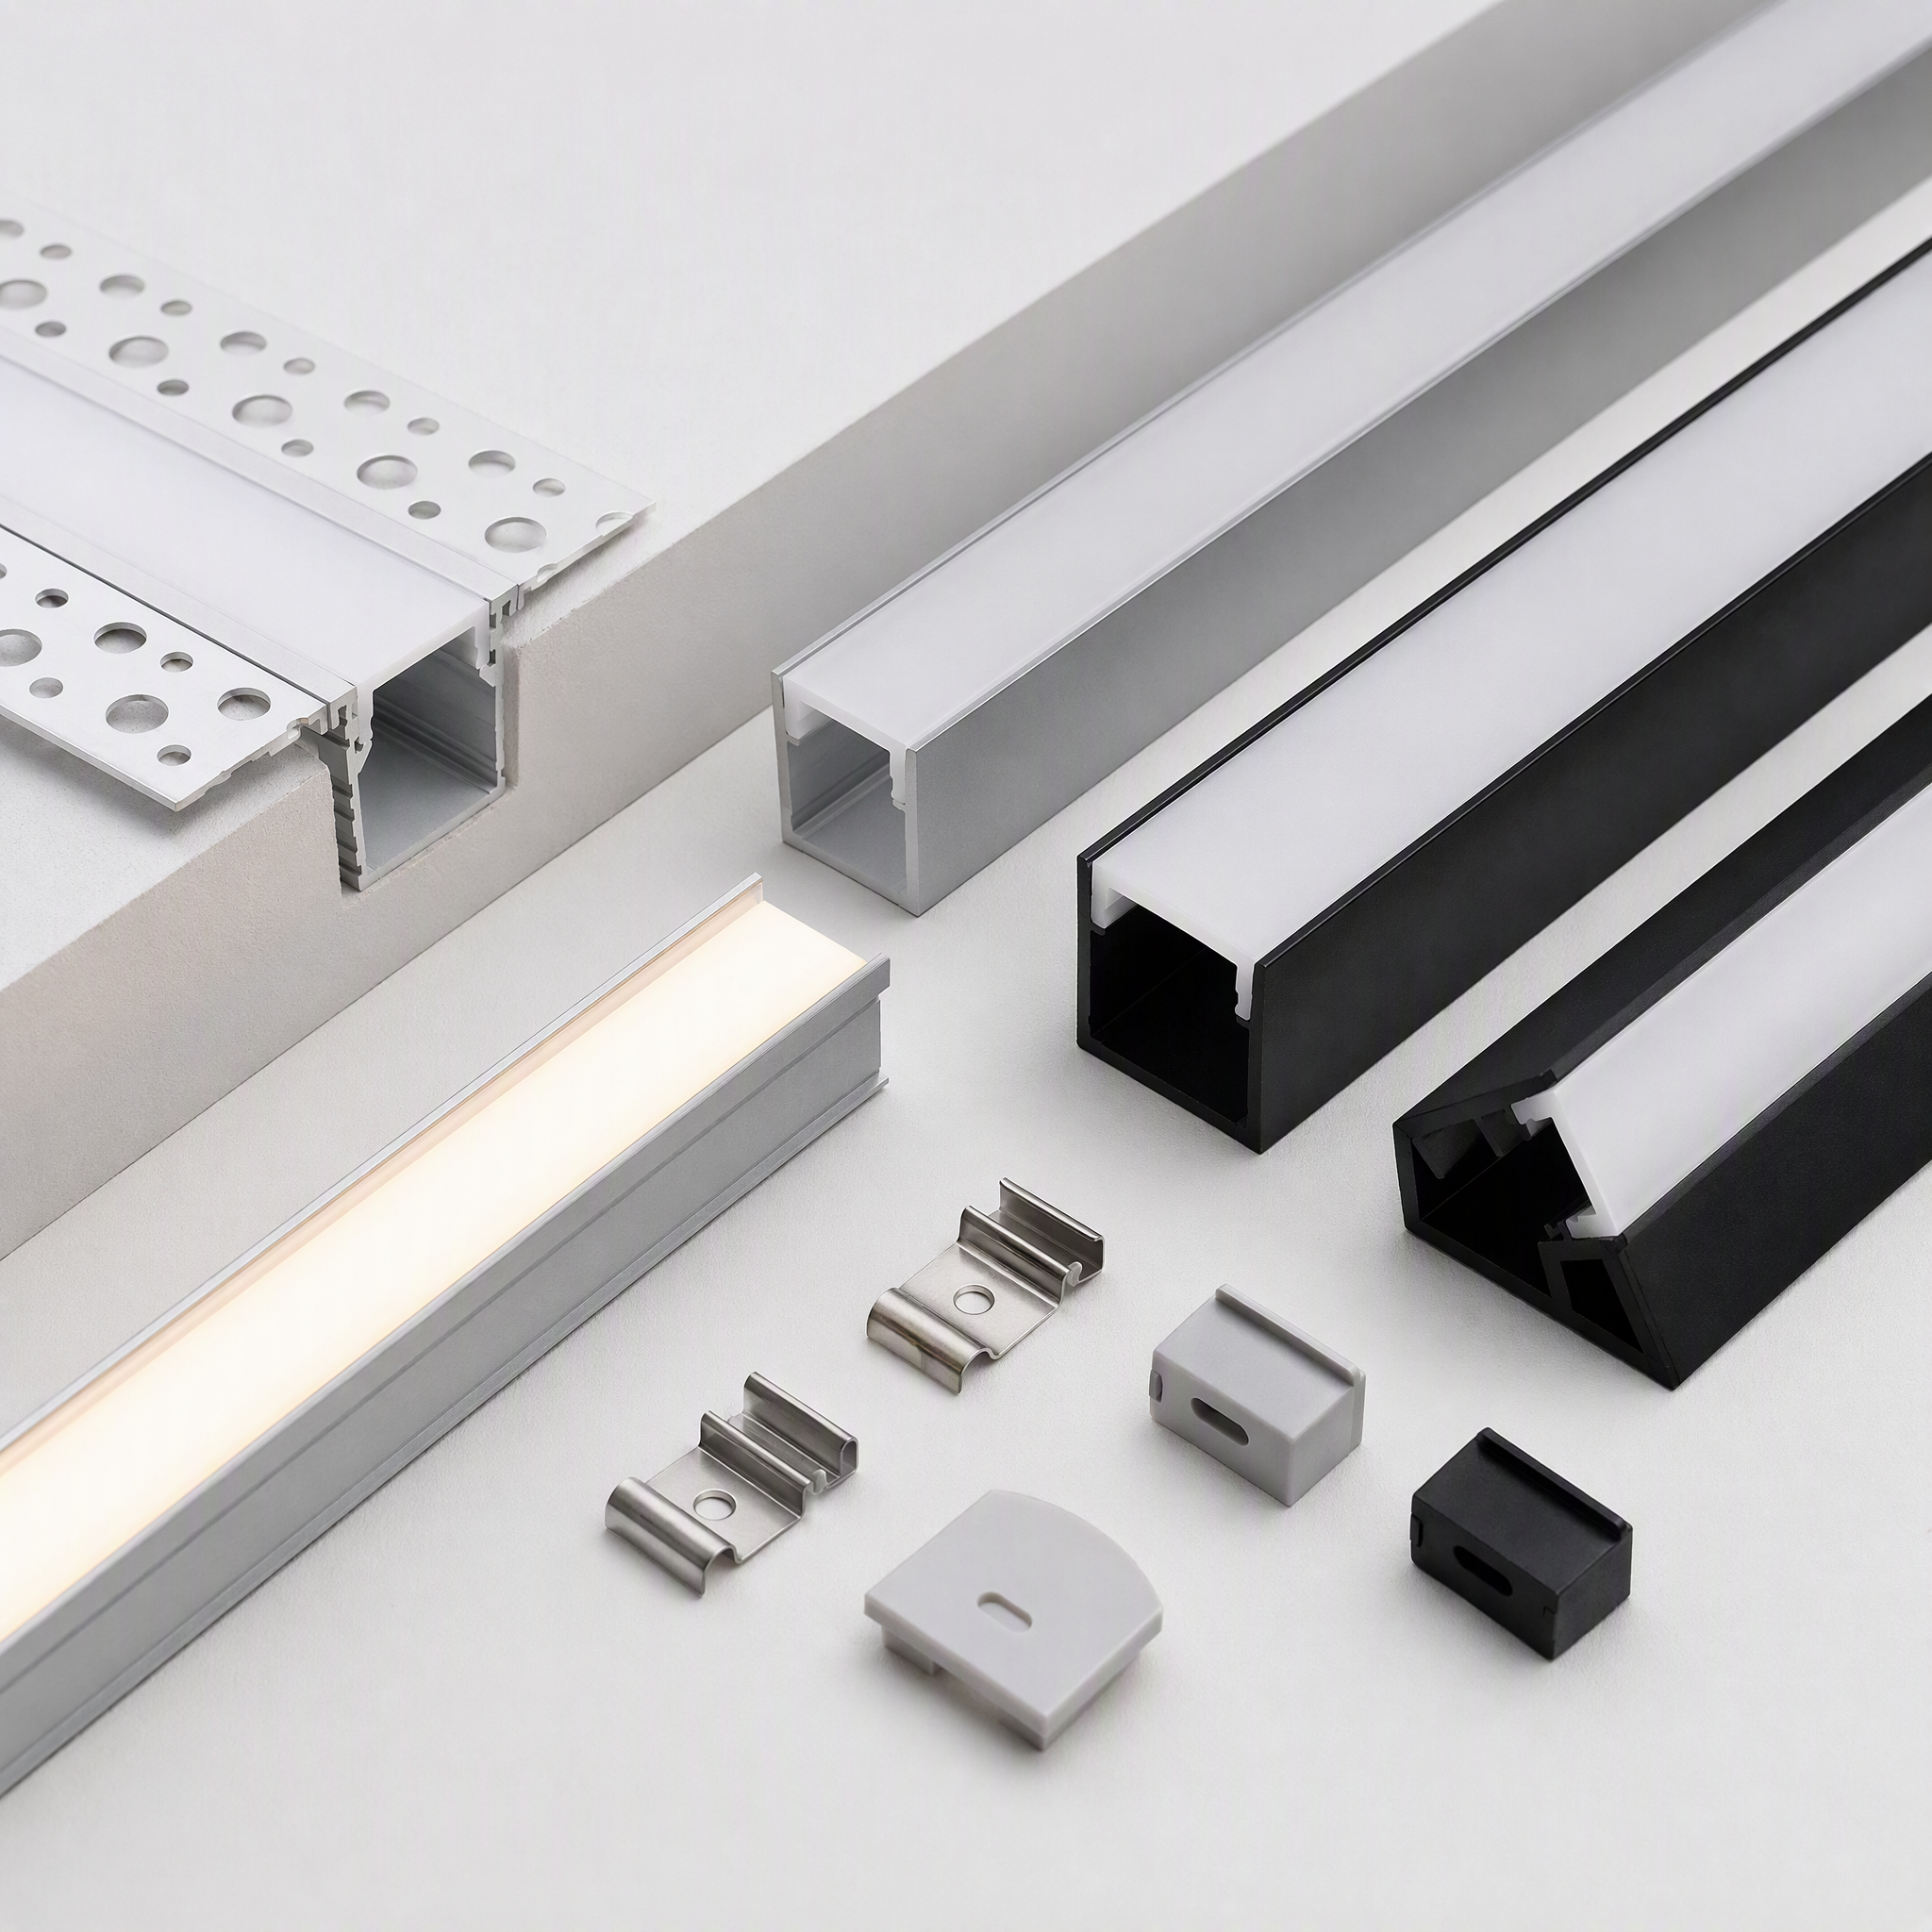
Installing a led channel system requires careful planning, precise measurements, and attention to detail to achieve professional results. Whether you're upgrading kitchen cabinetry, architectural accent lighting, or industrial workspace illumination, understanding the installation process ensures your linear LED lighting performs optimally and lasts for years. This comprehensive guide walks you through each critical step, from preparation through final testing, helping you implement your aluminum LED housing system with confidence.
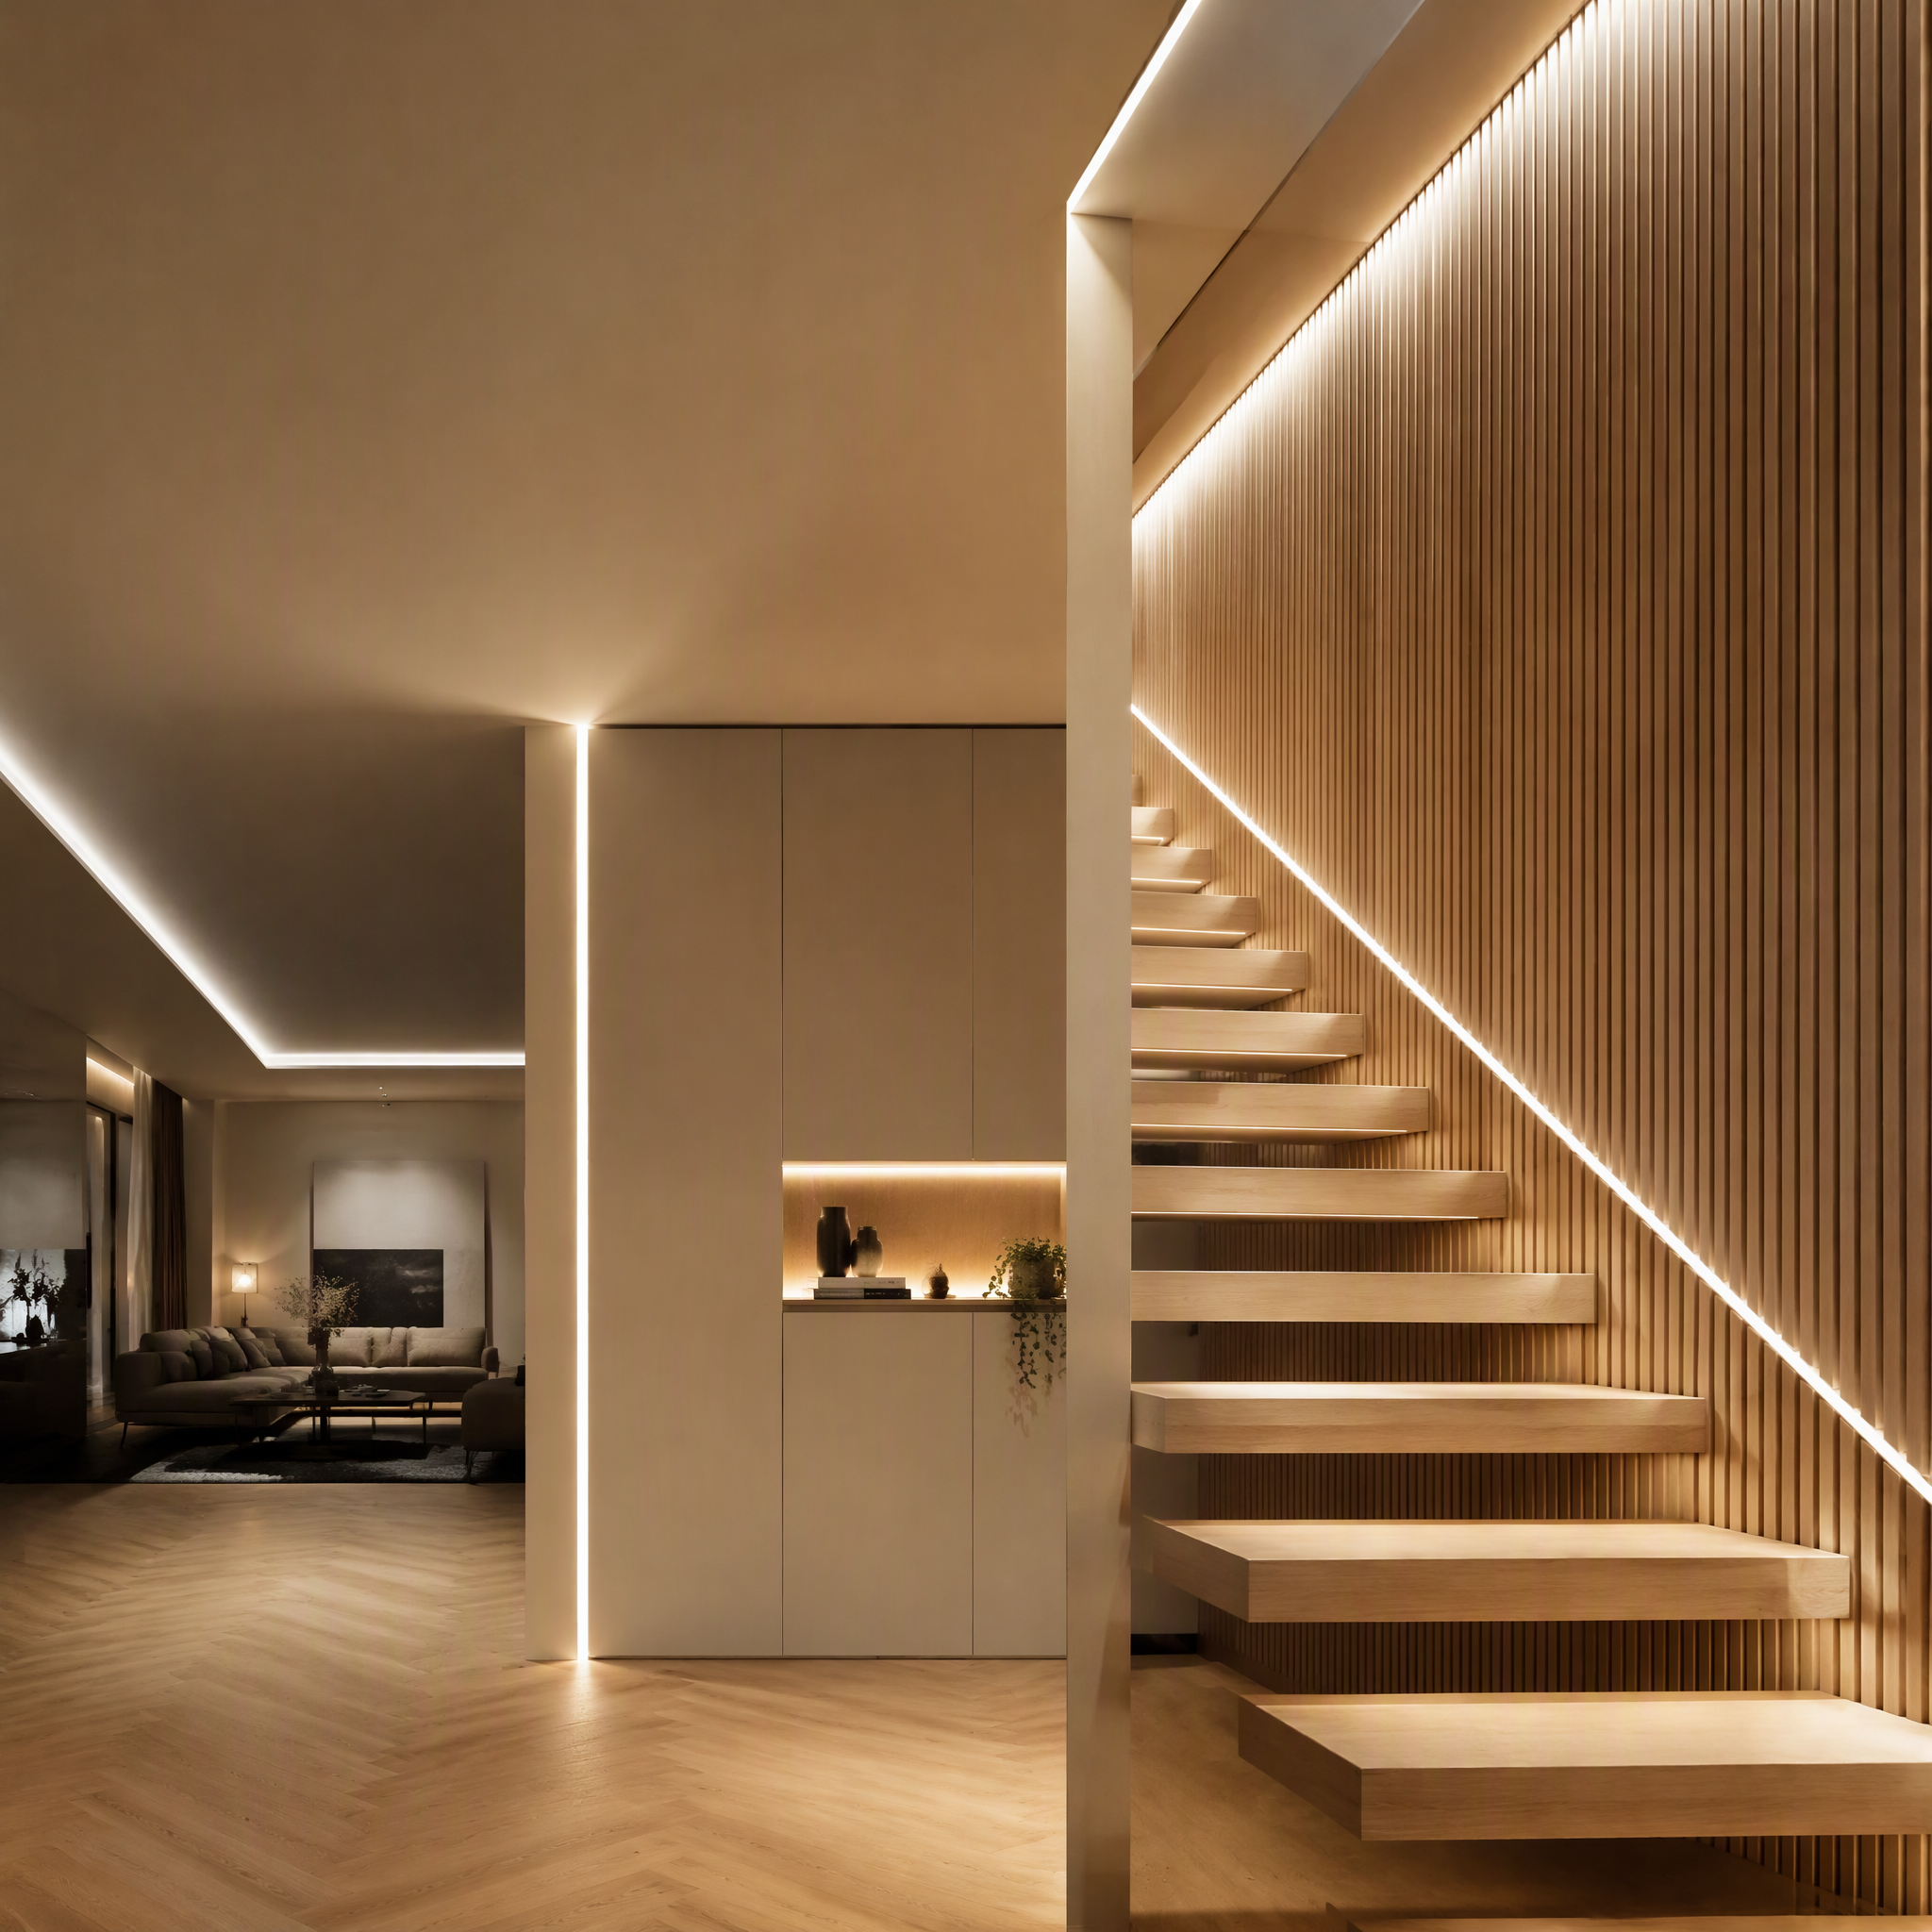
A properly installed led channel profile transforms spaces with clean, modern lighting while protecting your LED strip components from dust, damage, and thermal stress. The aluminum LED housing not only improves aesthetics but also enhances light diffusion and heat management. Following systematic installation procedures ensures electrical safety, optimal light distribution, and structural integrity throughout the lifespan of your linear LED lighting system.
Before mounting your aluminum LED housing, thoroughly clean the target surface with a degreaser or rubbing alcohol to remove dust, oils, and debris. Any contaminants will compromise adhesive strength or mechanical fastener reliability. Wipe the entire mounting area with a lint-free cloth and allow it to dry completely, typically five to ten minutes depending on surface type and ambient humidity levels. For porous surfaces like drywall, consider applying a primer or using longer mechanical fasteners to ensure secure mounting of your led channel system.
Accurate measurements determine the success of your led channel profile installation. Use a level and measuring tape to mark the exact mounting path, ensuring the aluminum LED housing aligns perfectly with your design intent. Mark fastener or adhesive application points at regular intervals, typically every 12 to 16 inches, depending on the weight of your linear LED lighting setup and surface material. Double-check all measurements before proceeding, as correcting misalignment after installation becomes time-consuming and potentially costly.
Self-adhesive mounting is the fastest method for installing aluminum LED housing on clean, smooth surfaces. Most led channel systems include high-strength double-sided tape designed specifically for this purpose. Apply pressure firmly along the entire length of the aluminum LED housing, pressing for at least 30 seconds per section to activate the adhesive bond. For optimal results with your linear LED lighting, allow the adhesive to cure for 24 hours before powering on or moving the installation. This method works exceptionally well for cabinet edges, shelving, and under-counter applications.
Mounting brackets, screws, or rivets provide maximum security for your led channel profile in demanding environments. Drill pilot holes through the pre-drilled mounting slots in the aluminum LED housing to prevent splitting or cracking. Use stainless steel fasteners to resist corrosion and maintain structural integrity over time. For drywall installations, apply toggle bolts or anchors rated for the combined weight of the aluminum LED housing, LED strips, and diffuser covers. Mechanical fastening ensures your linear LED lighting system remains secure through vibration, thermal expansion, and environmental stress.
Measure the interior length of your aluminum LED housing before cutting the LED strip to ensure a perfect fit. Most linear LED lighting products include cut marks indicating safe cutting points; avoid cutting through circuitry or connection pads. Clean the channel interior with a dry cloth to remove any manufacturing residue, then carefully position the self-adhesive backing of the LED strip along the aluminum LED housing base. Press firmly along the entire length to establish contact, then allow the adhesive to set for several hours before electrical connection.
Connect power supply leads to the designated connection points on your linear LED lighting strip, ensuring correct polarity to prevent component failure. Most led channel systems operate on low-voltage DC power, requiring proper power supply sizing based on total LED wattage and run length. Test the LED strip functionality before permanently sealing the aluminum LED housing with diffuser covers. This confirms electrical integrity and allows you to address any issues before final installation. Once testing succeeds, carefully route power cables through cable management pathways or conduit to maintain a professional appearance while protecting connections from damage.
Most aluminum LED housing systems include clear, frosted, or tinted diffuser covers that snap or slide into place over the installed LED strip. These covers soften light output, improve visual comfort, and protect the linear LED lighting components from accidental contact or environmental contamination. Align the diffuser cover with the mounting channels in your led channel profile, then press firmly until it clicks into place along its entire length. Frosted diffusers provide uniform light distribution ideal for task lighting, while clear covers maximize brightness for accent applications.
Secure end caps to both extremities of your aluminum LED housing to create a finished, professional appearance and prevent dust entry. Many led channel profiles include connector ports or cable access points that integrate with end caps. Install these carefully to ensure power cables exit cleanly without sharp bends or stress points that could damage connections. Apply weatherproofing sealant around any exterior connections if your linear LED lighting system will be exposed to moisture or extreme temperatures, protecting your installation from environmental degradation.
Standard rigid aluminum LED housing is designed for straight installations only. However, some flexible led channel profiles specifically manufactured for curved applications are available. Consult your product documentation to confirm whether your linear LED lighting system supports curved mounting. For most installations, traditional led channel profiles work best on flat walls, ceilings, or shelving surfaces where structural support remains consistent.
Aluminum LED housing naturally conducts heat away from LED components, extending lifespan and maintaining consistent color output. Avoid blocking ventilation areas or covering the channel completely with insulation materials. Ensure adequate airflow around your linear LED lighting system, particularly in enclosed cabinet applications. Monitor operating temperatures during the first 24 hours of use, and if excessive heat develops, verify that power supply specifications match your LED strip requirements.
Regular maintenance for your aluminum LED housing involves periodic dusting of diffuser covers and occasional inspection of electrical connections. Clean diffusers quarterly with a soft, dry cloth to maintain light transmission and visual clarity. Check cable connections annually to confirm they remain secure and free from corrosion. Most linear LED lighting systems require minimal maintenance when installed correctly, delivering years of reliable performance with simple care routines.
