 EN

what-installation-mistakes-should-you-avoid-with-tape-light, what-installation-mistakes-should-you-avoid-with-tape-light, /news
EN
2026/10/14
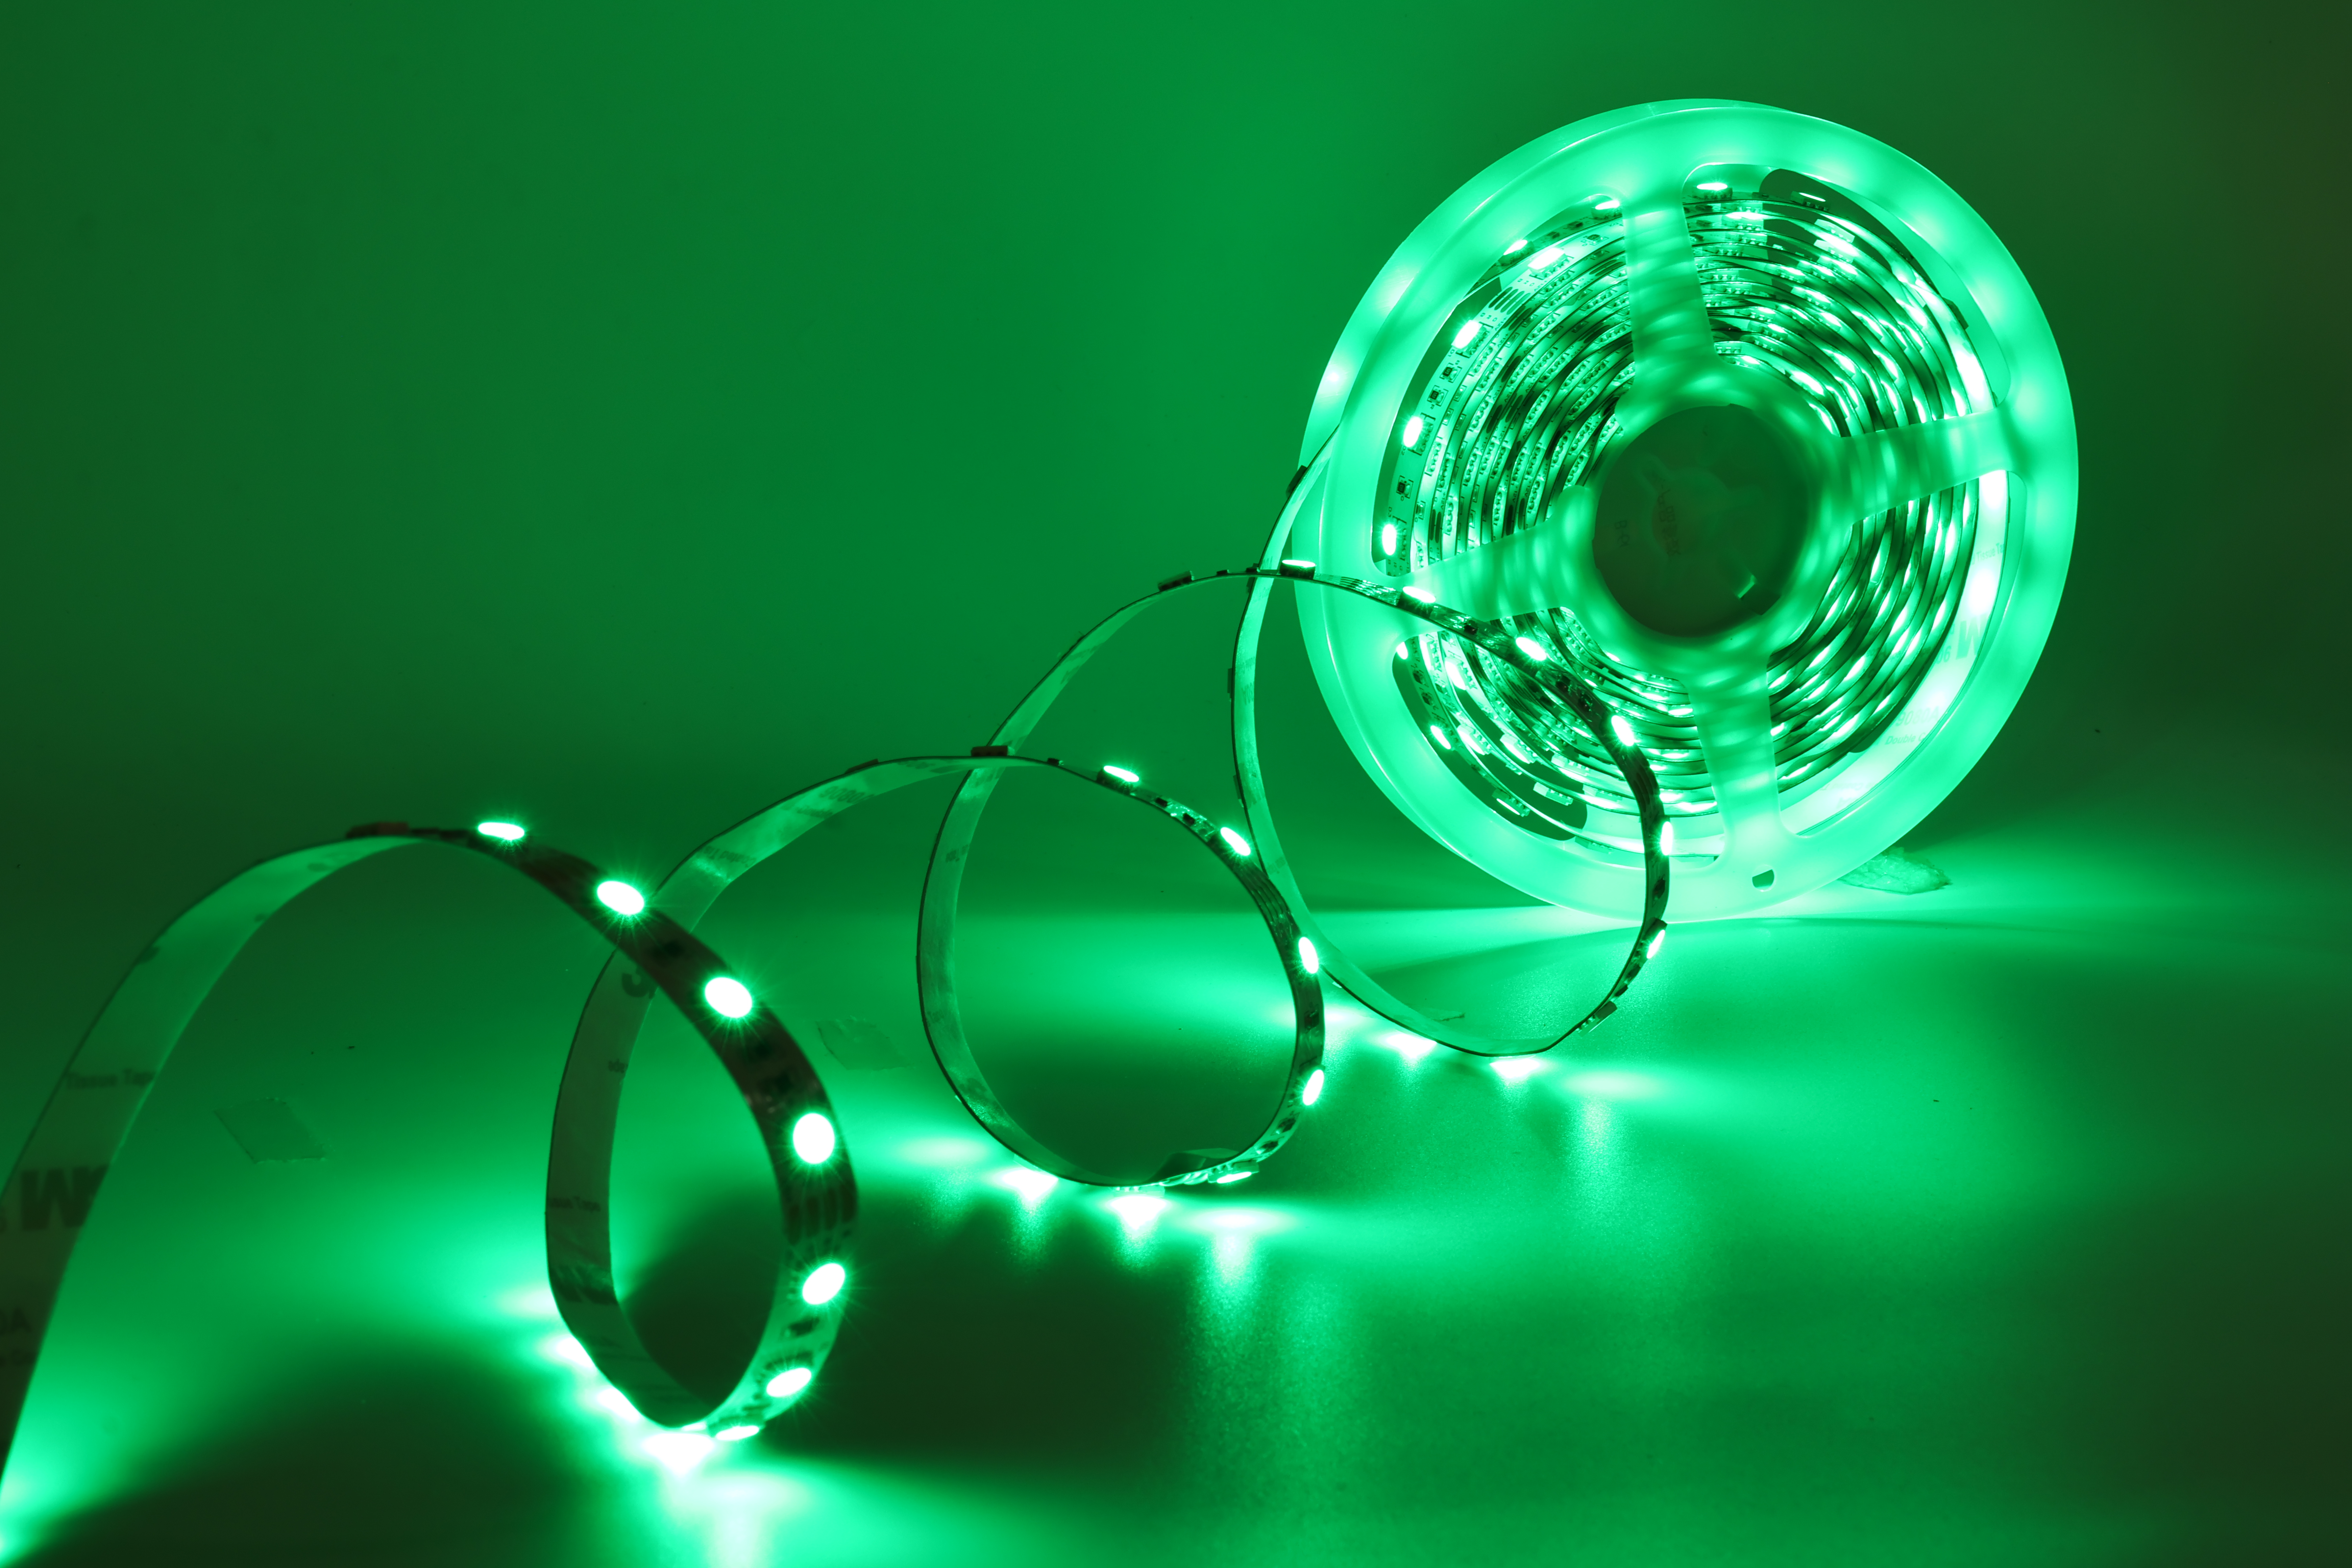
Installing tape light systems can transform your space with professional ambient lighting, but improper installation can lead to premature failure, poor performance, and wasted investment. Whether you are installing LED tape lighting in kitchens, offices, or retail environments, understanding common pitfalls ensures your flexible light strips function optimally for years. The difference between a successful installation and a frustrating one often comes down to preparation, technique, and attention to detail during setup.
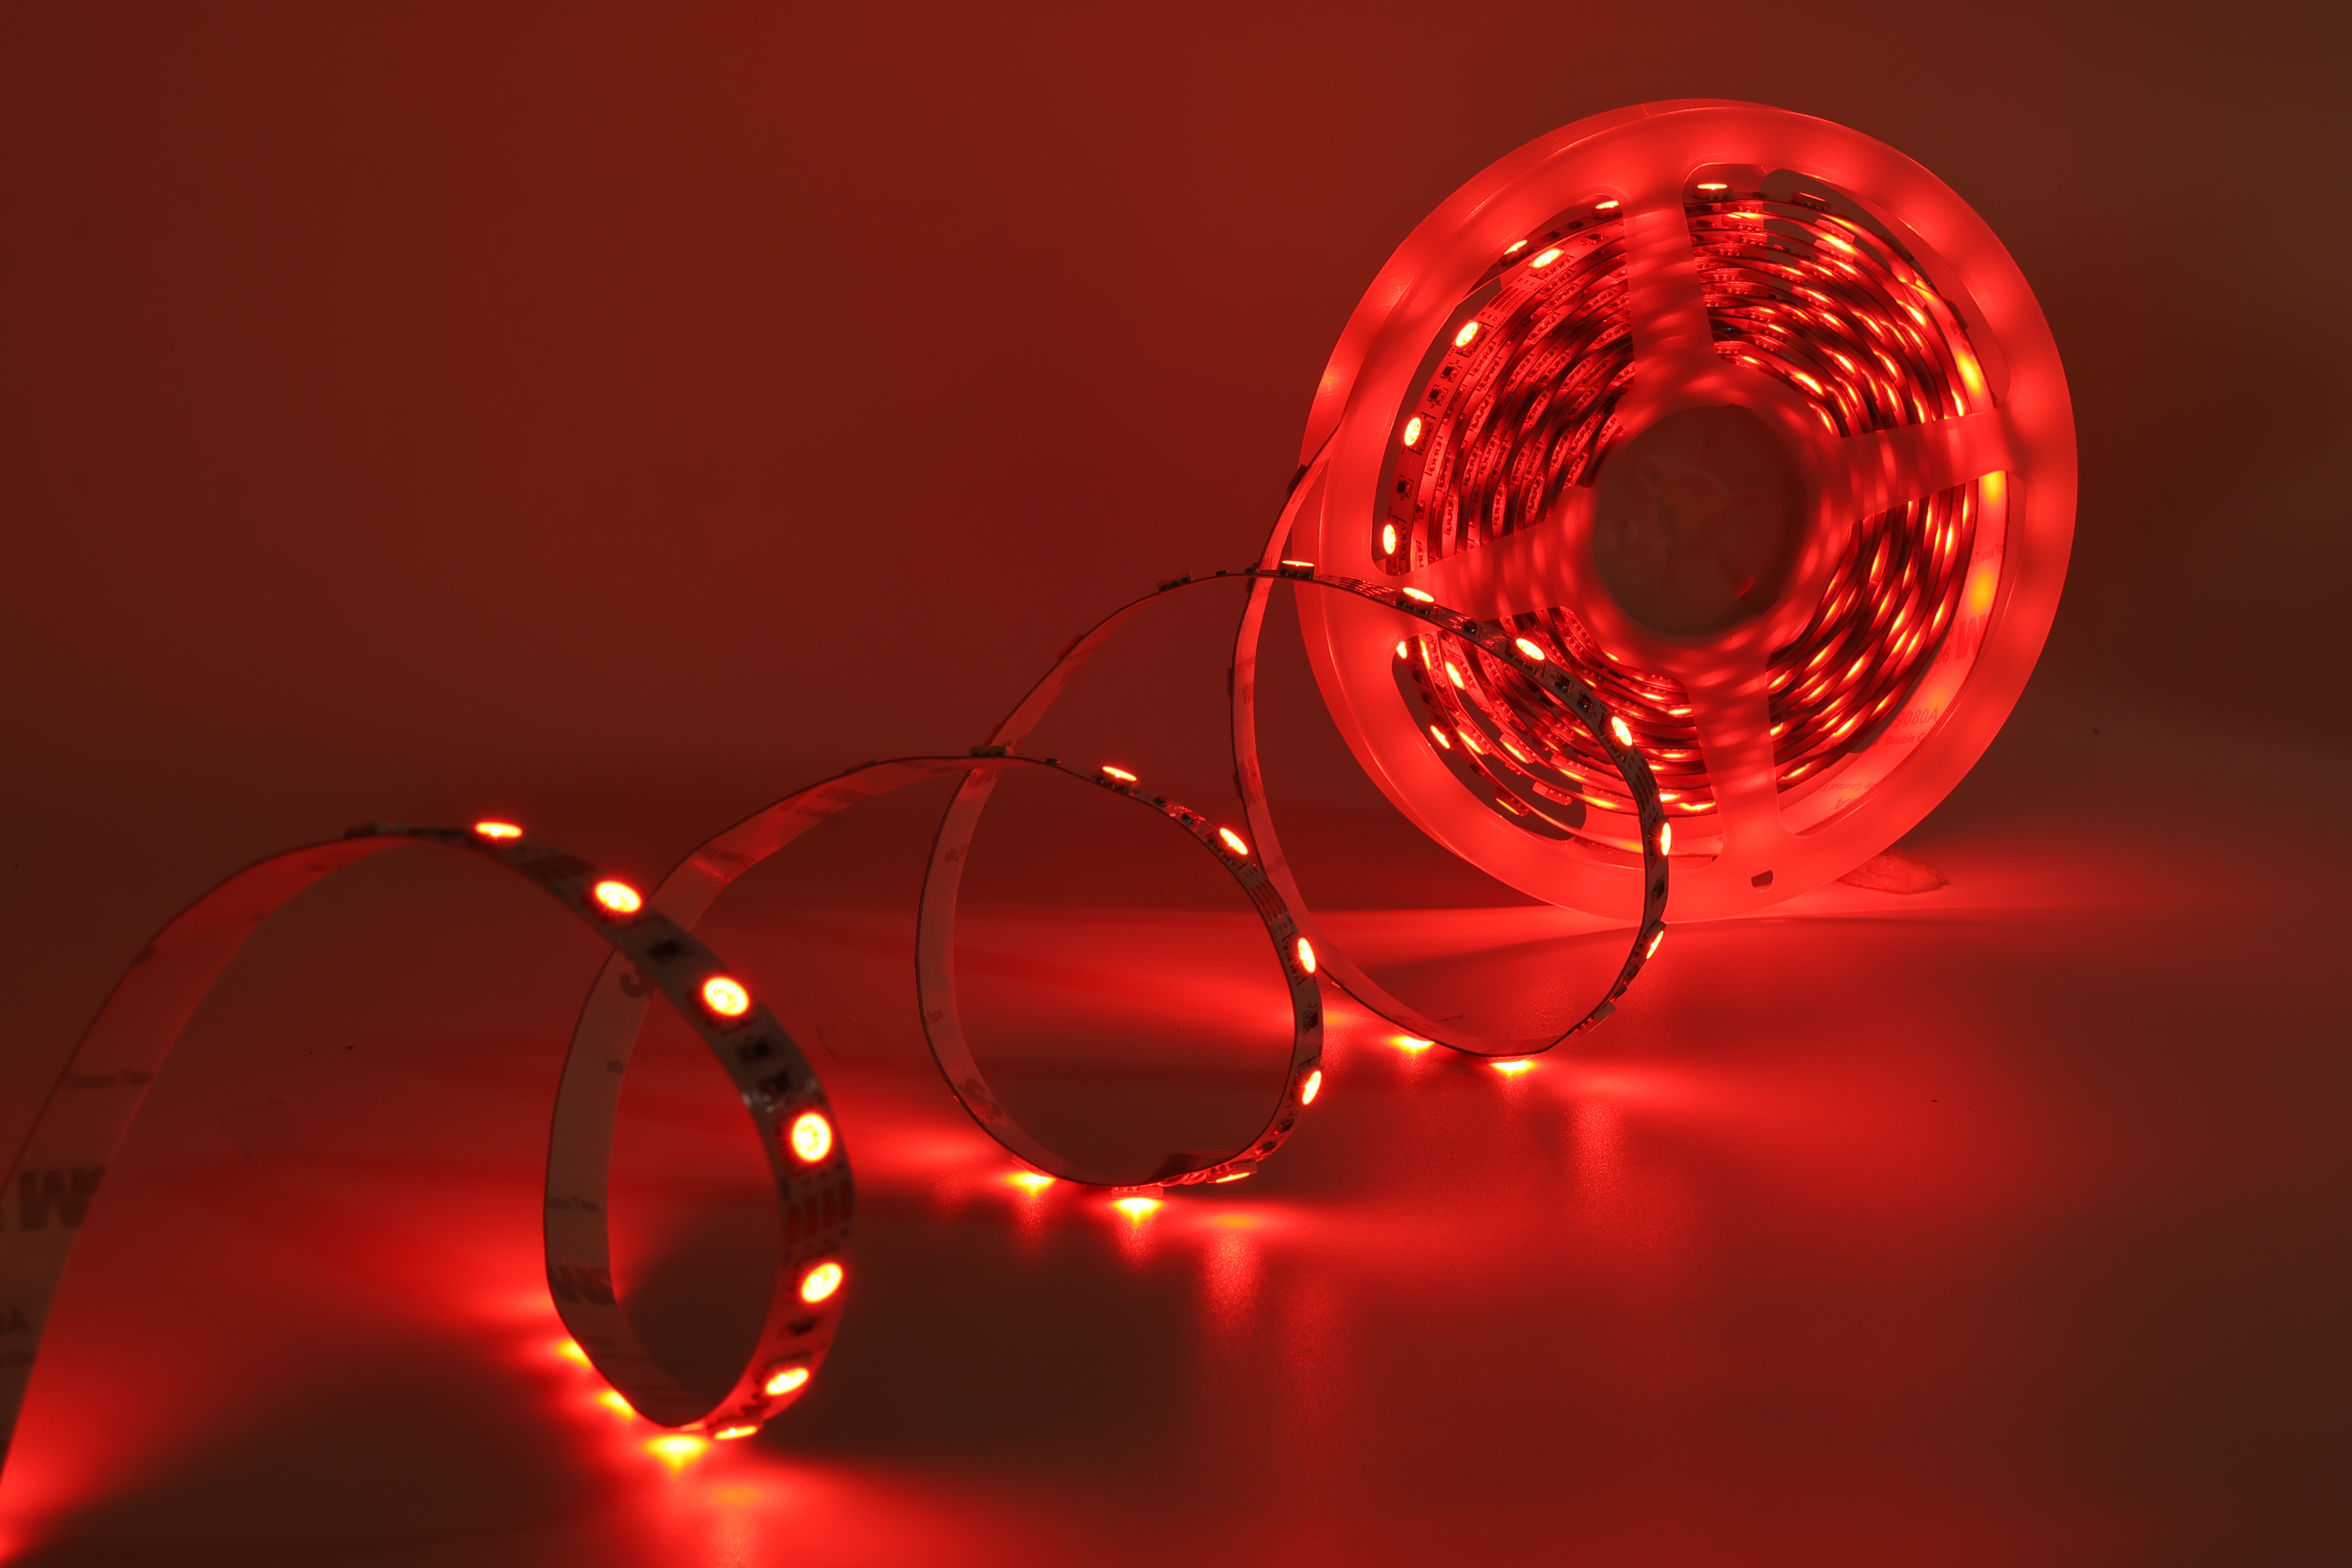
Adhesive strip lights are designed to provide flexible, space-saving illumination solutions across residential and commercial applications. However, many installers rush through the setup process without addressing surface preparation, power management, or thermal considerations. This article examines the most common tape light installation mistakes and provides actionable guidance to help you avoid costly errors and achieve professional results with your LED tape lighting system.
The adhesive backing on flexible light strips requires a clean, dry surface to establish proper contact and long-term bonding. Dust, grease, oils, and residues prevent the adhesive from gripping effectively, causing the tape light to peel away within weeks or months. Many installers underestimate how much contamination exists on walls, cabinets, and ceilings even after casual wiping. Using a damp cloth followed by an alcohol-based cleaner ensures the surface is truly free of contaminants before installation begins. Taking five extra minutes to properly prep the mounting area prevents expensive remounting work and replacement costs later.
Not all surfaces provide adequate adhesion for adhesive strip lights. Textured wallpaper, rough paint, unprimed drywall, and certain plastics create unstable bonding points where LED tape lighting cannot maintain grip strength. Some installers apply adhesive strip lights directly to ceramic tile, which has a non-porous surface that resists adhesive bonding. Flexible light strips perform best on smooth, hard surfaces such as painted drywall, aluminum, stainless steel, and glass. If your installation surface is questionable, install aluminum mounting channels or use mechanical fasteners instead of relying solely on adhesive backing. This hybrid approach provides professional-grade durability regardless of surface conditions.
LED tape lighting draws consistent power based on the LED chip density and color configuration, typically between 4 and 7 watts per meter depending on brightness and specifications. Many installers use power supplies rated for only the minimum calculated load without accounting for voltage drop over cable runs or multiple segments. A power supply that is slightly undersized may appear to work initially but will cause dimming at far ends of the installation, color shifting, or flickering that worsens over time. Calculate your total tape light length in meters, identify the wattage per meter from specifications, and select a power supply rated at least 20 percent higher than the calculated requirement. This safety margin ensures stable voltage delivery across the entire flexible light strips system and extends component lifespan significantly.
Voltage drop occurs when undersized wires carry current over long distances, causing brightness loss across extended LED tape lighting installations. Many installers use 22 AWG or 24 AWG wire for cable runs longer than 10 feet, which introduces unacceptable voltage drop in high-current applications. Proper installation requires 18 AWG or 16 AWG wire depending on total current draw and cable length. Additionally, running power cables parallel to data or signal lines can introduce noise and color-shifting artifacts in RGB adhesive strip lights. Separate power distribution cables from signal cables by at least six inches, route them through different conduit if possible, and verify wire gauge matches your installation's electrical requirements. Undersizing wires creates heat buildup, accelerates insulation degradation, and increases fire risk in enclosed spaces.
Connector failures represent one of the most frequent tape light problems encountered after installation. Soldering connections too quickly or using insufficient solder creates cold joints that appear functional but fail intermittently as vibration and thermal cycling stress the connection. Many installers apply solder directly to the copper pads without proper flux or tinning, resulting in poor wetting and unreliable contact. When connecting flexible light strips end-to-end or to power supplies, clean the copper connection pads thoroughly, apply quality flux, heat the pad adequately before introducing solder, and use appropriate solder gauge for reliable joints. Allow connections to cool naturally without disturbance, and consider using weatherproof adhesive sealant over soldered connections in high-humidity environments where corrosion threatens electrical continuity on your LED tape lighting system.
Flexible light strips generate heat during operation, especially high-brightness configurations running continuously in enclosed spaces. Many installers mount adhesive strip lights tightly against other materials without leaving space for thermal expansion, creating stress on the adhesive bond and potentially damaging surrounding surfaces. When installing LED tape lighting in cabinets, under shelves, or behind trim, allow a small air gap between the tape light and adjacent materials to permit heat dissipation. This spacing prevents adhesive degradation, reduces thermal stress on electronic components, and improves overall system reliability and longevity. In particularly hot environments or high-load applications, consider using aluminum channel mounting systems that dissipate heat more effectively than adhesive-only installation methods, ensuring your tape light investment lasts longer and performs consistently.
Flickering in flexible light strips typically results from insufficient power supply capacity, poor solder connections, or voltage drop across long cable runs. Verify your power supply wattage matches installation requirements, inspect all solder joints for cold connections, and ensure wire gauge is appropriate for your cable length. A properly sized power supply with quality connections eliminates most flickering issues in adhesive strip lights.
Textured surfaces and pronounced curves challenge adhesive backing performance on tape light installations. Smooth the surface if possible, or use aluminum channel mounting systems that accommodate curves while securing LED tape lighting mechanically. This approach ensures reliable installation regardless of surface texture and provides better thermal management for flexible light strips.
Allow the adhesive backing on your tape light at least 24 hours to cure fully before applying power and heat. This waiting period ensures the adhesive bond reaches full strength, preventing peeling when the LED tape lighting generates operational heat. Premature power-on can weaken the adhesive on flexible light strips and cause early failure.
