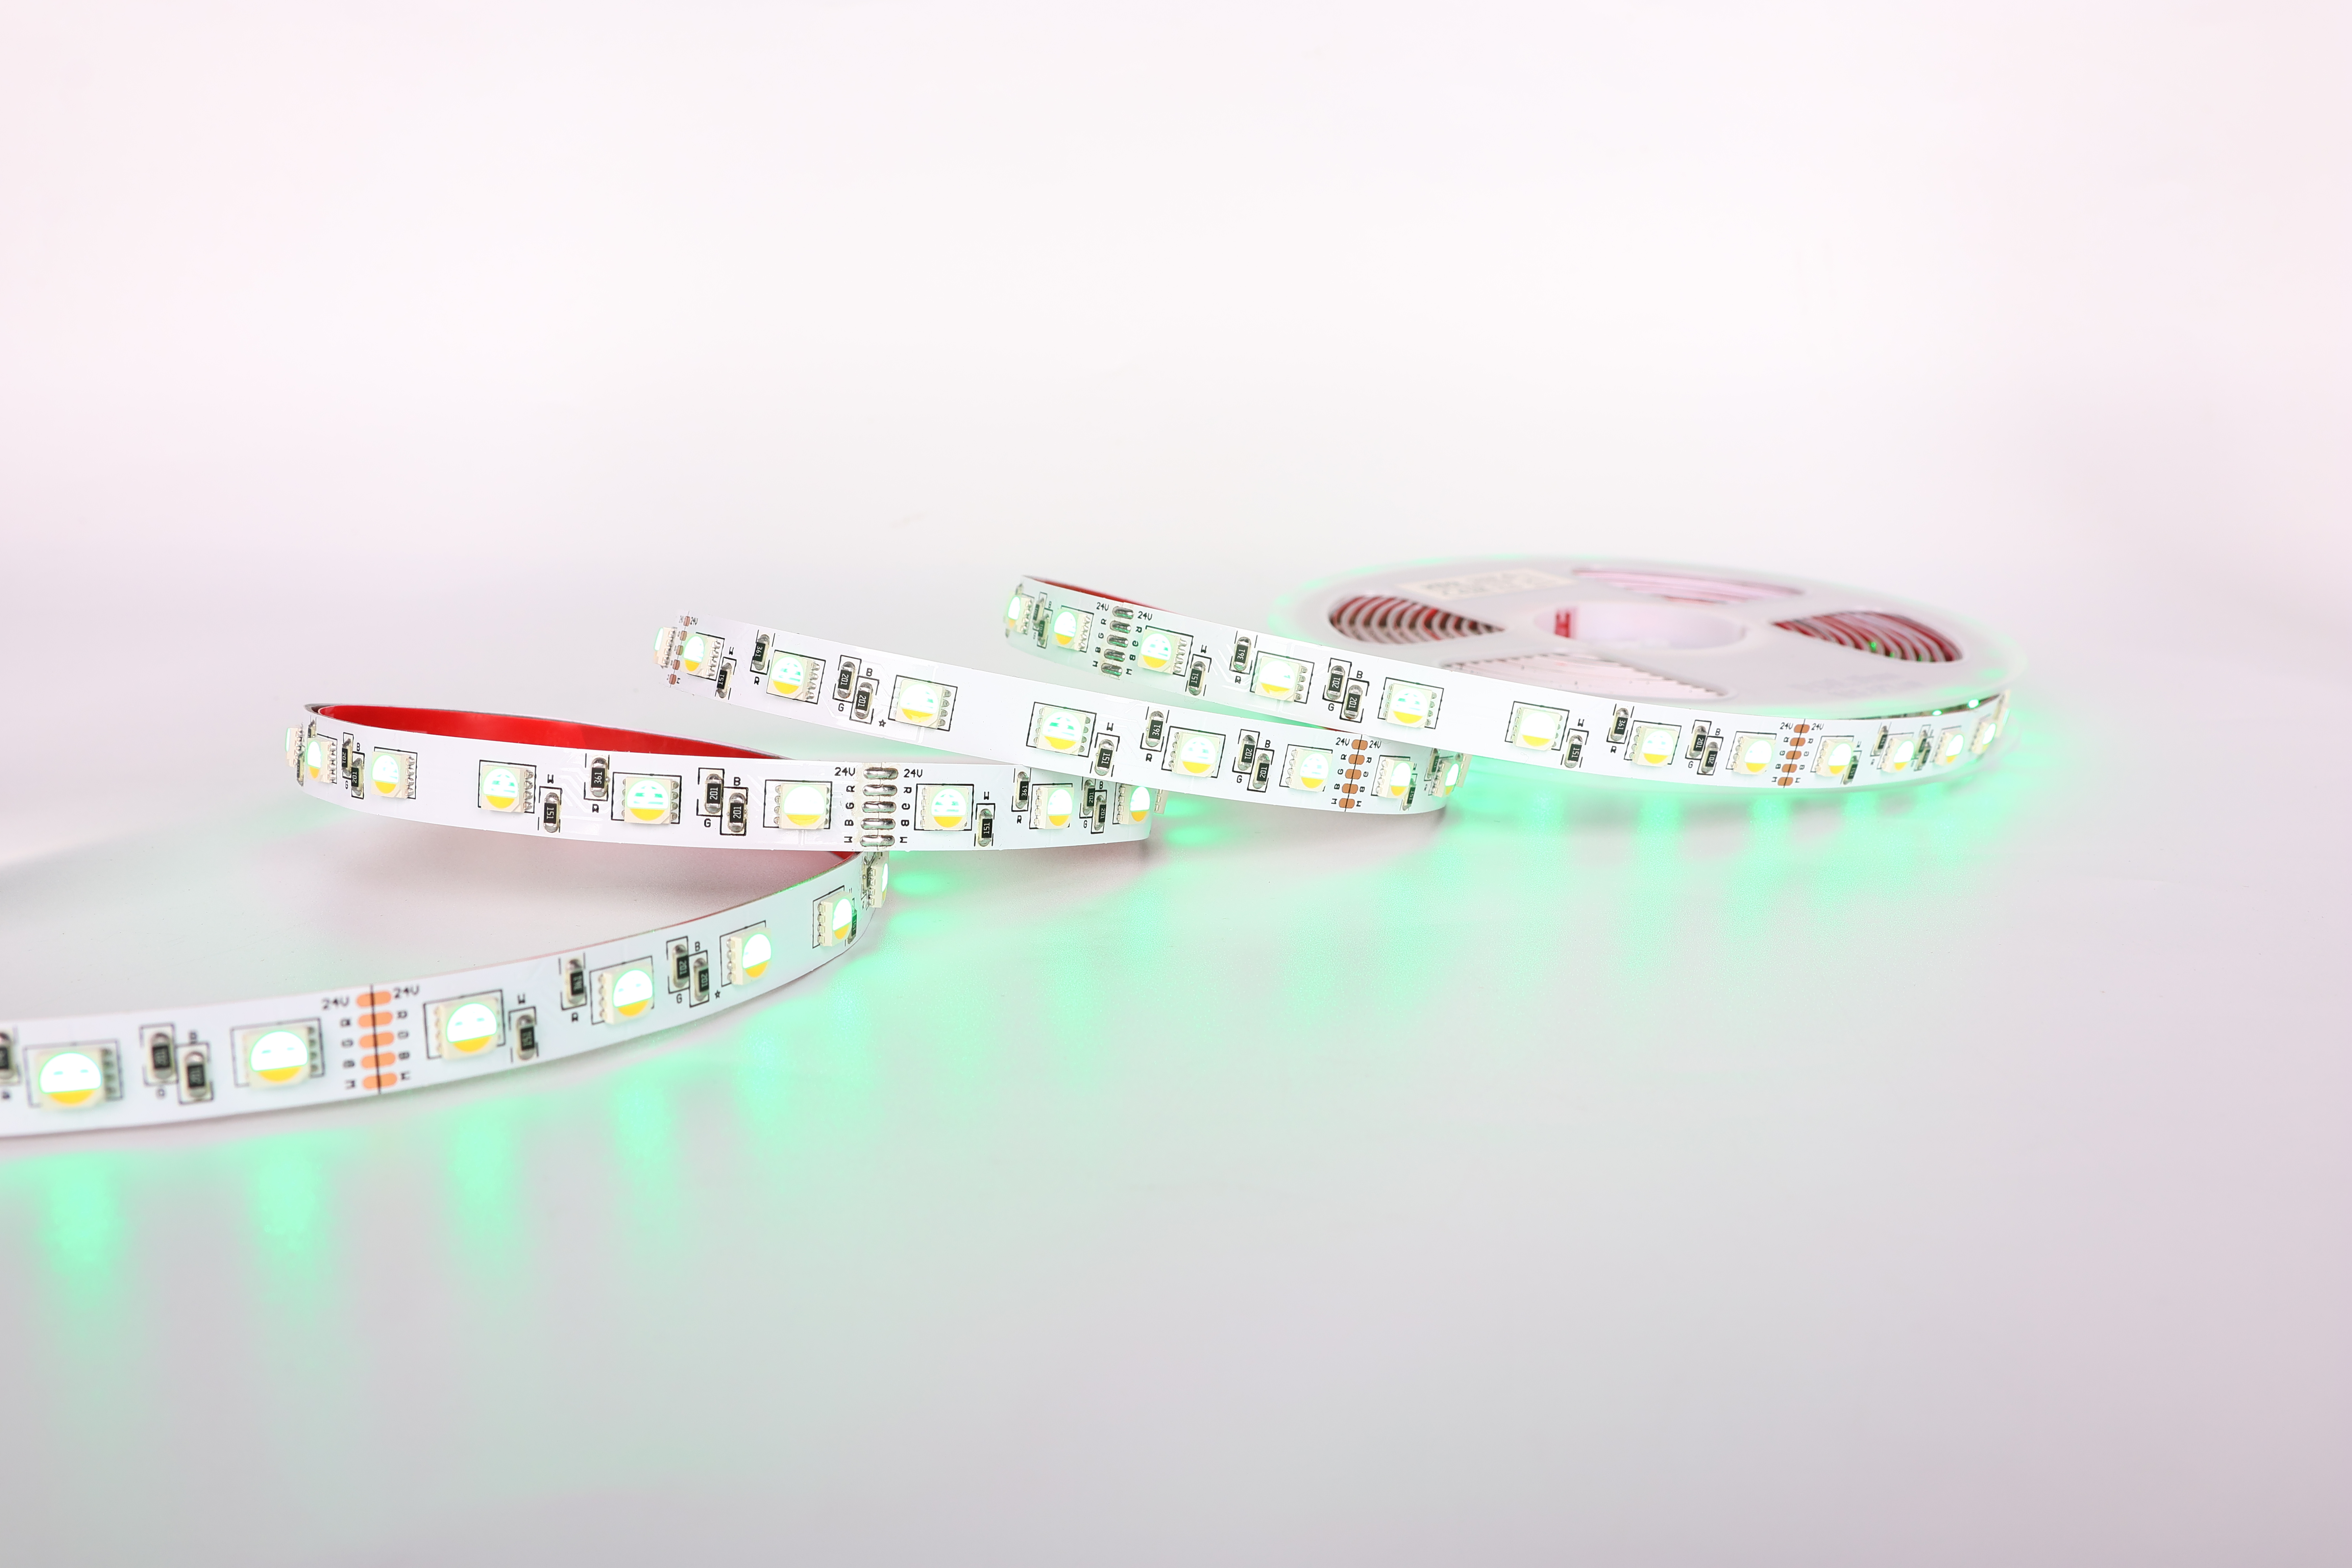
A tape light installation can transform any space with seamless illumination, but when problems arise, the cause often remains unclear. Whether you're dealing with flickering, dimming, adhesive failure, or power loss, understanding the root cause is essential to restoring full functionality. Most tape light issues stem from common installation mistakes, power supply problems, or material degradation rather than equipment failure. This guide walks you through diagnosis and repair strategies for the most frequent LED tape lighting challenges you'll encounter in residential and commercial applications.
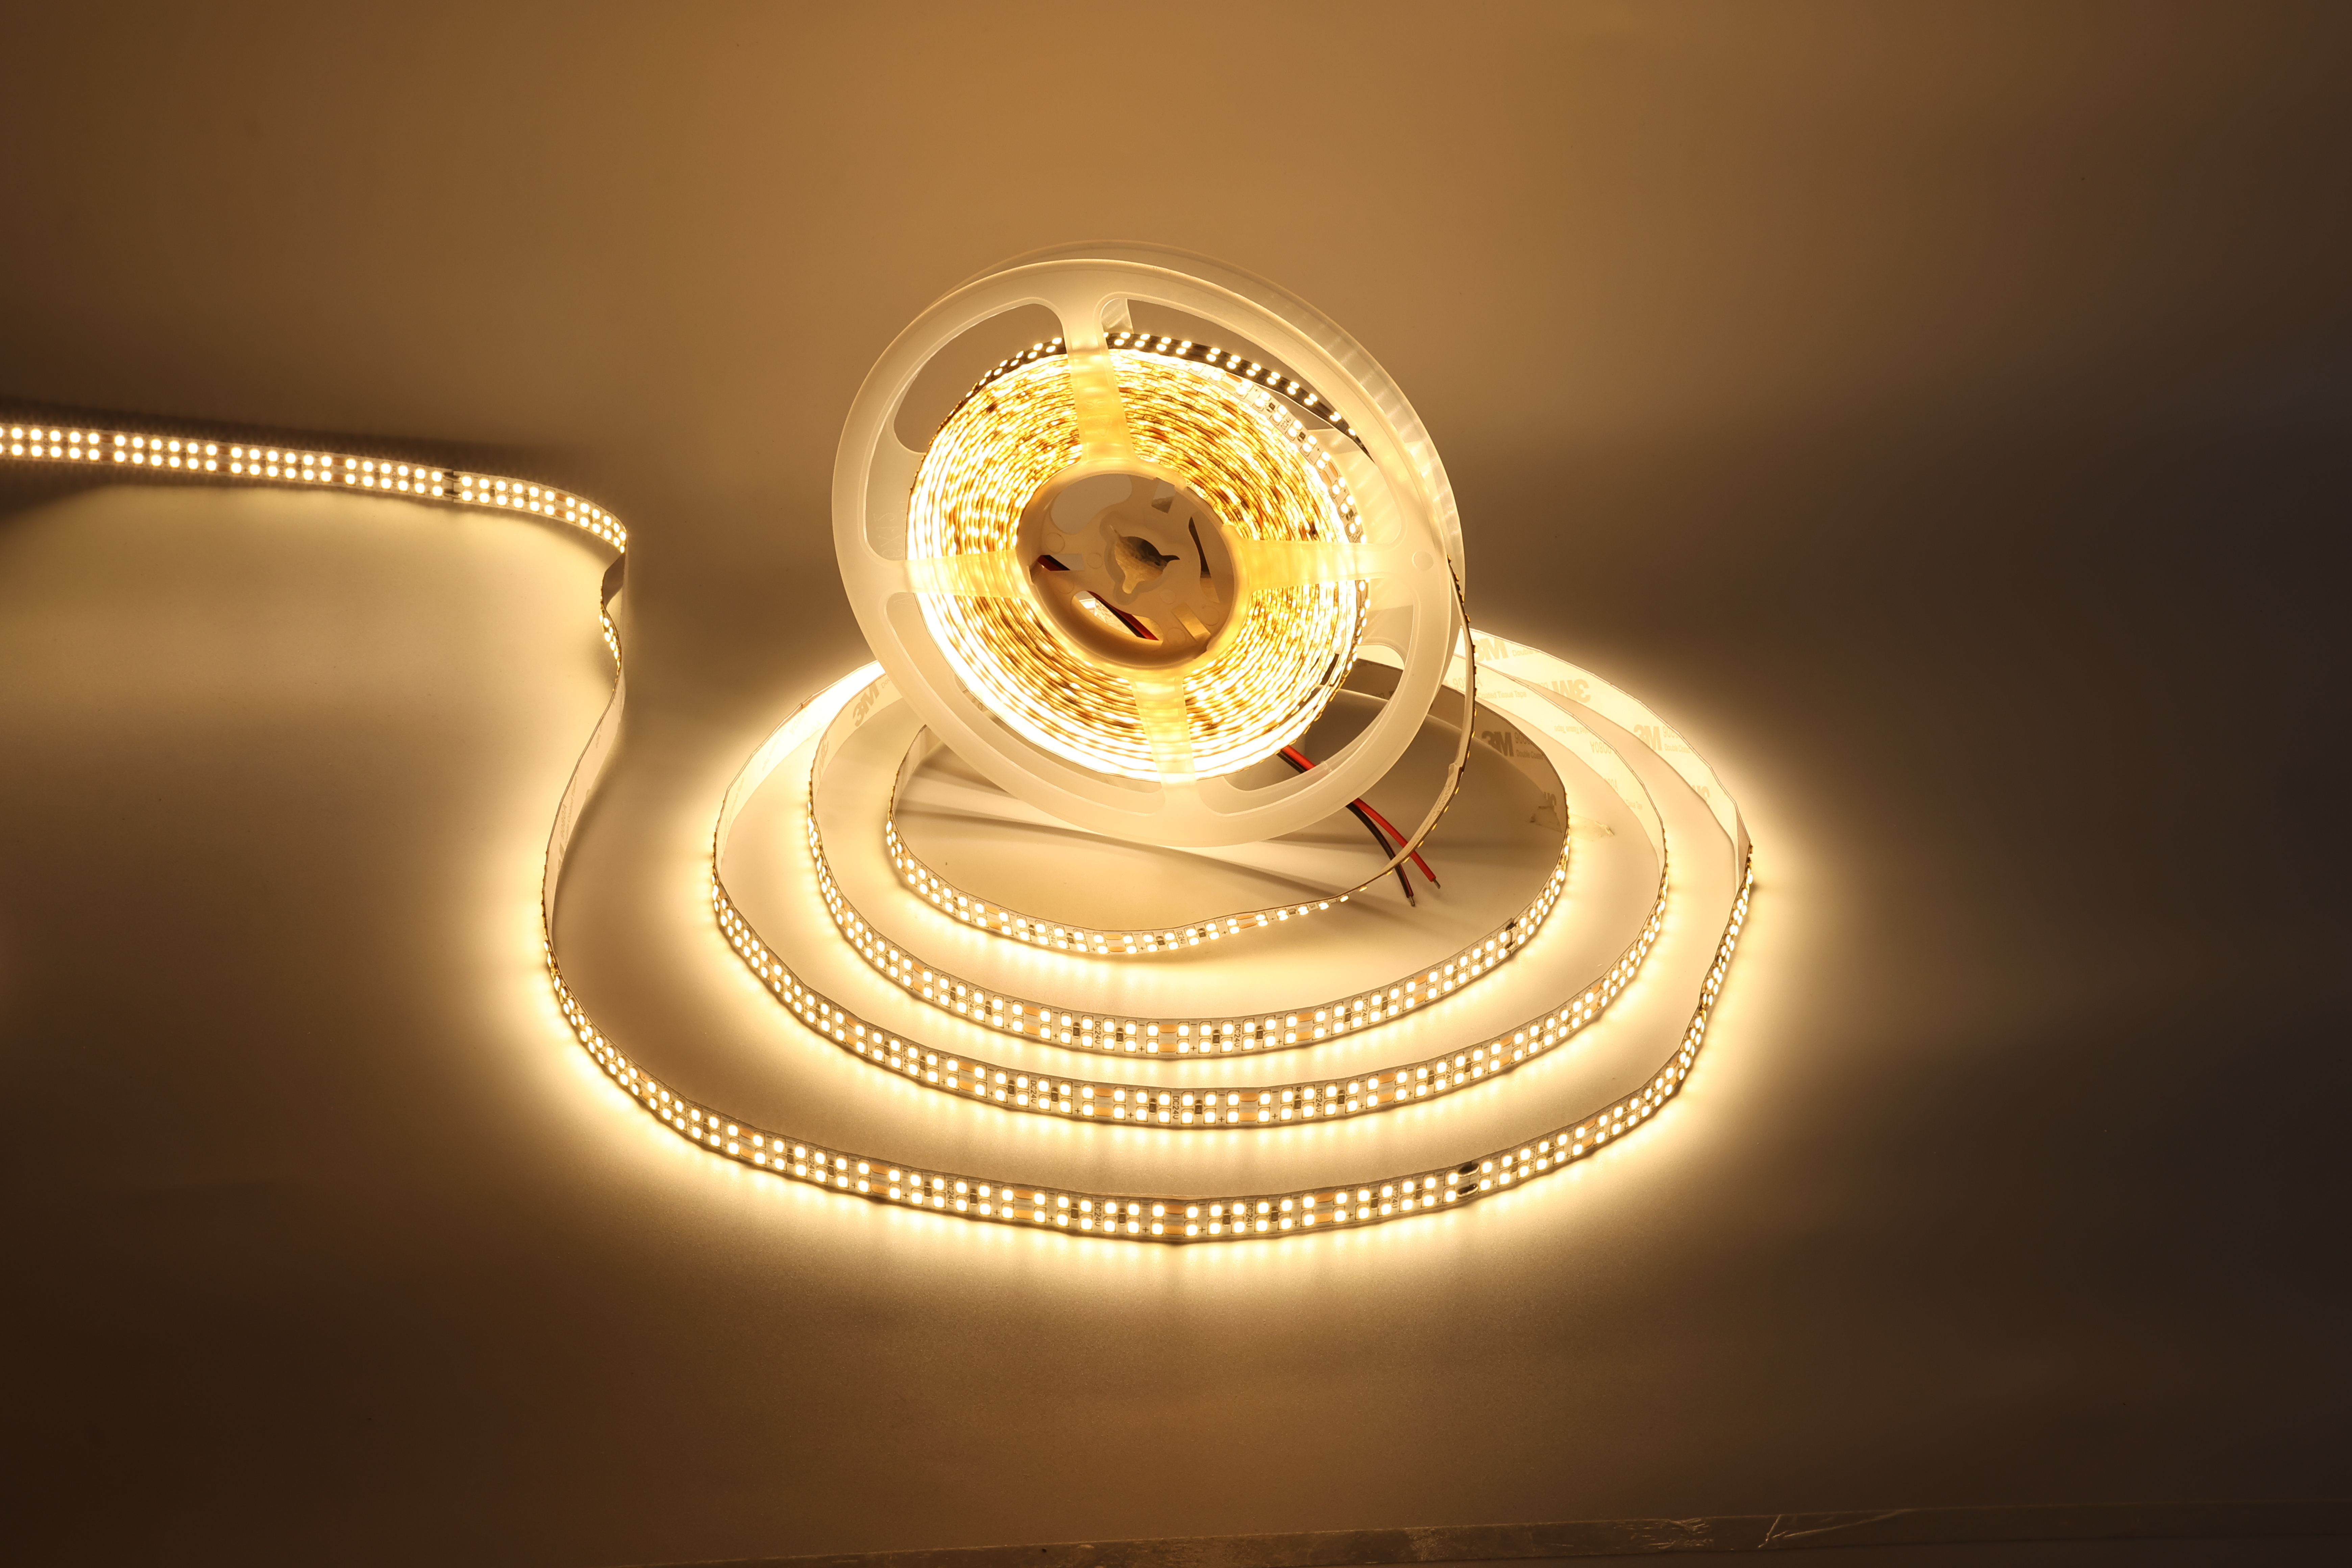
Troubleshooting tape light systems requires a methodical approach because adhesive strip lights involve multiple interconnected components. Power delivery, connection integrity, installation surface preparation, and environmental factors all influence how flexible light strips perform. By isolating each variable systematically, you can identify whether the fault lies in power management, physical installation, or component degradation. Understanding these distinctions saves time and prevents costly replacement purchases.
Power Supply and Connection Problems
Verifying Power Delivery to Flexible Light Strips
The most frequent cause of tape light failure involves inadequate or interrupted power flow. Start by checking whether your power supply unit delivers the correct voltage and amperage for your LED tape lighting setup. Use a multimeter to measure voltage at the connection points, ensuring the reading matches your system specifications, typically 12V or 24V DC. If voltage drops significantly along the run, you may have exceeded the power capacity or installed an undersized power supply for your flexible light strips installation.
Connection quality directly affects how your adhesive strip lights operate under load. Inspect all solder joints, connector terminals, and wire connections for corrosion, loose fittings, or cold solder joints that interrupt current flow. Corroded connections resist power transfer, causing voltage drop and dimming across your tape light. Clean terminals with a dry cloth and ensure all connectors seat firmly. If soldered connections appear dull or cracked rather than shiny, desolder and reflow the joint properly using appropriate flux and solder.
Power Supply Unit Assessment
A failing power supply represents the second most common tape light failure point. Test the PSU independently by disconnecting it from your LED tape lighting and measuring its output voltage with no load attached. Compare this reading to the unit's rating plate specifications. If no voltage appears, the power supply has failed internally. If voltage appears unstable or drifts below 90% of rated output, the power supply is degrading and should be replaced before it damages your flexible light strips installation.
Environmental conditions damage power supplies used for adhesive strip lights in demanding locations. Heat buildup, moisture intrusion, and dust accumulation reduce PSU lifespan dramatically. Ensure your power supply has adequate ventilation and sits in a temperature-controlled area when possible. If your tape light operates in high-moisture environments, select a power supply with higher IP ratings and consider additional protective housing to extend its service life.
Adhesion and Physical Installation Failures
Diagnosing Adhesive Strip Light Separation
Adhesive failure causes flexible light strips to separate from mounting surfaces, creating visible gaps and potential shorts when the tape light bends or twists. Poor surface preparation is the primary cause of adhesive strip lights losing grip. Before installation, clean the mounting surface thoroughly with isopropyl alcohol to remove dust, oils, and residues that prevent adhesive contact. Allow the surface to dry completely before peeling and applying your tape light, as moisture creates an invisible barrier that destabilizes the bond.
Temperature fluctuations weaken adhesive on LED tape lighting, particularly in outdoor or seasonal applications. The adhesive used for adhesive strip lights expands and contracts with temperature changes, eventually losing grip. If your flexible light strips experience significant temperature variations, consider reinforcing the adhesive strip lights with mechanical fasteners such as aluminum channels or clip brackets designed for tape light installations. These provide structural support that prevents separation independent of adhesive performance.
Surface Preparation and Material Compatibility
Not all mounting surfaces accept adhesive equally. Porous surfaces like unsealed drywall, textured coatings, and rough concrete reduce adhesive strip lights contact area, weakening the bond between tape light and substrate. For these materials, prepare the surface by sanding lightly or priming with a compatible adhesive base. Alternatively, install flexible light strips using aluminum mounting channels, which provide consistent surface contact regardless of substrate texture and extend the lifespan of your tape light installation significantly.
Moisture and humidity represent hidden threats to adhesive strip lights performance, especially in kitchens, bathrooms, and outdoor settings. Standard tape light adhesive formulations deteriorate when exposed to sustained moisture. If you install LED tape lighting in humid areas, select specialized adhesive strip lights rated for moisture resistance, or use silicone-based adhesives instead of acrylic compounds. Your tape light investment deserves protection appropriate to its environment.
Performance and Color Issues
Addressing Flickering and Dimming in Tape Light
Flickering in your tape light typically indicates unstable power delivery or incompatible dimming controls. If flickering occurs immediately after installation, verify that your power supply stabilizes properly and that all connections are secure. Once physical connections are confirmed solid, test whether your LED tape lighting uses a compatible dimmer. Some adhesive strip lights cannot work with standard wall dimmers designed for incandescent bulbs. Install a dimmer specifically rated for LED tape lighting to eliminate compatibility issues and restore smooth dimming performance to your flexible light strips.
Dimming across the entire tape light run suggests voltage drop caused by wire gauge undersizing or connection resistance. If your LED tape lighting spans more than fifteen feet, use thicker gauge wiring to carry current more efficiently to distant sections. Run separate power leads from your power supply to the farthest tape light segments rather than daisy-chaining connections through intermediate sections. This wiring strategy prevents voltage loss and ensures uniform brightness across your flexible light strips installation.
Color Inconsistency and White Balance Problems
Color inconsistency within your tape light installation usually reflects individual LED chip degradation or improper power distribution across color channels. If your adhesive strip lights display uneven color saturation or unexpected hue shifts along the run, inspect the LED chips for visible damage or discoloration. Manufacturing defects occasionally produce weak LED segments within otherwise functional flexible light strips. Return defective tape light sections to the manufacturer for warranty replacement rather than attempting repair of individual chips.
White balance drift in your tape light indicates driver circuit aging or capacitor degradation within the LED tape lighting control electronics. If your adhesive strip lights initially displayed correct white balance but gradually shift toward yellow or blue tints, the internal driver components are failing. Replacement of the affected flexible light strips section provides the most reliable solution. Attempt cleaning and reseating all connectors first, but expect to upgrade your tape light installation if color problems persist after connection inspection.
FAQ
Why does my tape light flicker when I connect a dimmer?
Flickering occurs when your dimmer type mismatches your LED tape lighting technology. Most wall dimmers are designed for incandescent or halogen bulbs and cannot properly control the minimal current draw of adhesive strip lights. Purchase a dimmer explicitly rated for LED applications, and verify compatibility with your specific tape light driver specifications. Quality LED dimmers eliminate flickering and restore smooth control of your flexible light strips.
How do I prevent adhesive strip lights from lifting off my wall?
Clean the installation surface thoroughly with isopropyl alcohol and allow complete drying before applying your tape light. Press firmly during installation to maximize contact between the adhesive and substrate. For added security with flexible light strips, reinforce adhesive strip lights with aluminum mounting channels or mechanical clips designed for tape light systems. These provide long-term structural support that keeps your installation secure regardless of temperature or humidity changes.
What causes LED tape lighting to dim or lose brightness over time?
Dimming typically reflects voltage drop due to undersized wiring or connection resistance across your tape light installation. LED chip degradation occurs gradually in aged adhesive strip lights, causing brightness loss over years of operation. If dimming occurs suddenly rather than gradually, inspect all connections and verify your power supply delivers correct voltage to the affected tape light sections. Replacing corroded connectors or upgrading wire gauge often restores full brightness to your flexible light strips system.
 EN