 EN

what-surface-preparations-are-needed-for-tape-light, what-surface-preparations-are-needed-for-tape-light, /news
EN
2026/09/12
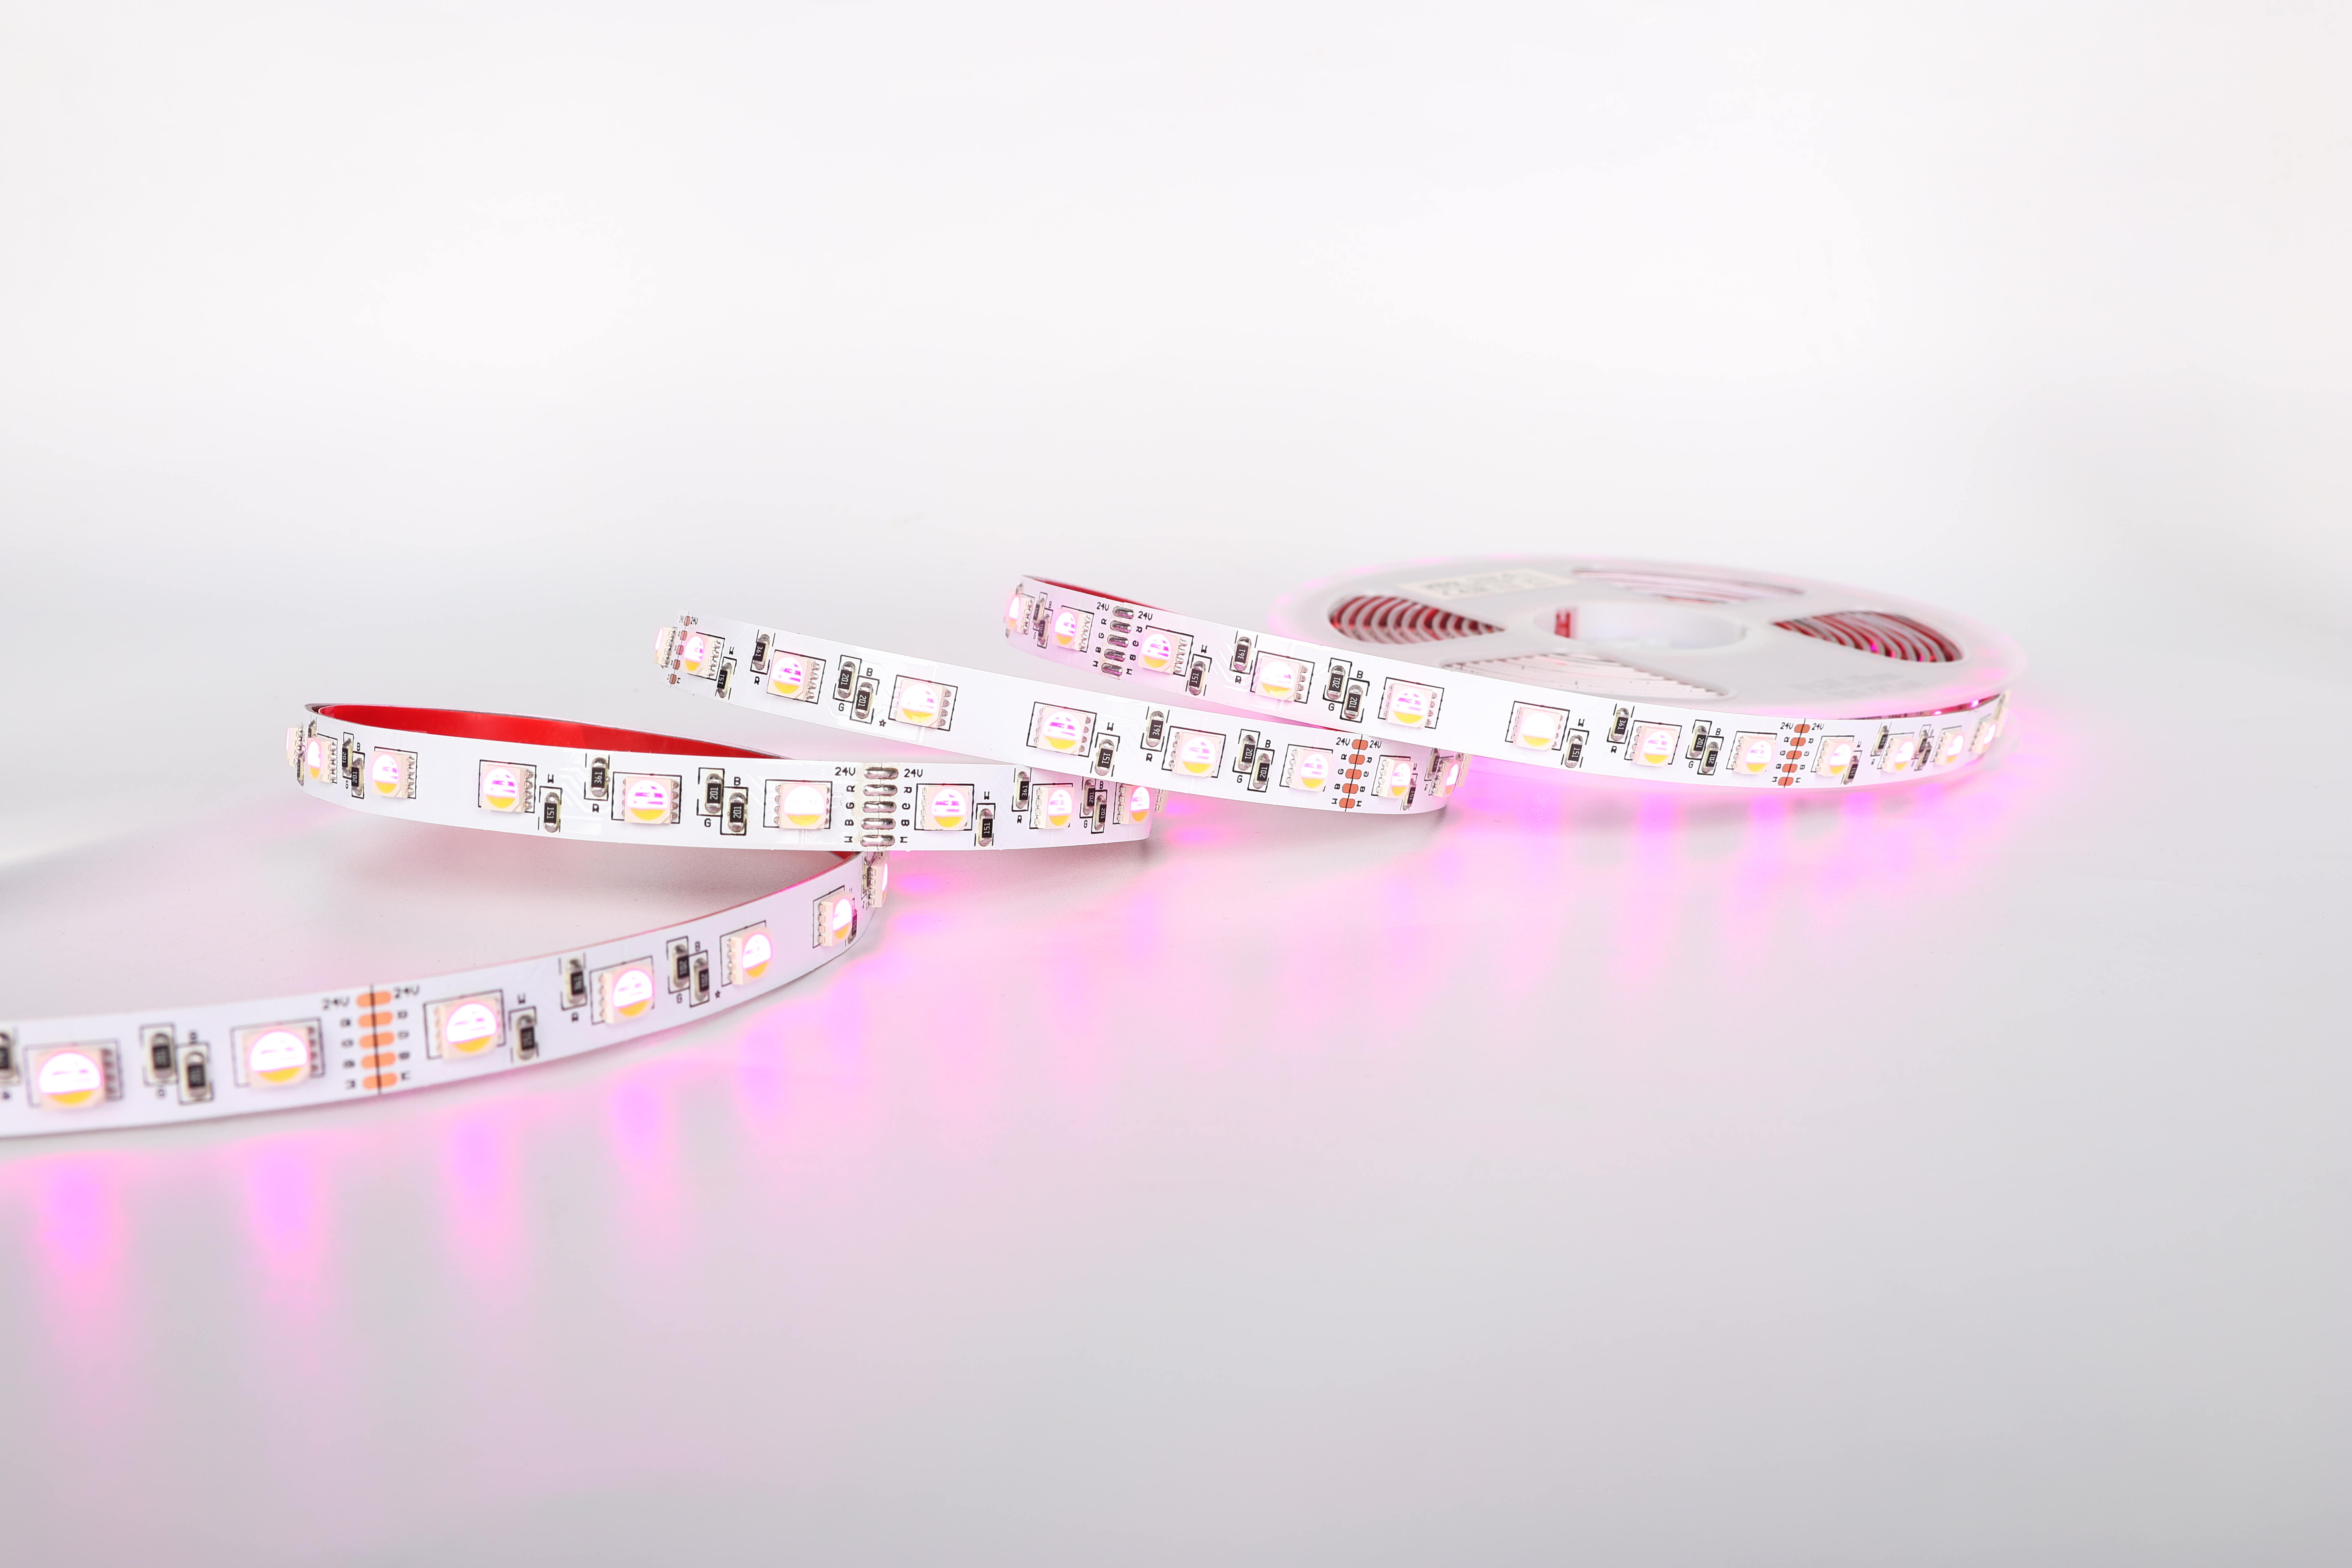
Proper surface preparation is the foundation of a successful tape light installation. Whether you are installing LED tape lighting in a commercial kitchen, retail display, or residential cove ceiling, the quality of your substrate preparation directly affects adhesion strength, longevity, and light performance. Rushing this critical step often leads to premature peeling, uneven light distribution, and costly reinstallation. Understanding the specific surface requirements for adhesive strip lights ensures your installation will perform reliably for years.
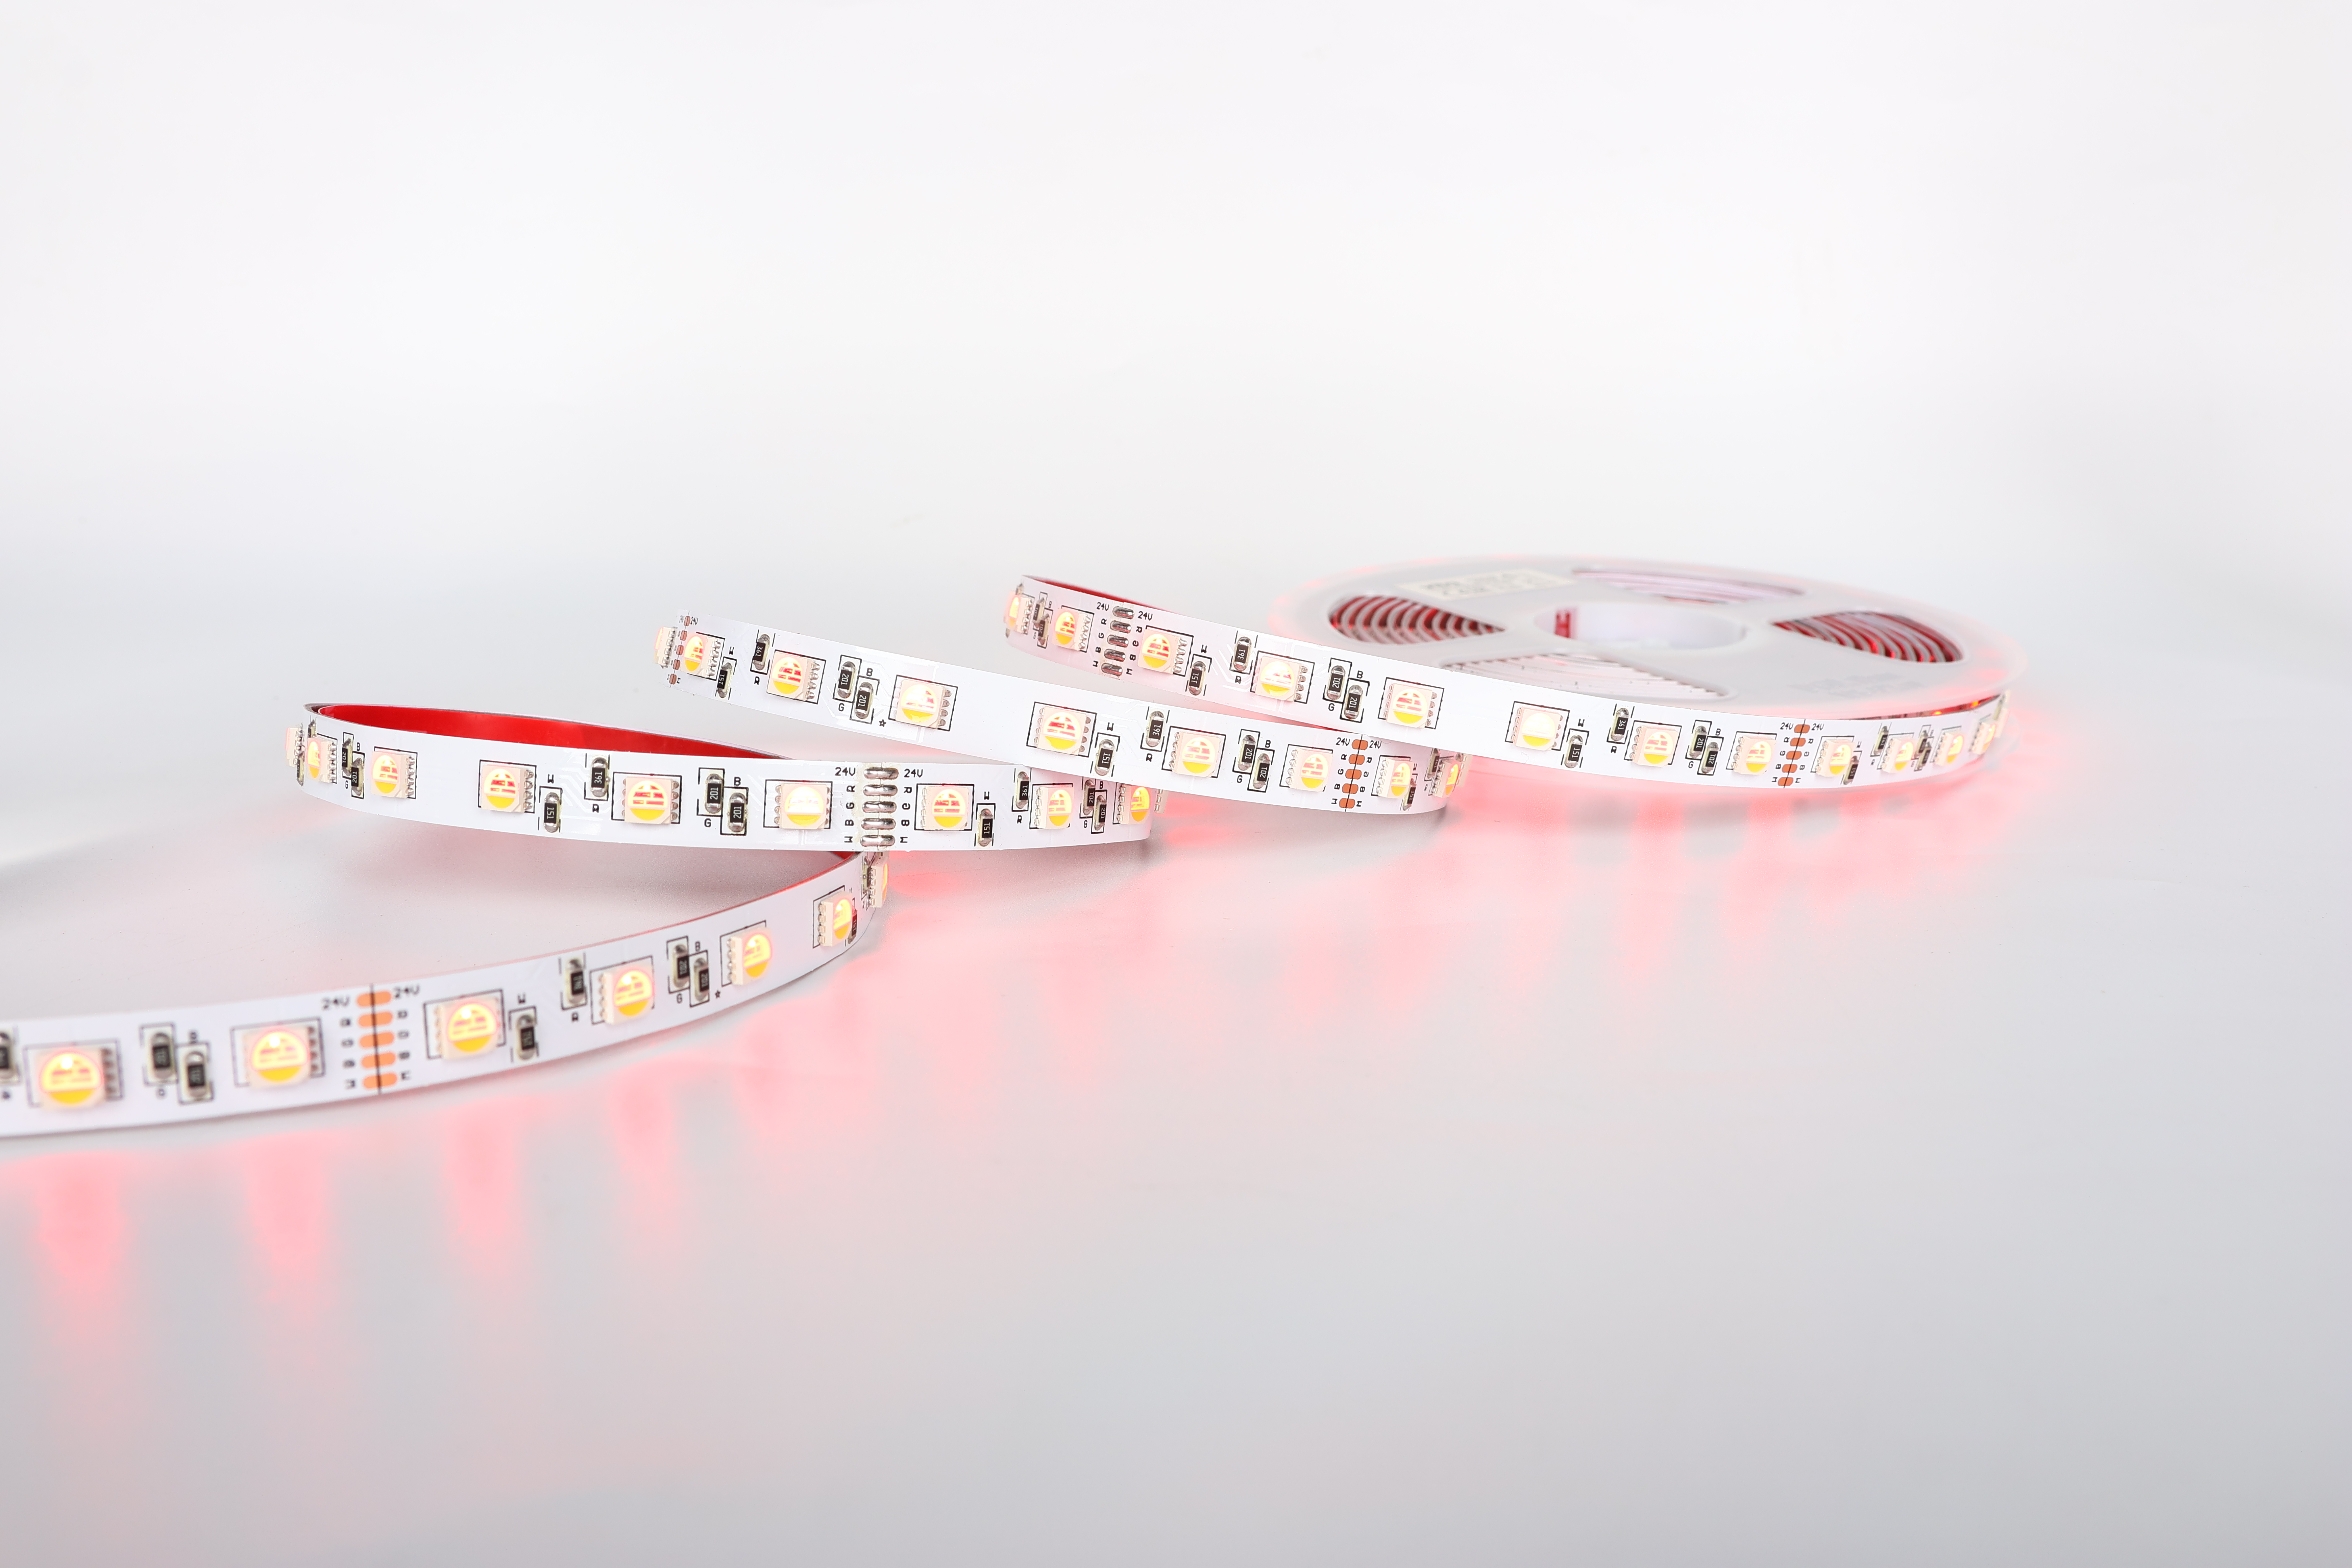
Surface preparation for flexible light strips involves several interconnected steps that work together to maximize adhesive bond strength and installation stability. The process begins with cleaning and extends through assessment of surface compatibility, smoothness evaluation, and environmental conditioning. Each preparation phase serves a specific purpose in ensuring that your LED tape lighting maintains consistent contact with the mounting surface and functions at optimal brightness and color consistency throughout its operational life.
Before applying any adhesive strip lights, you must remove all loose particles, dust, and debris from the target surface. Use a soft-bristled brush, microfiber cloth, or vacuum with a brush attachment to clear away dust, cobwebs, and loose paint. Pay special attention to corners, crevices, and textured surfaces where dust accumulates. Even microscopic particles create tiny air gaps between the adhesive backing and the substrate, significantly reducing bonding strength and causing premature failure of your tape light installation.
Kitchen environments, industrial spaces, and areas with high humidity require aggressive degreasing before tape light application. Use a lint-free cloth dampened with rubbing alcohol, acetone, or a commercial degreaser to wipe down the entire mounting surface. Work in small sections, allowing the solvent to dissolve grease and oils without evaporating too quickly. For heavily soiled surfaces, repeat the wiping process multiple times until the cloth comes away clean. This step is essential for flexible light strips because oil film prevents the adhesive from achieving molecular contact with the substrate, resulting in weak bonds that fail under thermal cycling or vibration.
Different substrate materials require different preparation approaches for optimal LED tape lighting performance. Smooth, non-porous surfaces like metal, glass, and high-gloss plastic accept adhesive strip lights readily after cleaning. Textured or porous surfaces such as drywall, painted wood, and matte finishes require additional consideration because air pockets in the texture reduce adhesive contact area. Test your flexible light strips on a small section first to confirm adhesion quality. If the substrate is too rough, consider using a primer or adhesive promoter specifically designed to enhance bonding on challenging surfaces.
Inspect the mounting surface for cracks, chips, peeling paint, and uneven sections that could compromise tape light adhesion. Small gaps and valleys prevent uniform contact between the backing and substrate, leading to inadequate bonding of adhesive strip lights. Fill minor surface imperfections using spackling compound, wood filler, or epoxy adhesive appropriate for your substrate material. Allow filler products to cure completely according to manufacturer specifications before proceeding with surface cleaning and tape light installation. Addressing these issues before applying LED tape lighting prevents installation failure and ensures a professional, long-lasting result.
Environmental conditions significantly impact how adhesive strip lights bond to surfaces and maintain their connection over time. Most flexible light strips adhere best when ambient temperature is between 60 and 85 degrees Fahrenheit and relative humidity is below 70 percent. Install tape light during these optimal conditions when possible, allowing the adhesive to cure properly without interference from condensation or thermal stress. Cold temperatures reduce adhesive flow and bonding effectiveness, while high humidity introduces moisture that weakens the bond. If installation must occur outside these parameters, allow extended curing time before powering on or subjecting the tape light to thermal cycling.
For porous or previously painted surfaces, applying a thin primer layer improves LED tape lighting adhesion significantly. Use a primer specifically formulated to enhance adhesive performance on your substrate material type. Allow primer to dry completely according to product instructions, typically two to four hours depending on ambient conditions. After priming, perform a final light cleaning with a dry microfiber cloth to remove any dust that settled during drying. This final preparation ensures your adhesive strip lights will achieve maximum contact and bonding strength when installed, preventing peeling and maintaining consistent light output throughout the product lifespan. Proper surface conditioning transforms challenging installations into reliable, professional-quality tape light deployments.
You can install flexible light strips on painted surfaces, but success depends on paint condition and type. Clean the paint thoroughly with rubbing alcohol and allow it to dry completely. If the paint is glossy, lightly sand it with fine-grit sandpaper to improve adhesive grip before installing your tape light. Ensure the paint is not peeling or flaking, as this causes adhesive strip lights to fail prematurely. For best results with problematic paint, apply an adhesive promoter primer before installing LED tape lighting.
Wait at least 30 minutes after cleaning with solvents before installing flexible light strips, allowing any residual moisture or vapor to evaporate completely. This waiting period ensures the substrate reaches optimal conditions for adhesive bonding. If you used water-based cleaners, extend the wait time to one to two hours to ensure the surface is thoroughly dry. Applying tape light to damp surfaces significantly reduces adhesion strength and increases the risk of premature peeling or failure of your installation.
Avoid applying LED tape lighting directly to extremely rough surfaces, unfinished wood, corroded metal, or surfaces with poor adhesive compatibility. Brick, rough stucco, and heavily textured finishes typically do not provide sufficient contact area for reliable flexible light strips adhesion. Surfaces coated with wax, silicone, or other release agents prevent adhesive strip lights from bonding effectively. For incompatible surfaces, install mounting channels or use mechanical fasteners instead of relying solely on adhesive backing for your tape light installation.
