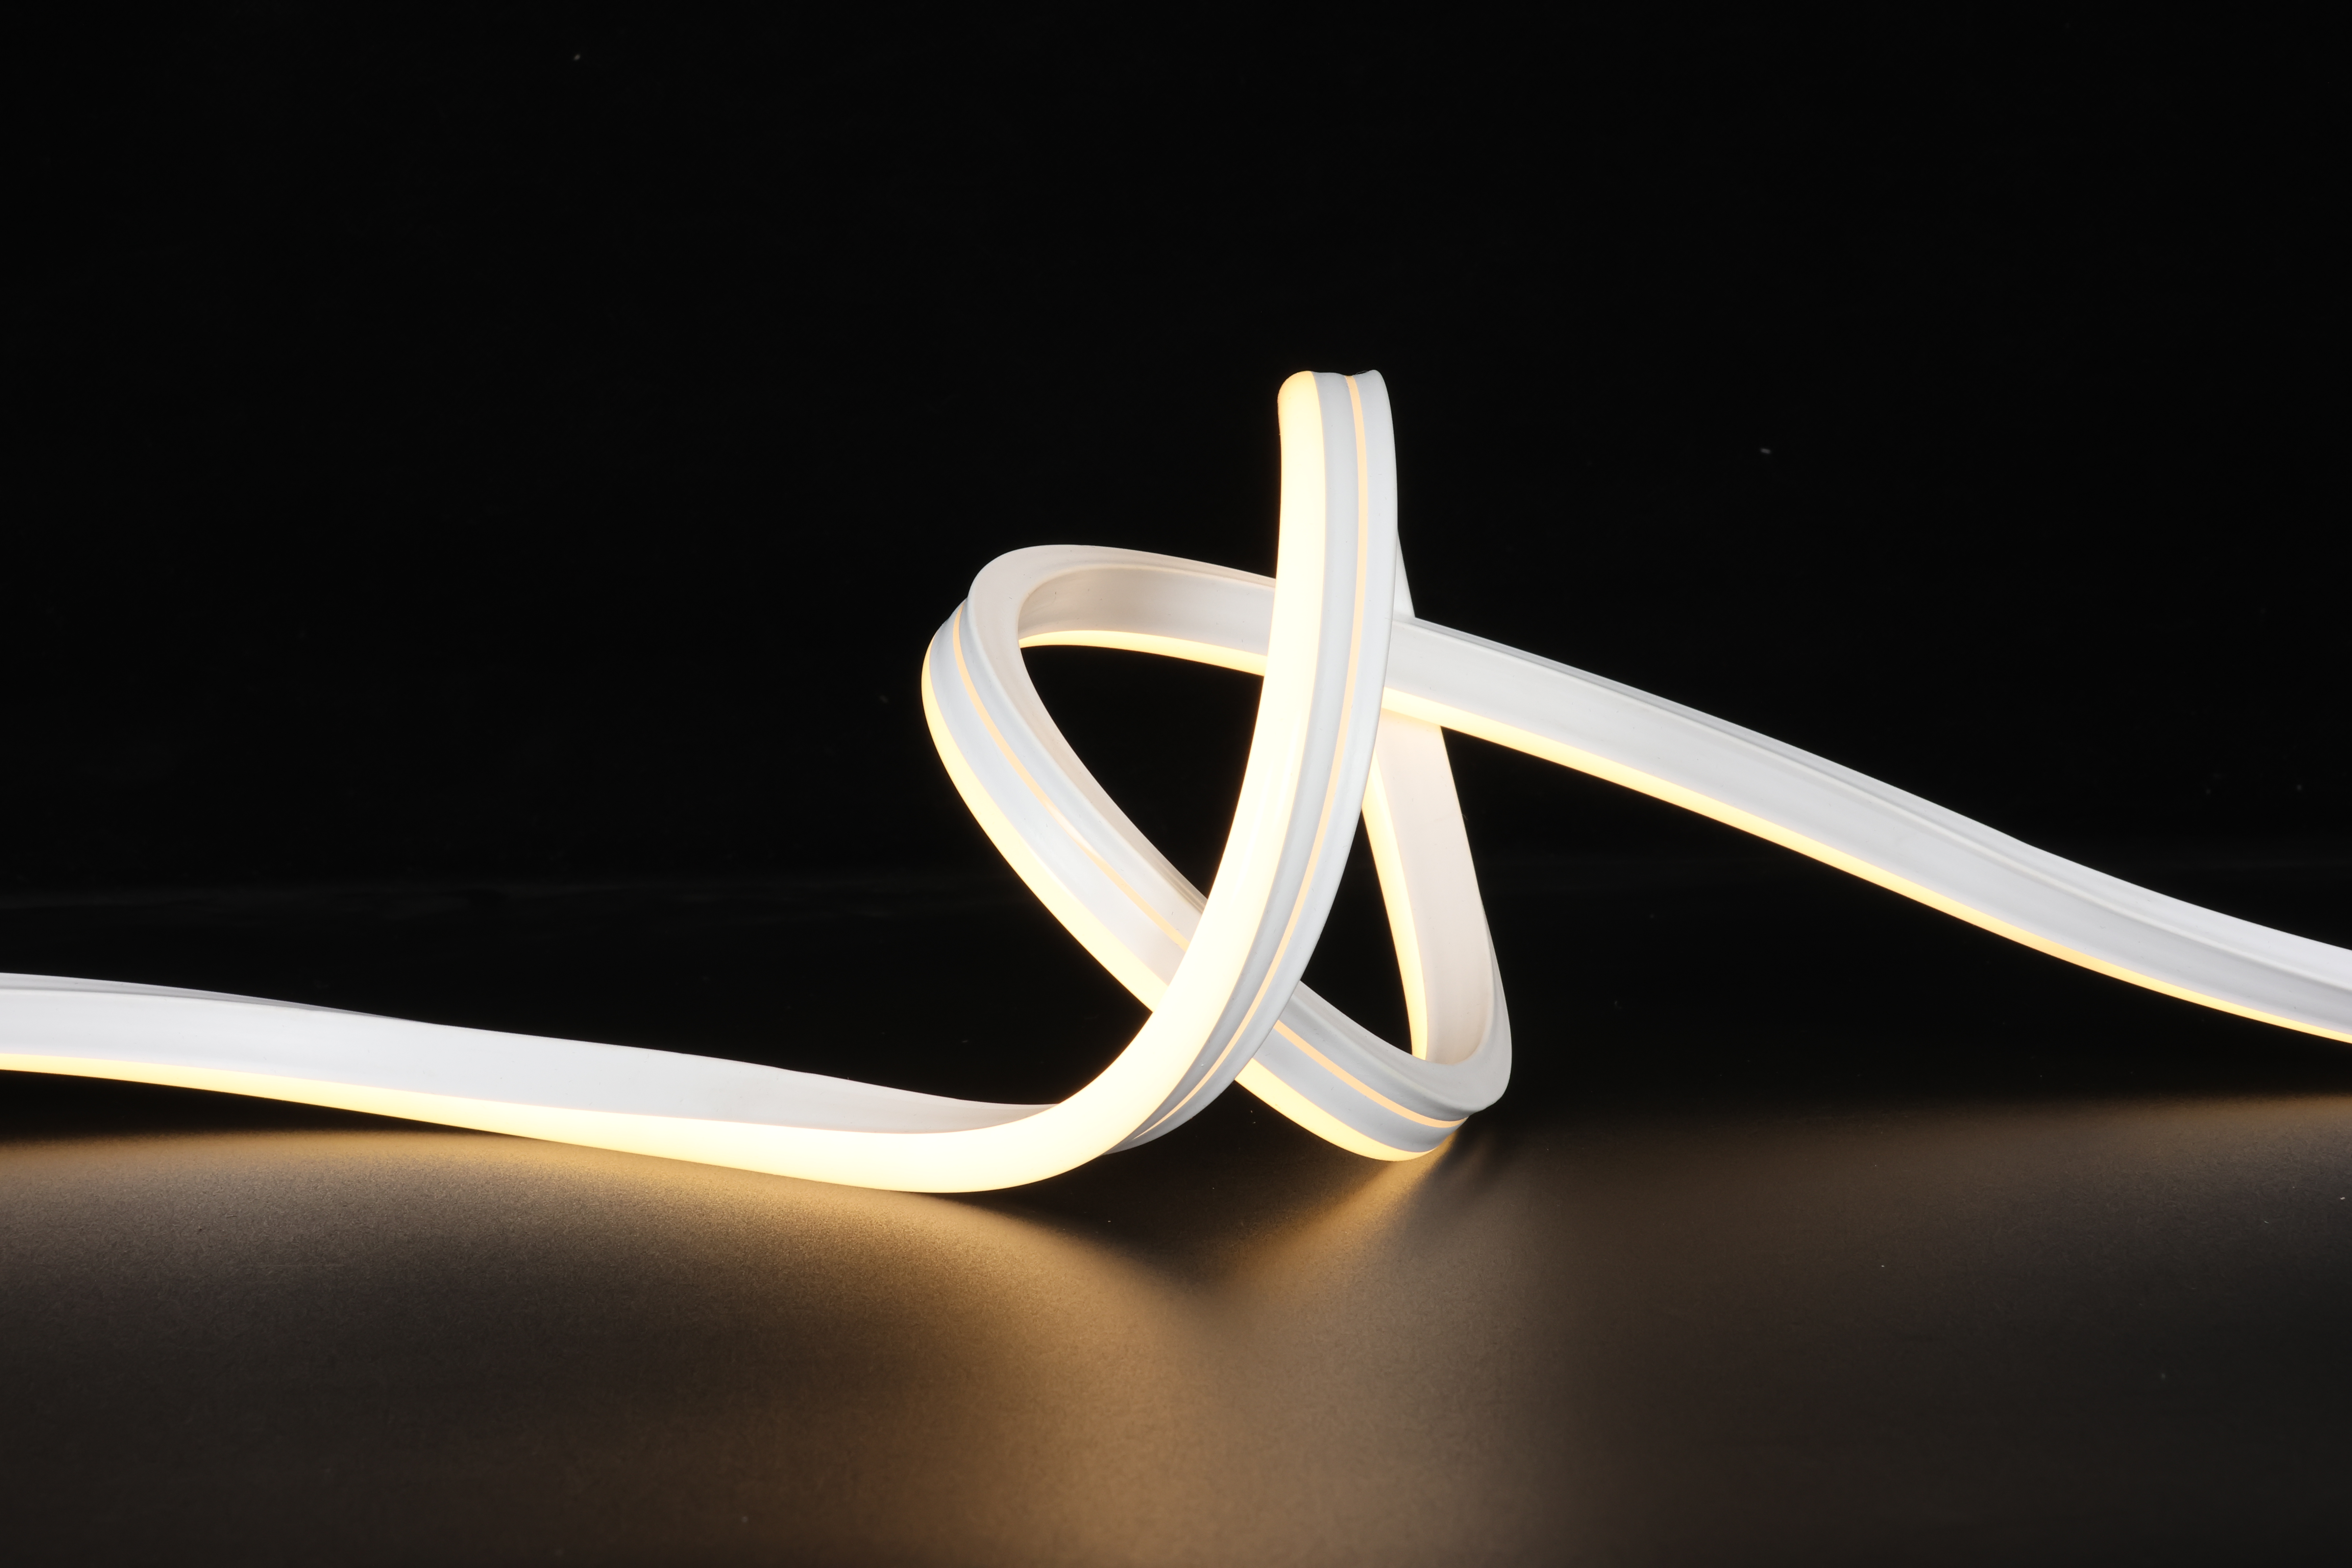
Installing led neon flex in your space transforms how light enhances architecture, branding, and ambiance. Unlike traditional rigid neon tubes, flexible neon lights offer designers and business owners unprecedented creative freedom. Whether you're designing a modern storefront, accent wall, or hospitality venue, understanding the installation process ensures professional results and long-term reliability. This guide walks through every essential step of installing neon flex tubing, from initial planning through final testing.
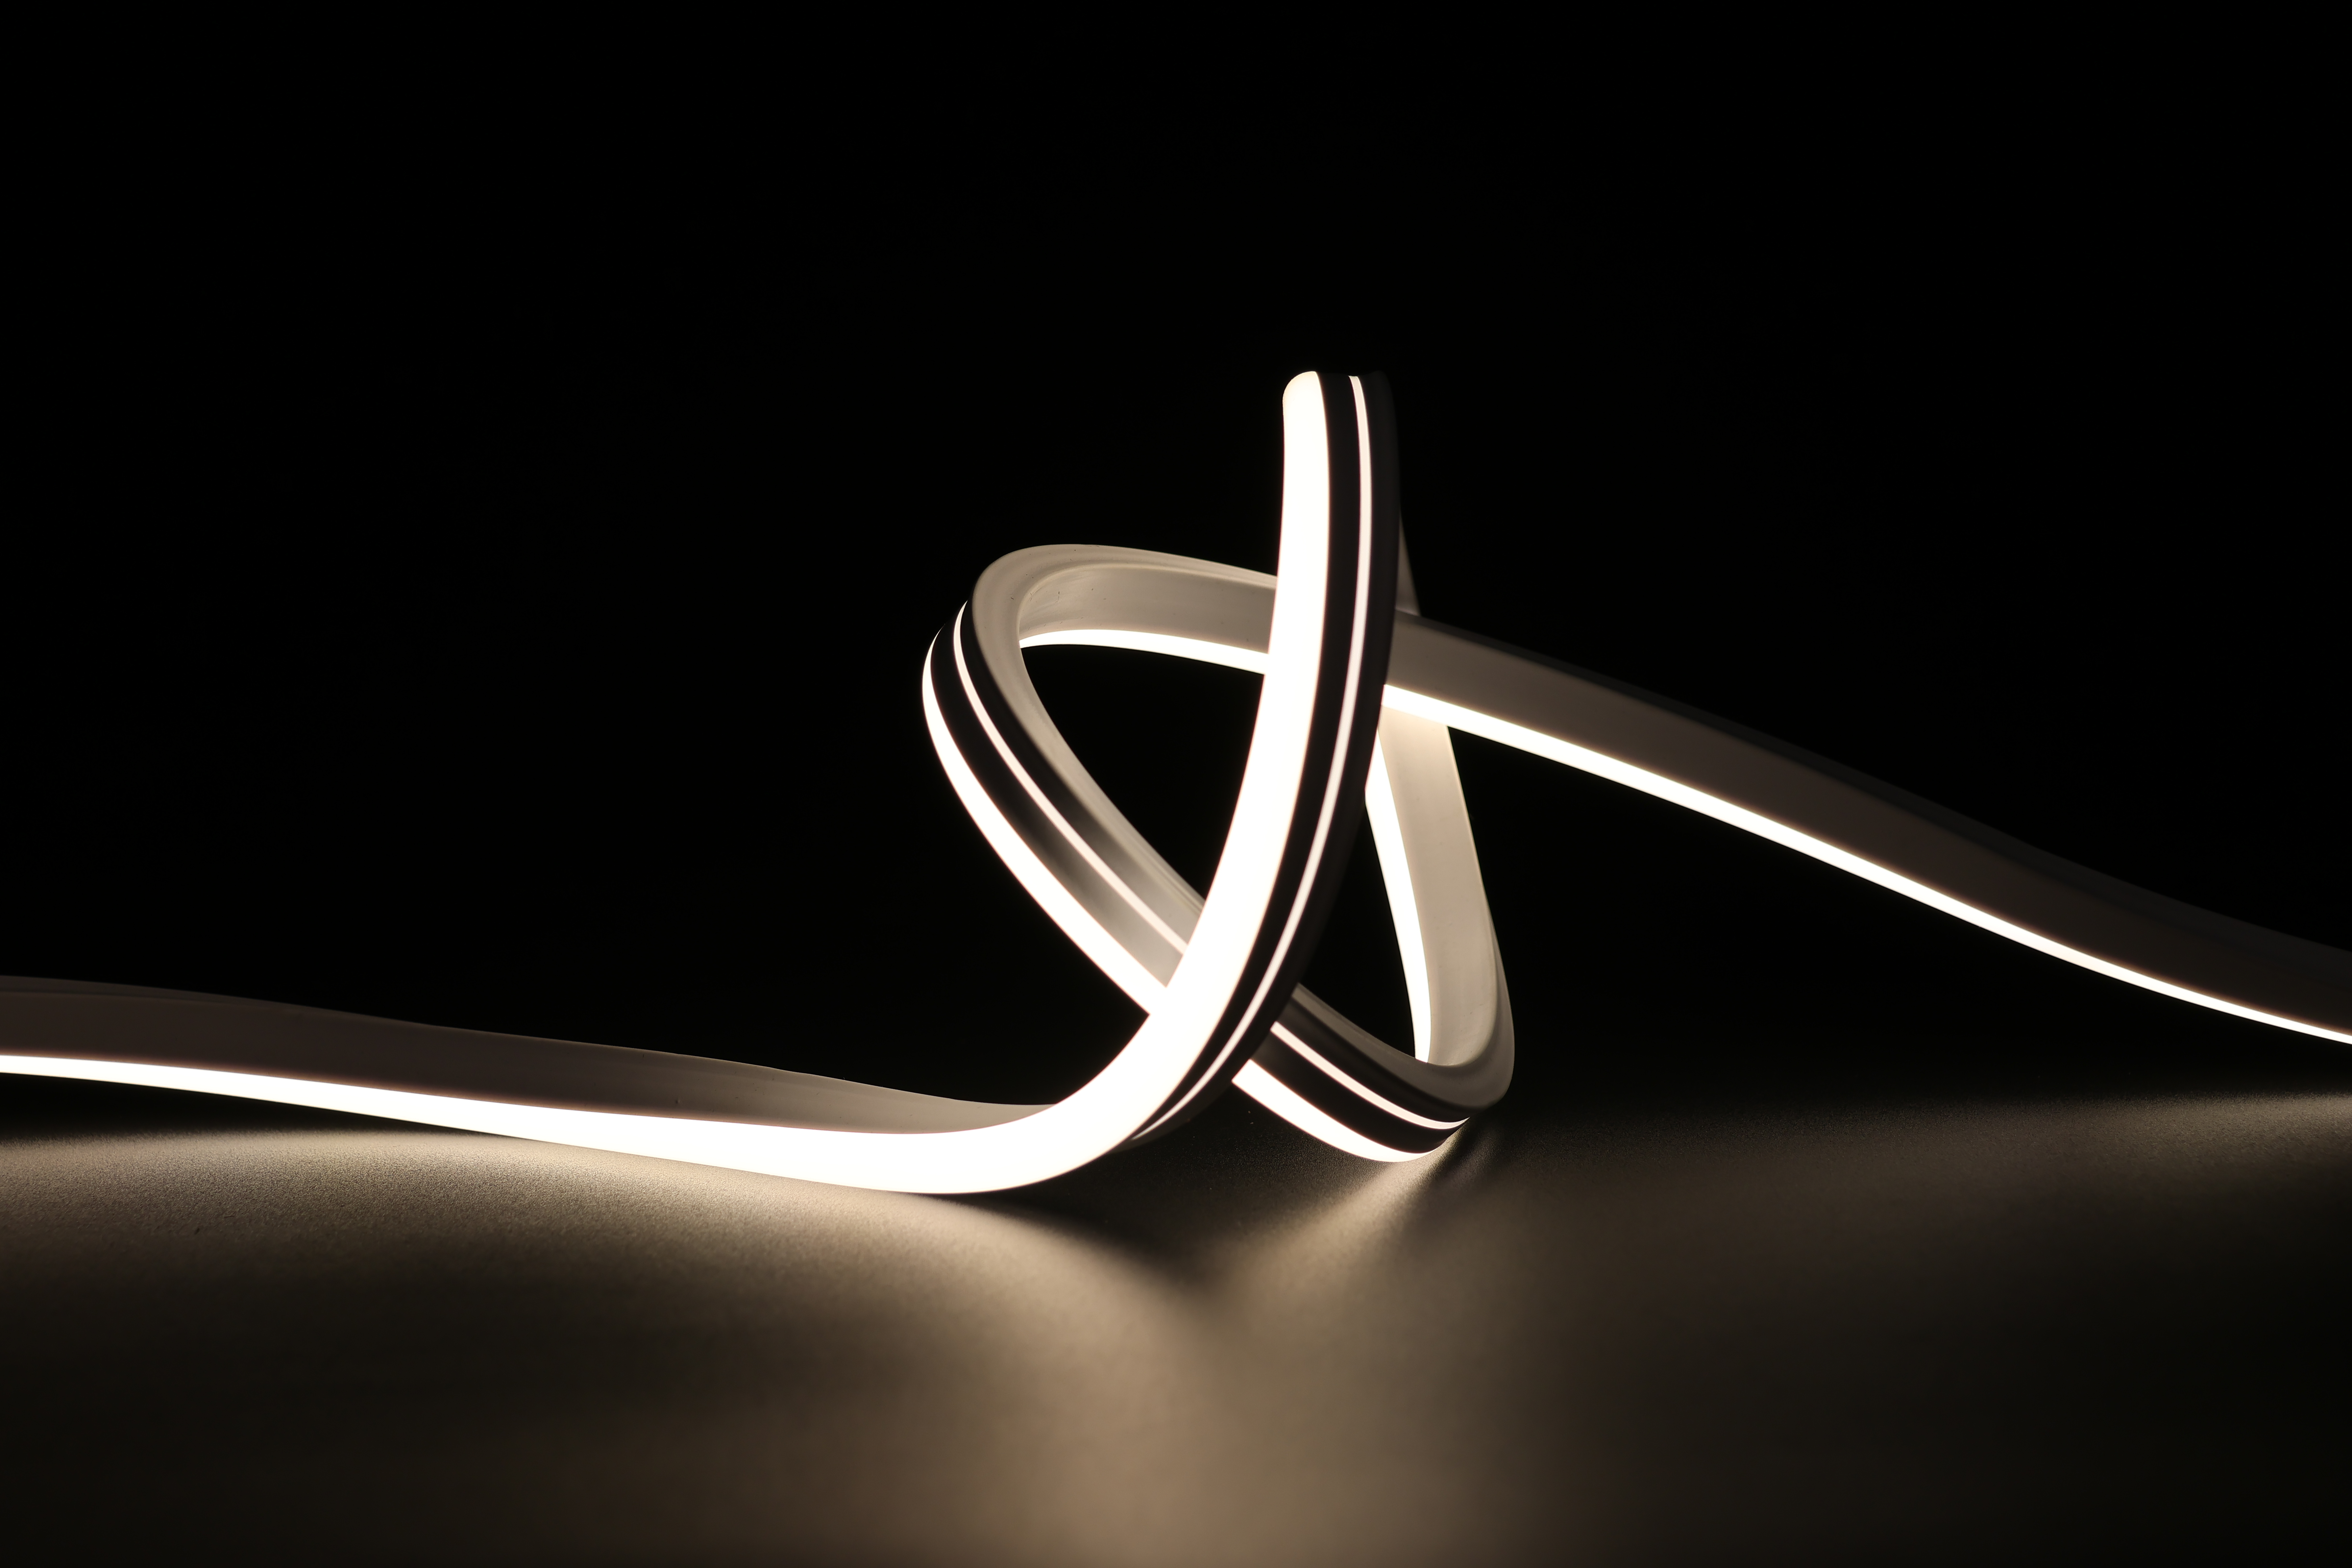
Before beginning installation, proper preparation prevents costly mistakes and ensures your neon light strips perform optimally. Take time to assess your space, measure distances accurately, and gather all necessary tools and materials. Professional installation starts with planning, and rushing this phase leads to alignment issues, electrical problems, and aesthetic disappointment. Your success depends on understanding both the technical requirements and the creative vision for your installation.
Planning Your LED Neon Flex Installation
Assessing Your Space and Design Vision
Begin by examining the area where you want to install flexible neon lights. Consider the wall or surface condition, surrounding lighting, and how the neon flex tubing will interact with existing architectural features. Measure the total linear distance needed, including any corners or curves. Flexible neon lights adapt to various shapes, but planning these details beforehand ensures seamless transitions and professional appearance. Photograph your space from multiple angles to identify the best routing path and power source location.
Selecting the Right Neon Flex Tubing Specifications
Choose neon flex tubing that matches your design requirements and environmental conditions. Consider factors like color temperature, brightness level, IP rating for moisture resistance, voltage requirements, and length specifications. Indoor installations may require different ratings than outdoor or commercial kitchen environments. Calculate the total length needed plus extra for testing and adjustments, typically adding 10 to 15 percent to your measured distance. Review the power consumption specifications to ensure your electrical system can support the total load.
Preparing Materials and Tools
Essential Equipment for Installation
Gather all necessary tools before starting your neon light strips installation. You'll need a power drill, mounting brackets, fasteners appropriate for your wall type, wire strippers, electrical wire, a multimeter for testing, and safety equipment including gloves and eye protection. For complex routing, include a drill bit set, level tool, measuring tape, and marking pencil. Having everything organized and accessible streamlines the installation process and reduces delays caused by missing supplies.
Electrical Components and Safety Requirements
Verify that you have the correct power supply, transformer if needed, and appropriate wire gauge for your led neon flex system. Check the manufacturer specifications for voltage requirements and current ratings. Install a dedicated circuit breaker if your installation draws significant power. Use waterproof connectors in any potentially damp areas, and ensure all electrical connections meet local electrical codes. Never attempt wiring if you're unsure about electrical safety; consult a licensed electrician for complex installations.
Installation Process and Mounting Techniques
Routing and Securing Neon Flex Tubing
Begin installation by carefully routing your flexible neon lights along the planned path. Use mounting brackets designed for the tubing diameter, spacing them every 12 to 18 inches depending on the material weight and surface type. For corners and curves, allow the neon flex tubing to bend naturally without kinking or excessive strain. Ensure the tubing sits securely in each bracket to prevent sagging or misalignment. Test the fit by powering on briefly before final securing to confirm proper alignment and no pinching of internal components.
Electrical Connection and Testing Procedures
Connect the power supply according to manufacturer wiring diagrams, ensuring positive and negative terminals are correctly matched. Use waterproof connectors for any outdoor or high-moisture applications. Before completing all wall fastening, power on the installation and test every section of the neon light strips. Use a multimeter to verify voltage at connection points and confirm all segments illuminate uniformly. Document any non-functioning sections for replacement before proceeding with permanent mounting. This testing phase prevents discovering problems after full installation.
After confirming electrical function, secure all mounting brackets permanently using appropriate fasteners for your wall material. Use wall anchors for drywall installations, concrete anchors for masonry, or adhesive-backed mounts for smooth surfaces where drilling isn't possible. Ensure cables are routed safely away from high-traffic areas and secured with cable clips where necessary. The final installation should appear clean and professional, with the led neon flex as the focal point and infrastructure remaining invisible.
Maintenance and Long-Term Performance
Regular Inspection and Cleaning Protocols
Maintain your flexible neon lights by inspecting them quarterly for signs of damage, discoloration, or reduced brightness. Clean the tubing exterior with a soft, damp cloth to remove dust and debris that may reduce light output. Check all connection points and mounting brackets for corrosion or loosening, especially in humid environments. Keep the area around your neon light strips clear of obstruction to prevent heat buildup. Proper maintenance extends the lifespan of your installation and ensures consistent aesthetic impact.
Troubleshooting Common Installation Issues
If sections of your neon flex tubing fail to illuminate, first verify the power supply is functioning. Check all connection points for corrosion or loose terminals using your multimeter. Inspect the tubing for visible cracks or damage that may indicate a short circuit. Test the transformer output to ensure it's delivering correct voltage. If problems persist, isolate the affected section by disconnecting it to identify whether the issue is in the tubing or the power system. Most problems in led neon flex installations trace to loose connections or power supply issues rather than tubing defects.
FAQ
Can LED neon flex be installed outdoors?
Yes, outdoor installation is possible with neon flex tubing rated for exterior use. Look for products with IP67 or IP68 ratings indicating high water and dust resistance. Use waterproof connectors, ensure all connections are sealed, and install in a location protected from direct water spray when possible. Verify your power supply is rated for outdoor use and installed in a weatherproof enclosure. UV-resistant silicone tubing prevents color fading from prolonged sun exposure.
What power supply do I need for flexible neon lights?
The power supply depends on your neon light strips voltage and total length. Most residential installations use 12V DC or 24V DC systems, while some commercial applications require 110V or 220V. Calculate total wattage by multiplying voltage by the current rating, then select a power supply with 20 to 30 percent capacity above this figure. Oversizing the power supply improves reliability and allows for future expansion. Always use a power supply specifically designed for led neon flex installations.
How long does a professional LED neon flex installation take?
Installation time varies based on the complexity and total length of your neon flex tubing. A straightforward linear installation on a prepared surface typically requires two to four hours. Complex routing with multiple corners, ceiling mounts, and custom designs may take a full day. Adding proper electrical work, testing, and finishing touches should be factored into your timeline. Rushing installation compromises quality and safety, so allocating adequate time ensures professional results.
 EN