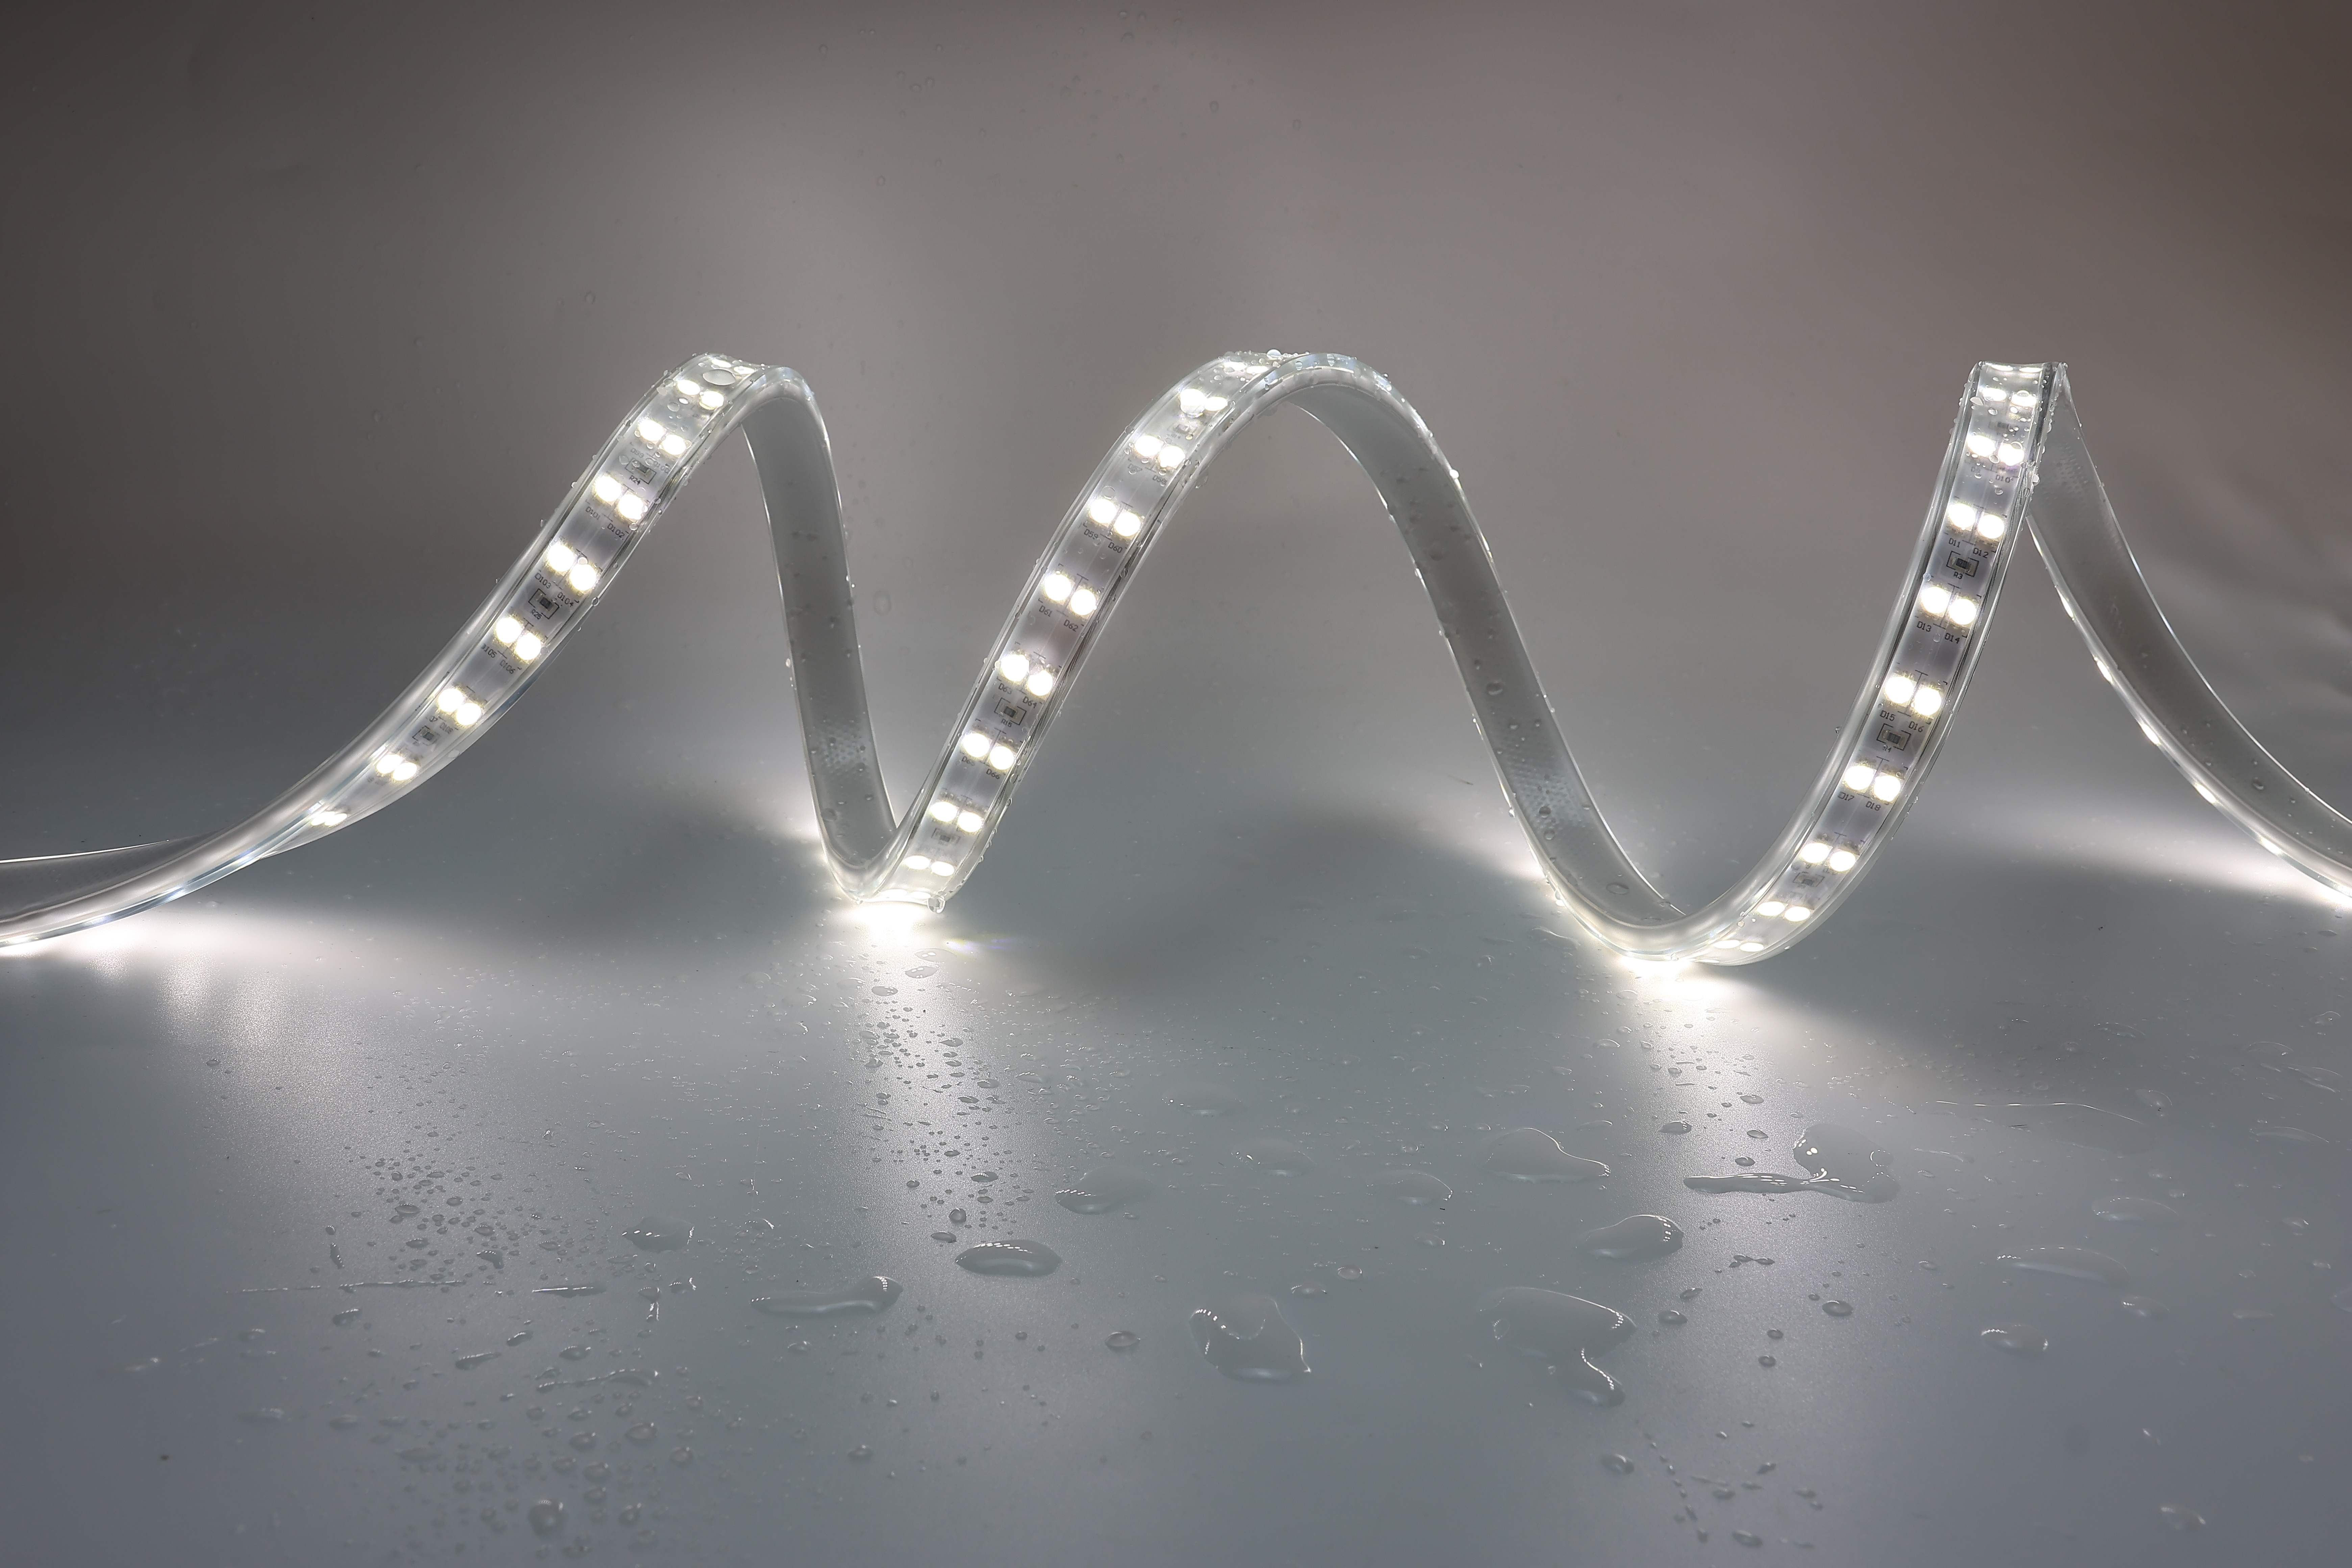
Properly cutting and connecting led tape is essential for achieving professional installations and maximizing the lifespan of your lighting system. Many installers struggle with improper cutting techniques and faulty connections, which lead to flickering lights, power loss, and premature failure. Understanding the correct methodology ensures reliable performance, consistent brightness, and long-term durability in both residential and commercial applications.
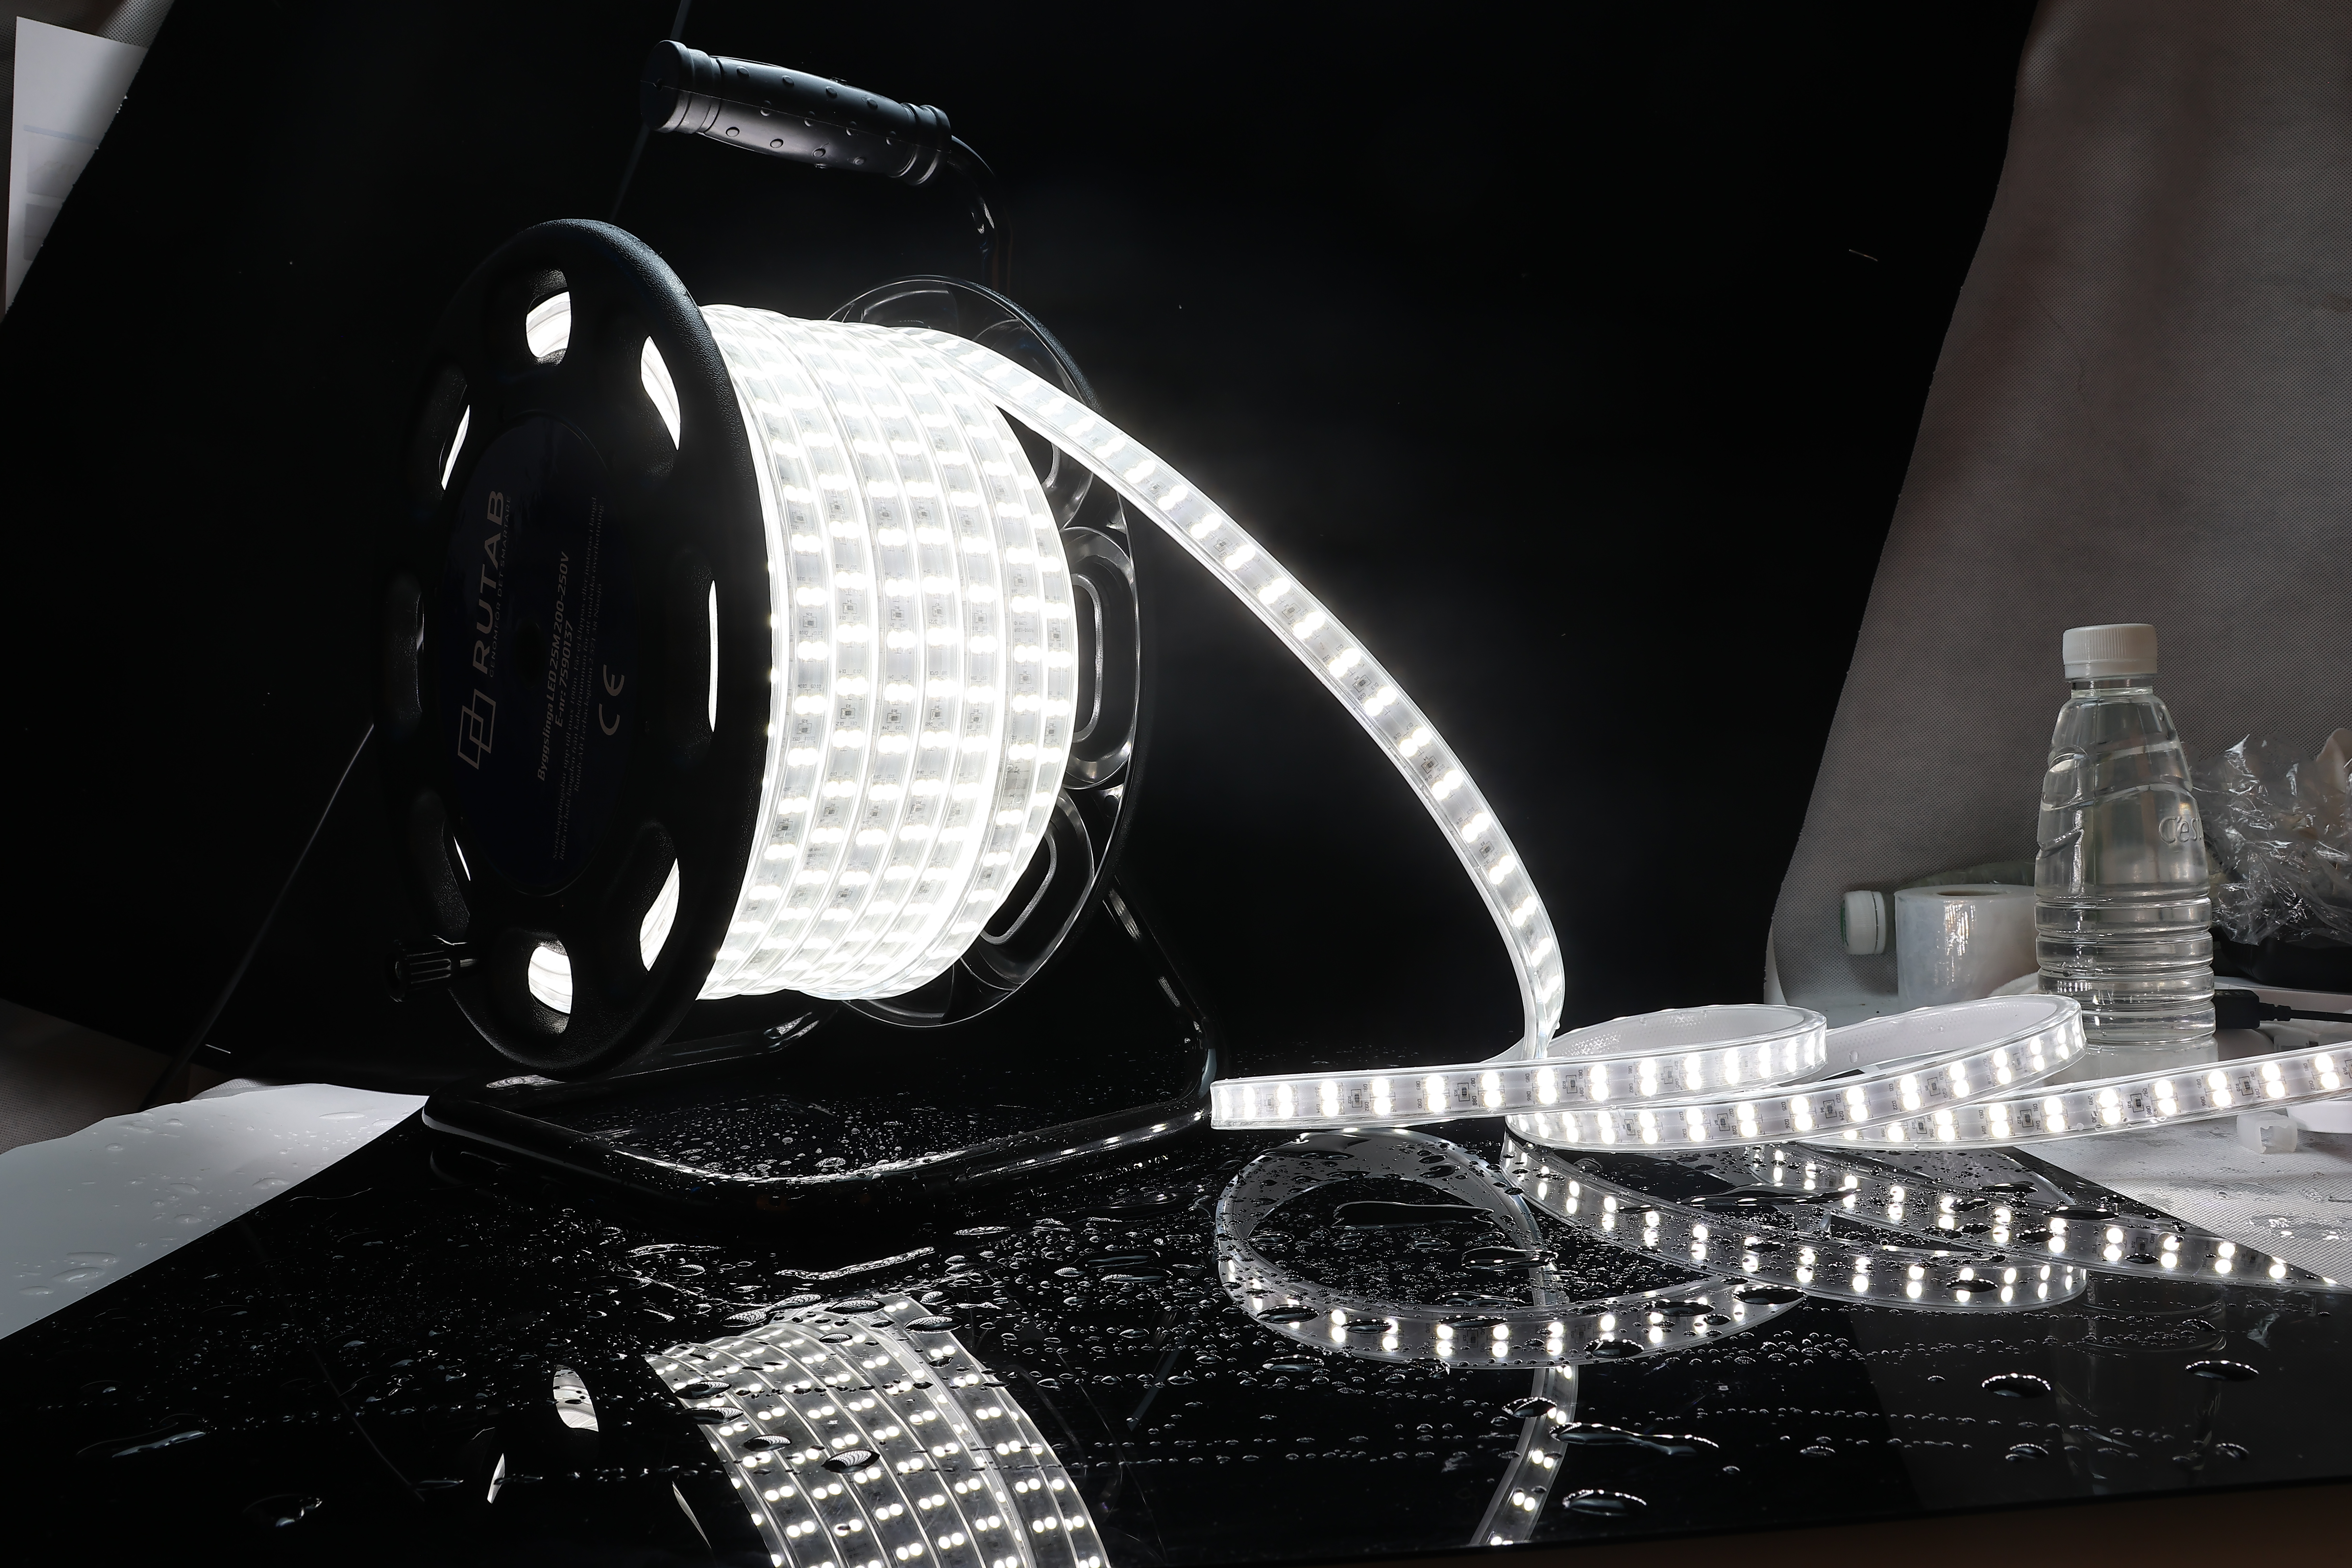
Whether you're working with standard flexible led strips, RGB tape lighting, or advanced addressable led tape systems, the fundamental principles of cutting and connecting remain consistent. Each type of flexible led strips demands attention to detail, proper tools, and specific connection methods to avoid electrical issues and safety hazards. This guide walks you through the complete process, covering everything from identifying cut lines to securing connections with appropriate connectors and soldering techniques.
Understanding LED Tape Cut Points and Guidelines
Identifying Safe Cut Zones
Most flexible led strips feature designated cut lines marked clearly on the tape surface. These cut points exist between LED segments and are specifically designed to allow safe separation without damaging individual diodes or circuit pathways. Cutting anywhere outside these marked zones risks severing critical connections and rendering portions of your flexible led strips unusable. Examine the tape carefully under good lighting before making any cuts to ensure you're targeting the correct location.
Tools and Safety Considerations
Using sharp scissors or a precision cutting tool ensures clean cuts through the flexible substrate and copper traces. Dull blades tear the material and create jagged edges that complicate subsequent connections. Always cut in well-lit conditions and verify that power is disconnected from your rgb tape lighting or addressable led tape before handling. Proper workspace setup prevents accidental contact with live circuits and reduces the risk of electrical shock during installation and connection procedures.
Proper Connection Methods for LED Tape Systems
Connector Types and Selection
Pre-soldered connectors, strip connectors, and direct solder connections represent the three primary methods for joining led tape segments. Pre-soldered connectors offer convenience and minimize soldering experience requirements, making them ideal for quick installations of flexible led strips. Strip connectors use spring contacts to hold copper pads together without solder, providing reversibility and ease of adjustment. Direct soldering delivers the most secure electrical connection but requires skill, proper equipment, and protective measures when working with rgb tape lighting or addressable led tape systems.
Connection Step-by-Step Process
Begin by stripping away the adhesive backing or protective layer from the copper pads where connections will be made. Ensure both mating surfaces are clean, dry, and free of oxidation or debris before proceeding. If using connectors, align the copper pads precisely and apply gentle pressure until the connection seats firmly. For solder connections, apply flux to the pads, heat both surfaces evenly, and use quality solder to create a smooth, shiny bead that bridges all contact points without excessive material. Test continuity with a multimeter before powering up your addressable led tape or rgb tape lighting to confirm successful electrical connection.
Advanced Techniques for Complex Installations
Managing Polarity and Circuit Logic
LED tape systems include positive and negative terminals that must align correctly during connection. Reversing polarity prevents the flexible led strips from illuminating and can damage control modules or power supplies. Mark terminals clearly before disconnecting segments and verify polarity repeatedly during reassembly. Addressable led tape requires additional attention to data line connections, as incorrect sequencing or reversed data lines prevent the system from recognizing individual segments and responding to control commands properly.
Securing and Protecting Connections
After connecting your flexible led strips or rgb tape lighting, reinforce connections with electrical tape, heat shrink tubing, or silicone sealant depending on environmental exposure. Moisture, dust, and thermal cycling stress electrical joints, so protective measures prevent corrosion and intermittent failures. In outdoor or high-humidity applications, silicone encapsulation provides superior protection compared to standard tape. Properly sealed connections ensure the long-term reliability of your led tape installation and eliminate troubleshooting headaches related to loose or corroded contacts.
FAQ
Can I cut LED tape anywhere on the surface?
No, cutting must occur only at the designated cut lines printed on the tape. These marked zones allow separation between LED segments without damaging components. Cutting elsewhere disrupts circuit pathways and renders the flexible led strips non-functional in those sections.
What is the difference between soldering and using connectors for LED tape?
Soldering creates a permanent, highly secure electrical connection but requires equipment and skill. Connectors offer easier installation, reversibility, and less technical expertise needed. For addressable led tape and rgb tape lighting, both methods work equally well if executed properly, though connector systems provide faster troubleshooting and modification capabilities during complex installations.
How do I test whether my LED tape connections are working correctly?
Use a multimeter to check continuity across connected pads before powering the system. Set the meter to continuity or resistance mode and probe the positive and negative terminals. A properly connected flexible led strips segment shows low resistance between terminals. After power application, verify that all LEDs illuminate uniformly without flickering or dark zones along the addressable led tape or rgb tape lighting installation.
 EN